
Facebook Ads Anonymous ID
Overview
In this document we’ll walk you through how GrowthLoop can enable your organization to capture your anonymous website visitors, help you build audiences around them to be exported to Meta (Facebook) for better targeting.
This is possible through GrowthLoop’s partnership with MetaRouter.
Setting up MetaRouter
The first step to be able to build audiences based on your anonymous visitors is setting up MetaRouter on your website and/or application.
This step allows user activities (eg, page views, clicks…etc) to be captured and piped into your data warehouse such as BigQuery, Snowflake, Databricks and others.
The details and steps for the setup are documented here, however, the MetaRouter and GrowthLoop team are here to help you get set up and started.
Data preparation
Once your anonymous user data starts flowing into your data warehouse, you need to start consolidating the data on how you intend to utilize that.
For your specific setup the GrowthLoop team is here to help you get started. But in short, we help you bring all events and anonymous user data under their own umbrellas, so you can easily build GrowthLoop Datasets off of them and filter your audiences accordingly.
Getting your Meta (Facebook) details for setup
Before you meet our team at GrowthLoop for your specific set up, we’d require you to please have your Pixel ID ready from your Facebook account.
If you don’t have a Pixel ID yet, you can create one using Meta’s instructions here. And if you do have one set up, you should be able to get it by logging into your Facebook Ad Manager —> Events Manager (more details here).
Setting up your destination on GrowthLoop
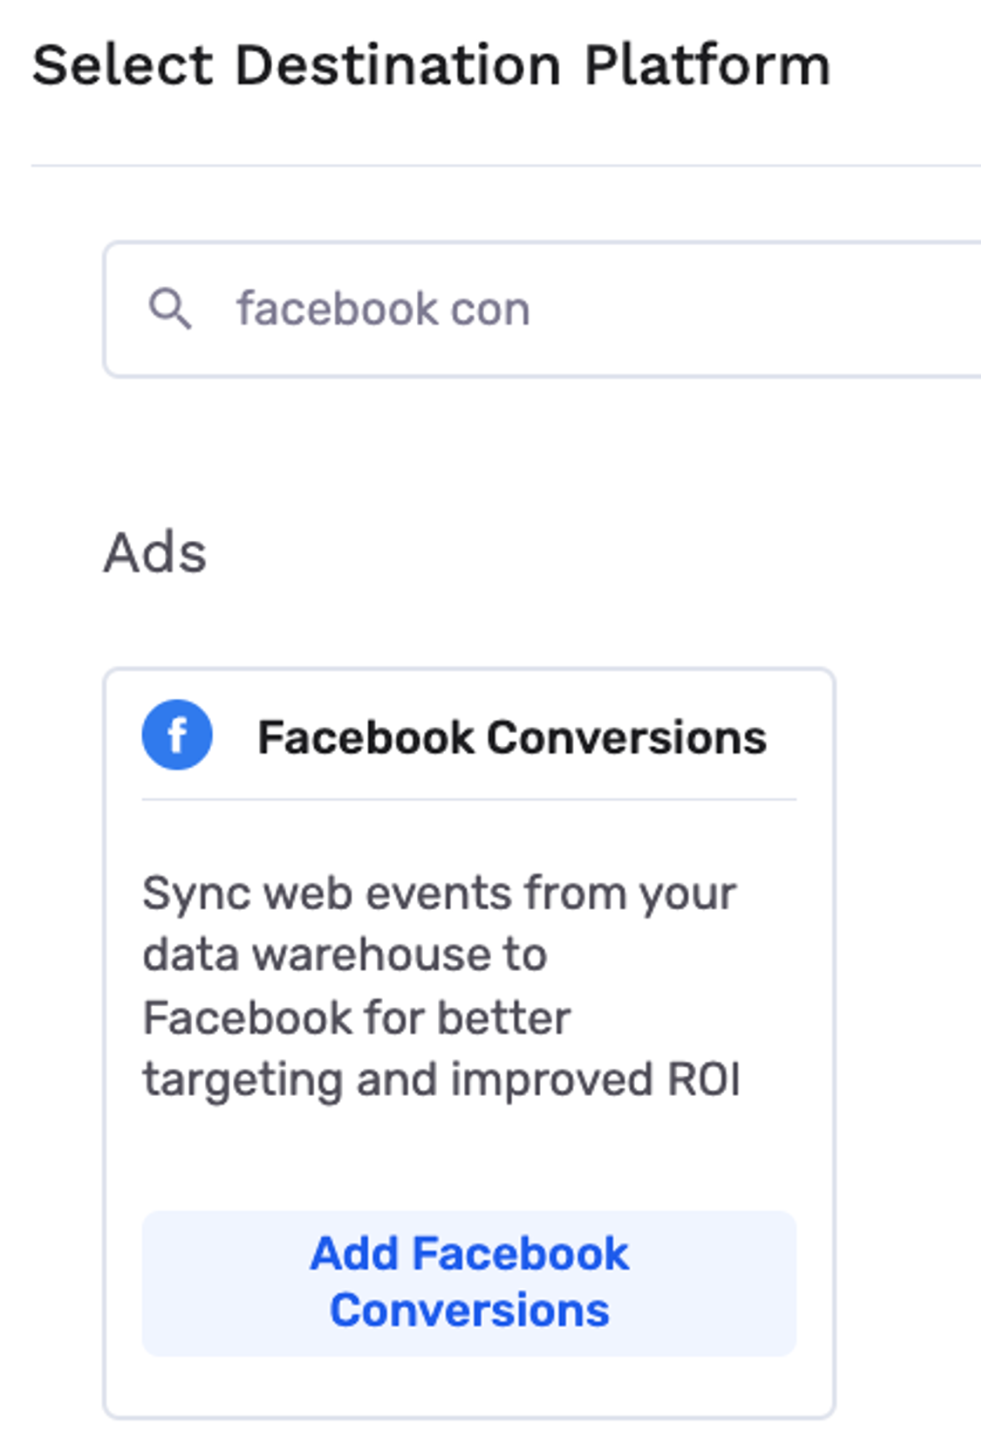
Once the above is set up, you need to set up your destination on GrowthLoop. Head over the Destinations menu (on the left-hand side) and click New Destination. You can then search for Facebook Conversions to get the following destination:
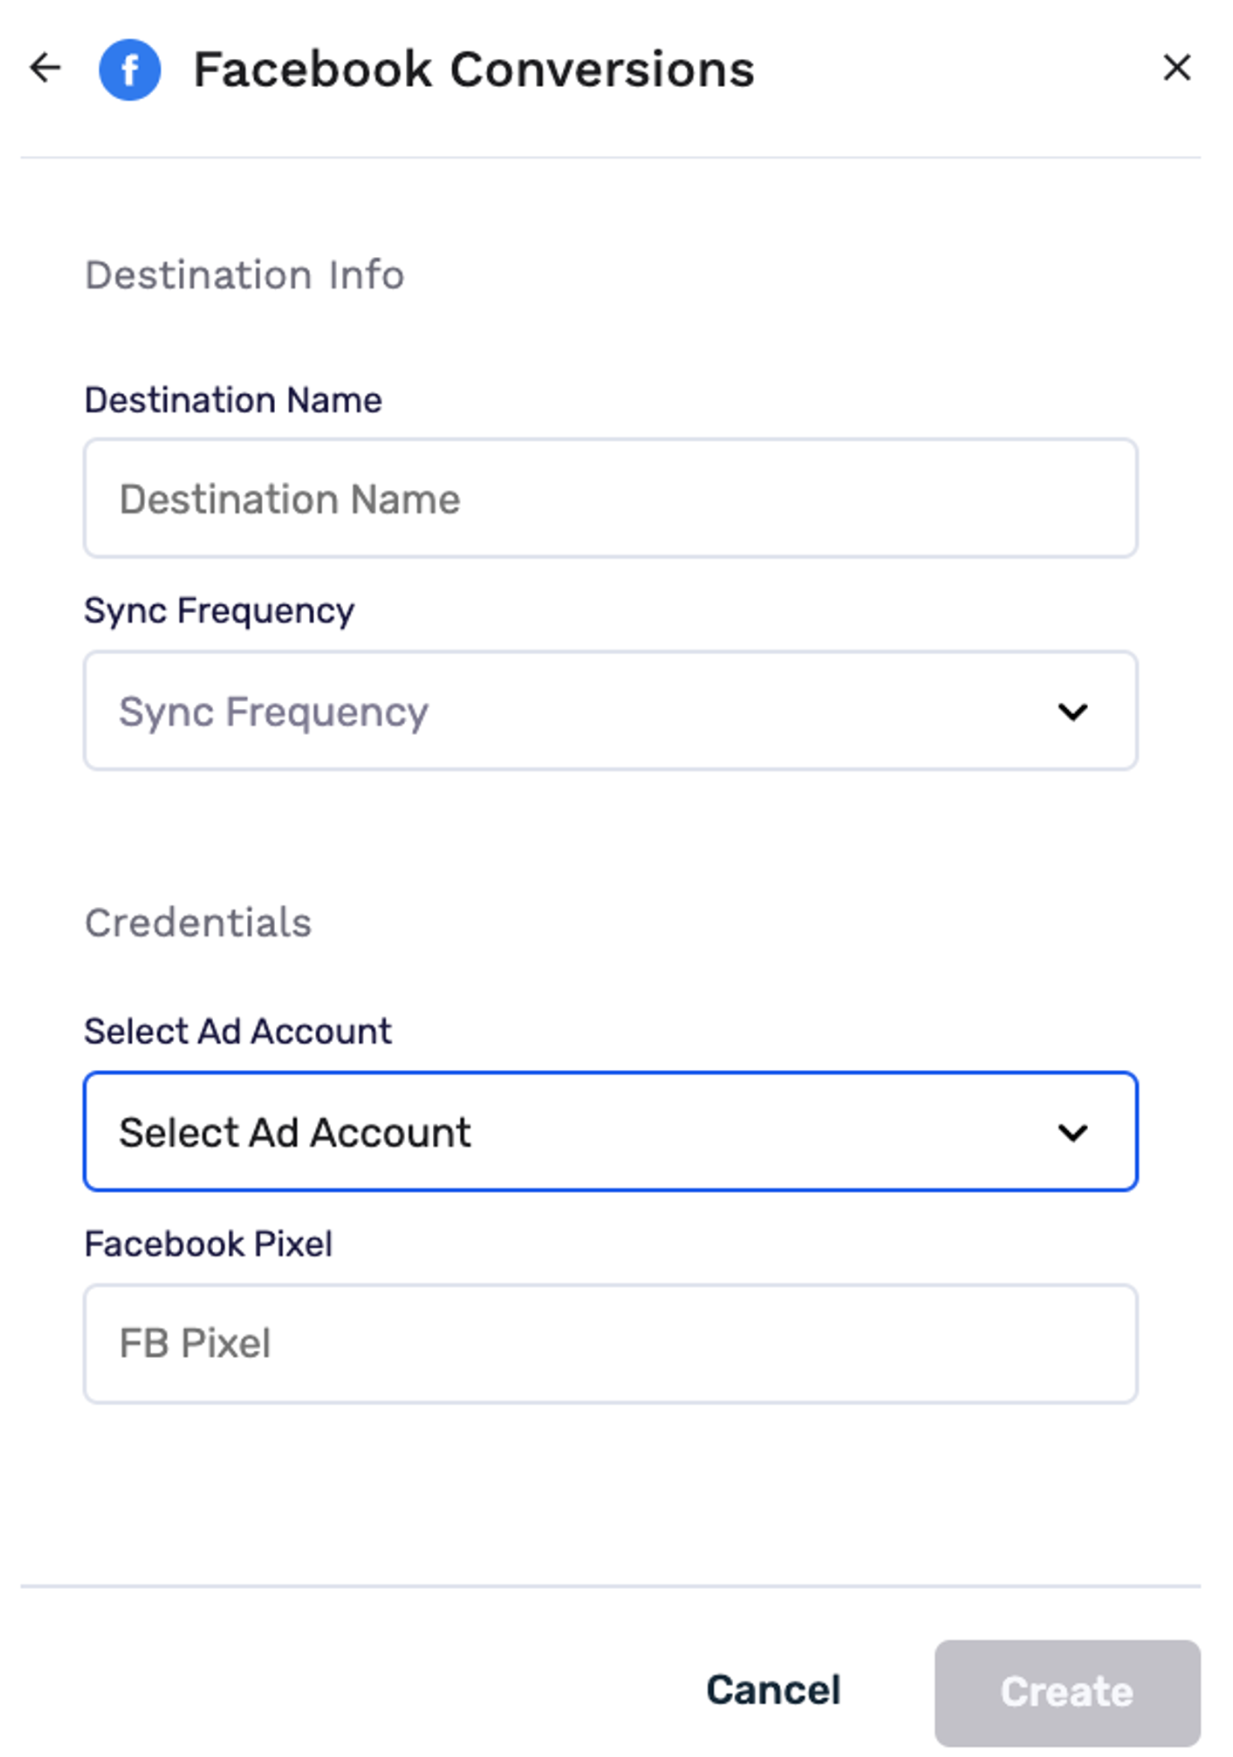
Once you click the card, you’re asked to log into your Meta/Facebook account. And after getting authenticated, you’re provided with the following connection form.
Note: It’s important that you include your Facebook Pixel ID in the FB Pixel field for this connection to work.
Once you’ve successfully set up your destination, you can start building your audience on top of the Datasets that were defined earlier and export to the newly established destination above.
Verify and accept the new event on Facebook
You need to export an audience (preferably a test one) in order to verify and accept the event GrowthLoop uses to send your audiences under, to Meta/Facebook. In order to do that, create an audience on GrowthLoop and export using the newly created destination.
You need to wait for approximately 1 hour after you export your audience and log back into Facebook’s business account, to see a new event. GrowthLoop names this event Audience Membership. So if you see that event under the list of your events, go ahead and verify & accept it.
At this point you’re all set and you can use Facebook/Meta’s Audience creator, based on the newly verified Event on the FB advertising platform.
If you experience any issues or have any questions, please reach out to us at [email protected], and we’ll be in touch shortly!
Updated about 1 year ago