
Lob
In this article, we'll walk you through connecting Lob to GrowthLoop and exporting your audiences to the destination for direct mail activation.
Prerequisites
- Make sure you have a Lob account. If not, you can create one here!
Set up destination
-
Log into GrowthLoop and click the Destinations tab on the left sidebar.
-
Then click New Destinations on the upper right side.
-
Next, search for Lob in the destination modal and click Add Lob.
-
In the modal, please select/insert the following information:
- Destination Information
- Destination Name: This is how the destination will be named and referred to in to the app going forward. It is helpful to make this name “marketer friendly” so everyone on your team knows it’s purpose.
- Sync frequency: This is the default frequency audiences will be synced to a destination. Marketers can always change the frequency of an export, but this sets the default.
- Credentials
- Secret API Key: This is a credential for authentication when interacting with Lob’s API. There are two types of secret keys: test and live. Test keys (prefixed with test) are used in the test environment for free trial and development purposes, while live keys (prefixed with live) are used in the production environment for actual mailing and verification. You should use the appropriate key depending on whether you're testing or using the Lob service for real. Click here to find yours.
- Destination Information
-
Go ahead and select Create, and you will see Lob appear in your Destination table!
Export to destination
- Navigate to your list of audiences by clicking the Audiences tab on the left sidebar.
- Choose an existing audience or create a new one. Need help creating? Click here to learn how!
- Once created, click the Export button on the upper right side.
- Search for Lob in the export modal and then click Add Lob.
- Next, configure your match fields. Lob requires you to map Name, Address Street, Address City, Address State, Address Abbreviation, and Address Zip. When you're done, please click Next.
- Then configure your export settings:
- Export Name: Automatically populated with your audience name for easy identification in the destination.
- Campaign Type: Choose between a one-time export or an ongoing basis. Please note: If you specify ongoing, remember that each new batch replaces the previous one. For example, if your first export had 100 records and the next one had 50, Lob will only have the latest 50 records.
- Campaign Status: Choose between existing or new.
- Campaign ID: If the campaign status is set to existing, you must provide the unique identifier associated with the campaign you want to export your audience to. This identifier, resembling "cmp_33323424f3243", can be found in the campaign's settings page URL.
- Campaign Name: If the campaign status is set to new, the Campaign ID field will change to Campaign Name. Here, you must provide a name for your new campaign, to which you want to export your audience. Ensure that the name does not exceed 40 characters.
- Export Schedule: Set the Frequency, Start date, End date, and specific Days of the Week.
- Lastly, click Export, and you're done!
SuccessYou have successfully exported the audience to Lob!
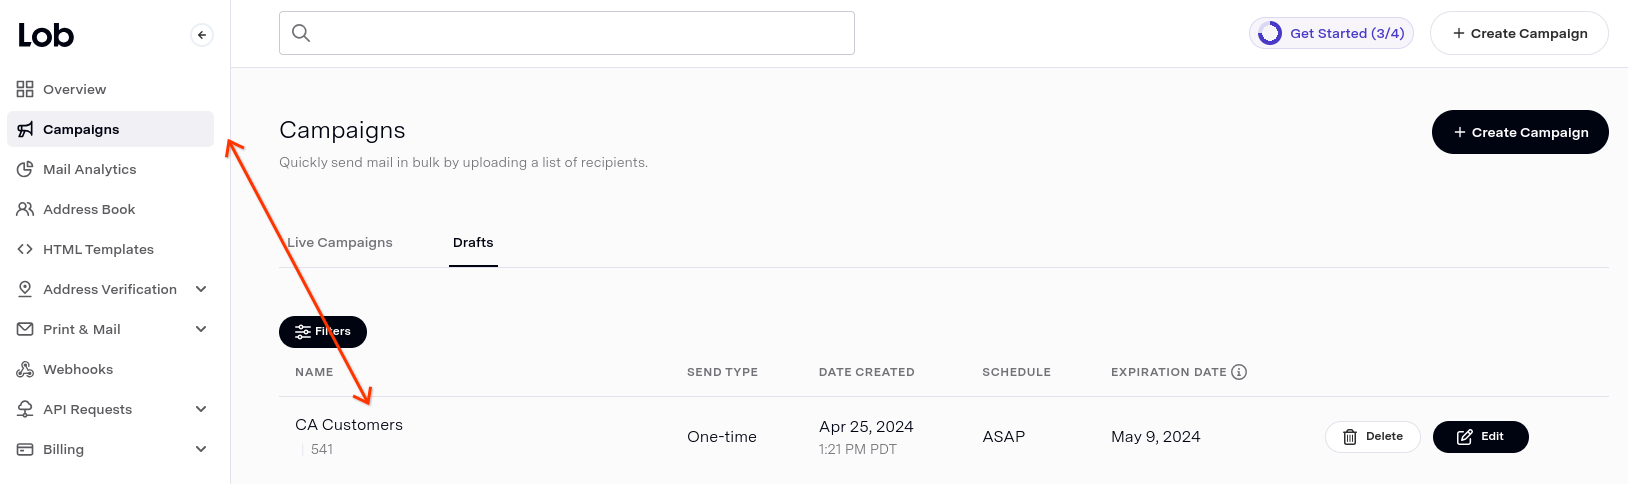
To view it, login to your account and navigate to the Campaigns tab.
NoteExperiencing any issues when connecting and/or exporting to Lob? Reach out to us at [email protected] and we’ll be in touch shortly to help resolve the matter!
Updated about 1 year ago