LinkedIn Ads
Learn how to set up LinkedIn Ads as a destination so you can start exporting audiences to it.
In this Help Center article, we will walk you through the steps to get LinkedIn Ads connected as a destination in GrowthLoop. Once connected, you will be able to send your audience segments to LinkedIn Ads for marketing activation!
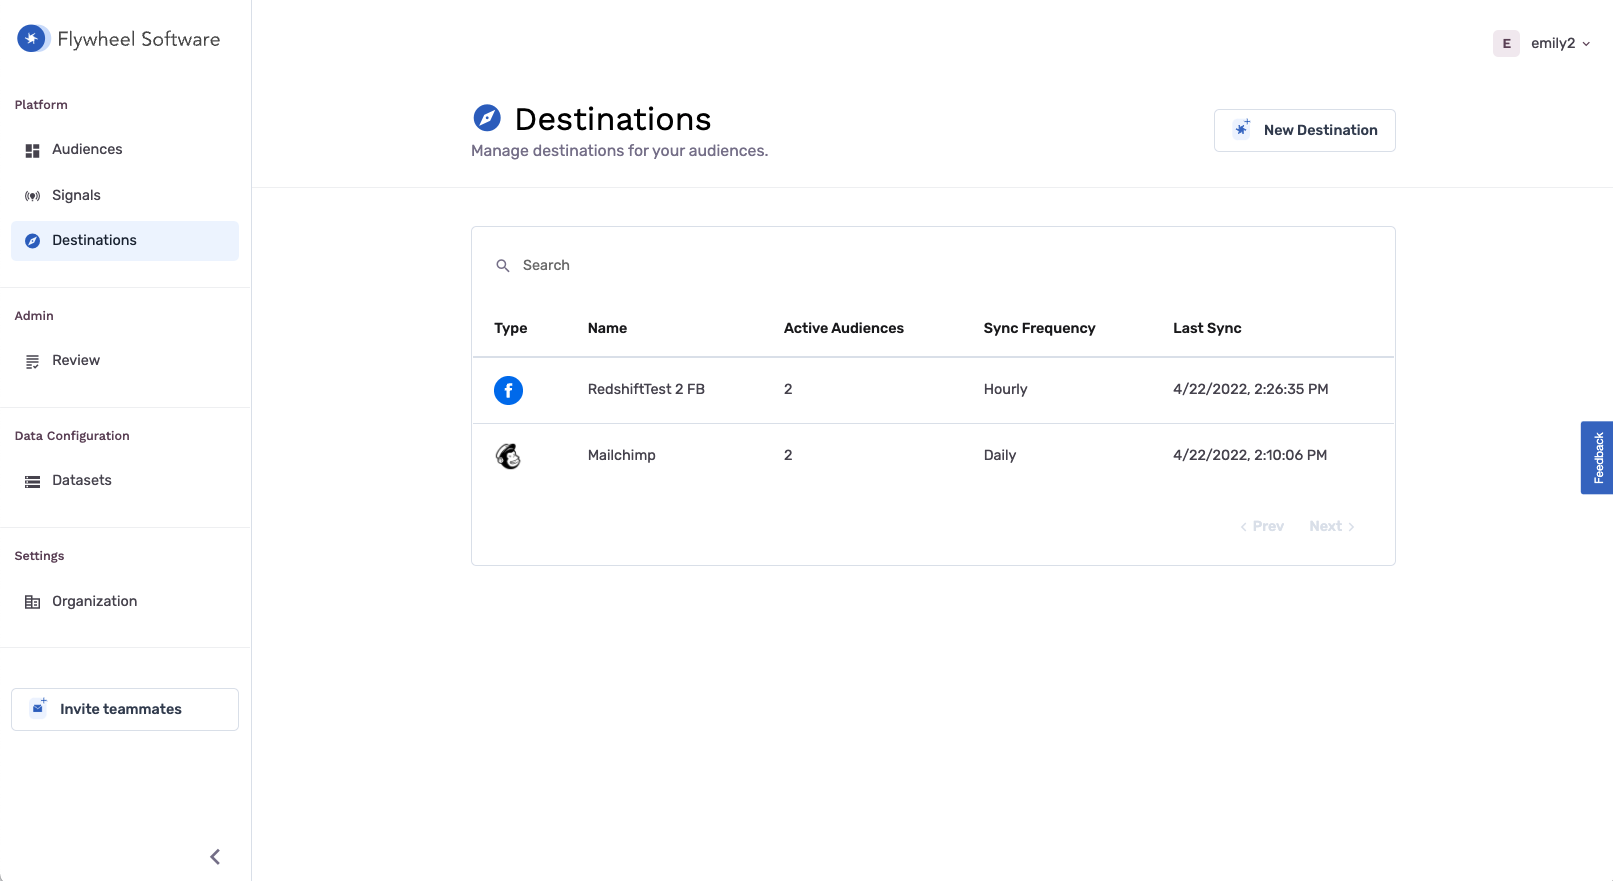
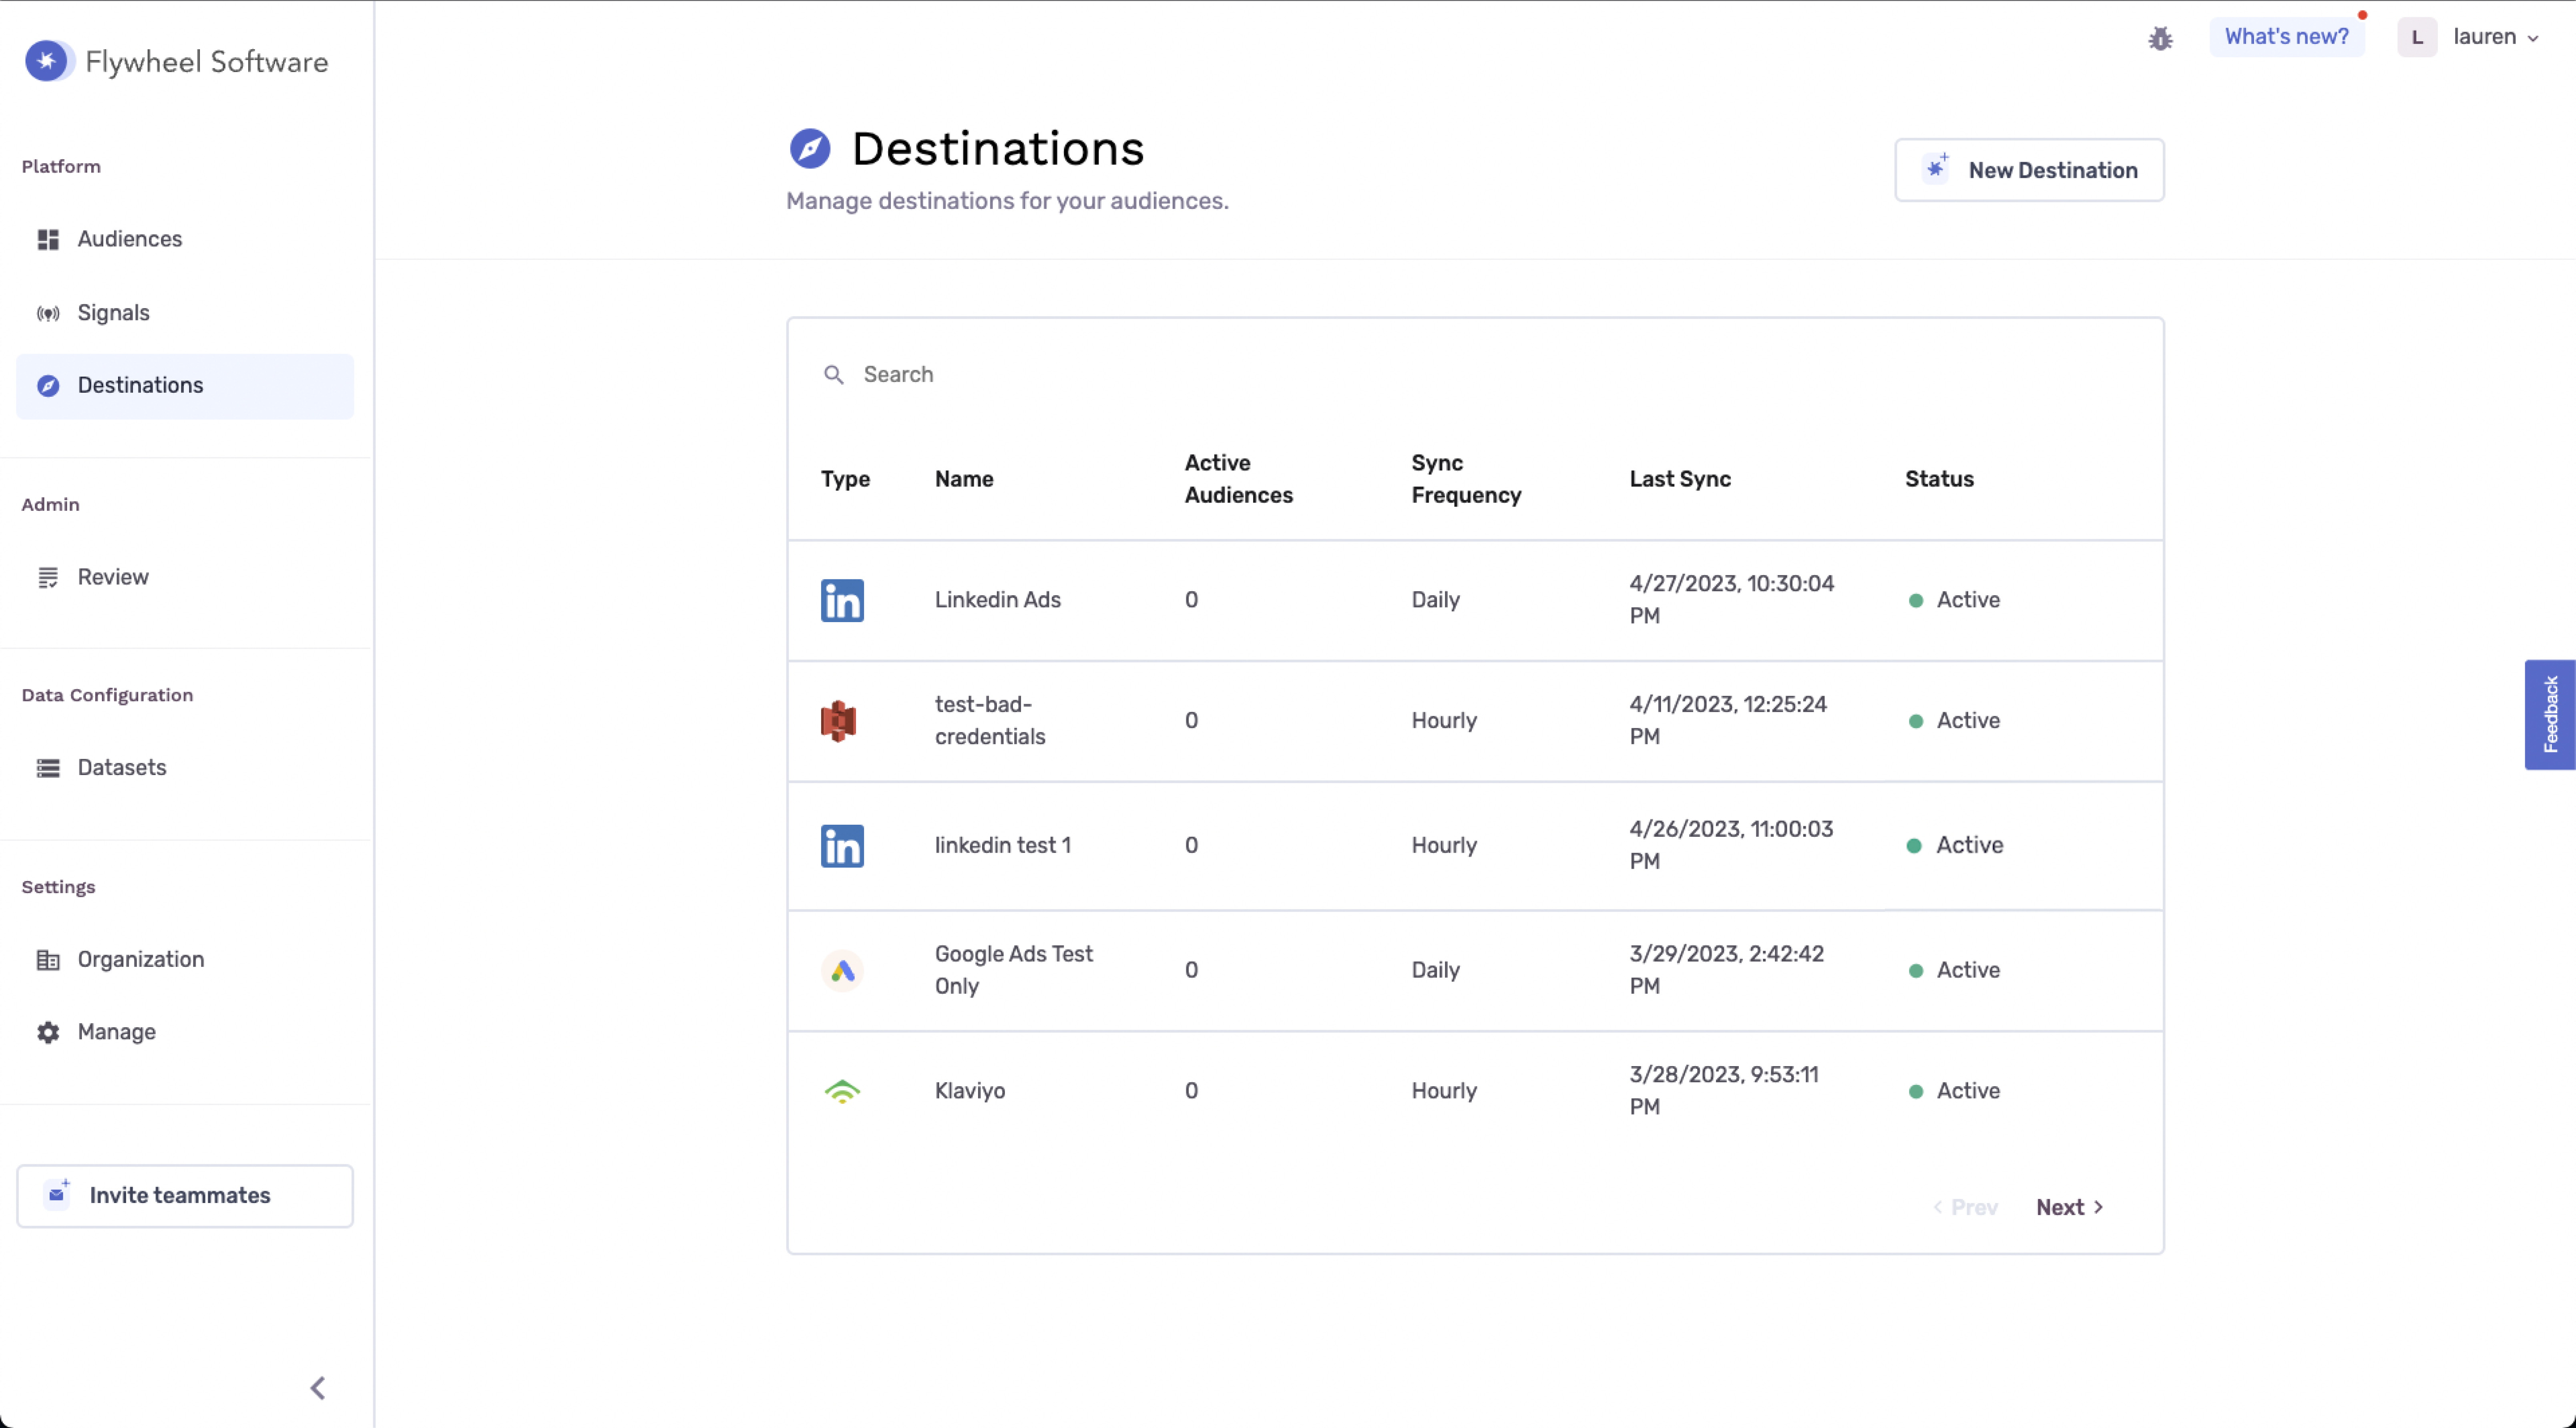
When you sign into the Segmentation Platform, navigate to the Destinations tab on the left sidebar and click New Destination in the top right corner
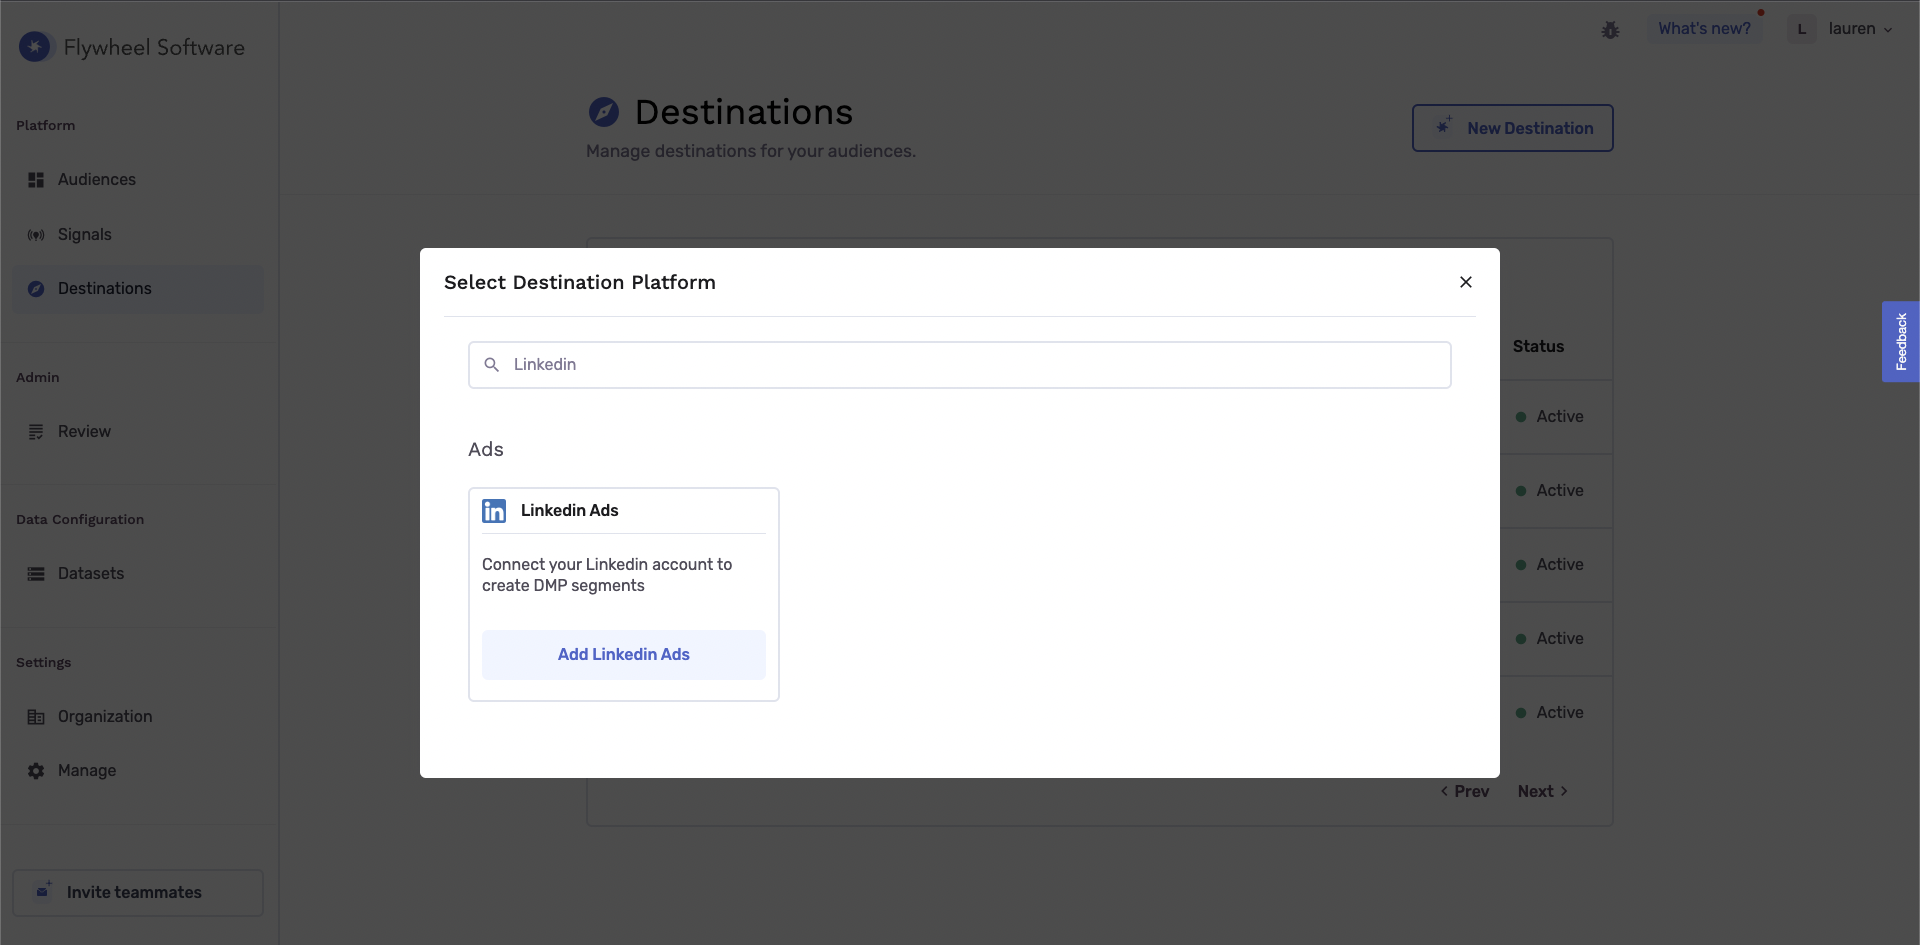
When the Select Destination window pops up, type LinkedIn into the Search Bar to find LinkedIn Ads and click Add LinkedIn Ads.
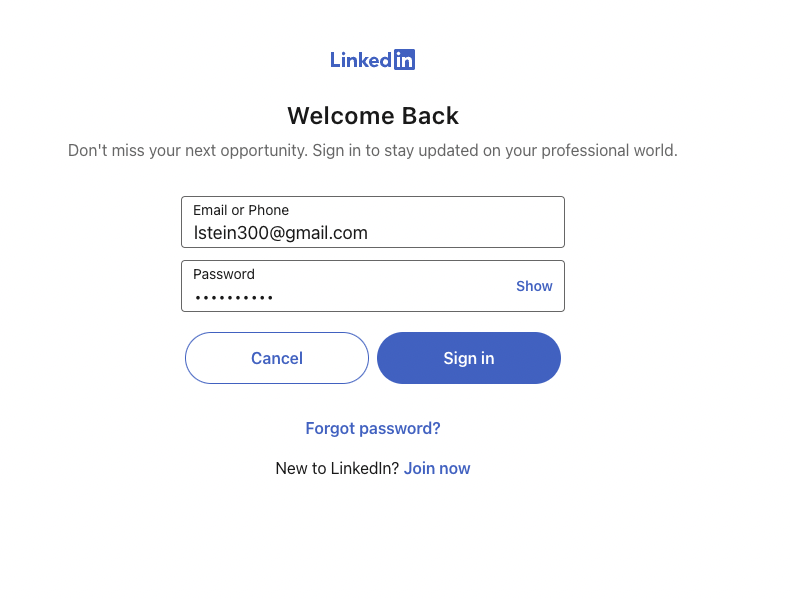
Clicking “Add LinkedIn Ads” will take you to the LinkedIn login page. This is where you will sign in with your LinkedIn credentials. Note: You should use your LinkedIn account that has access to the Ads account you would like to setup as a destination.
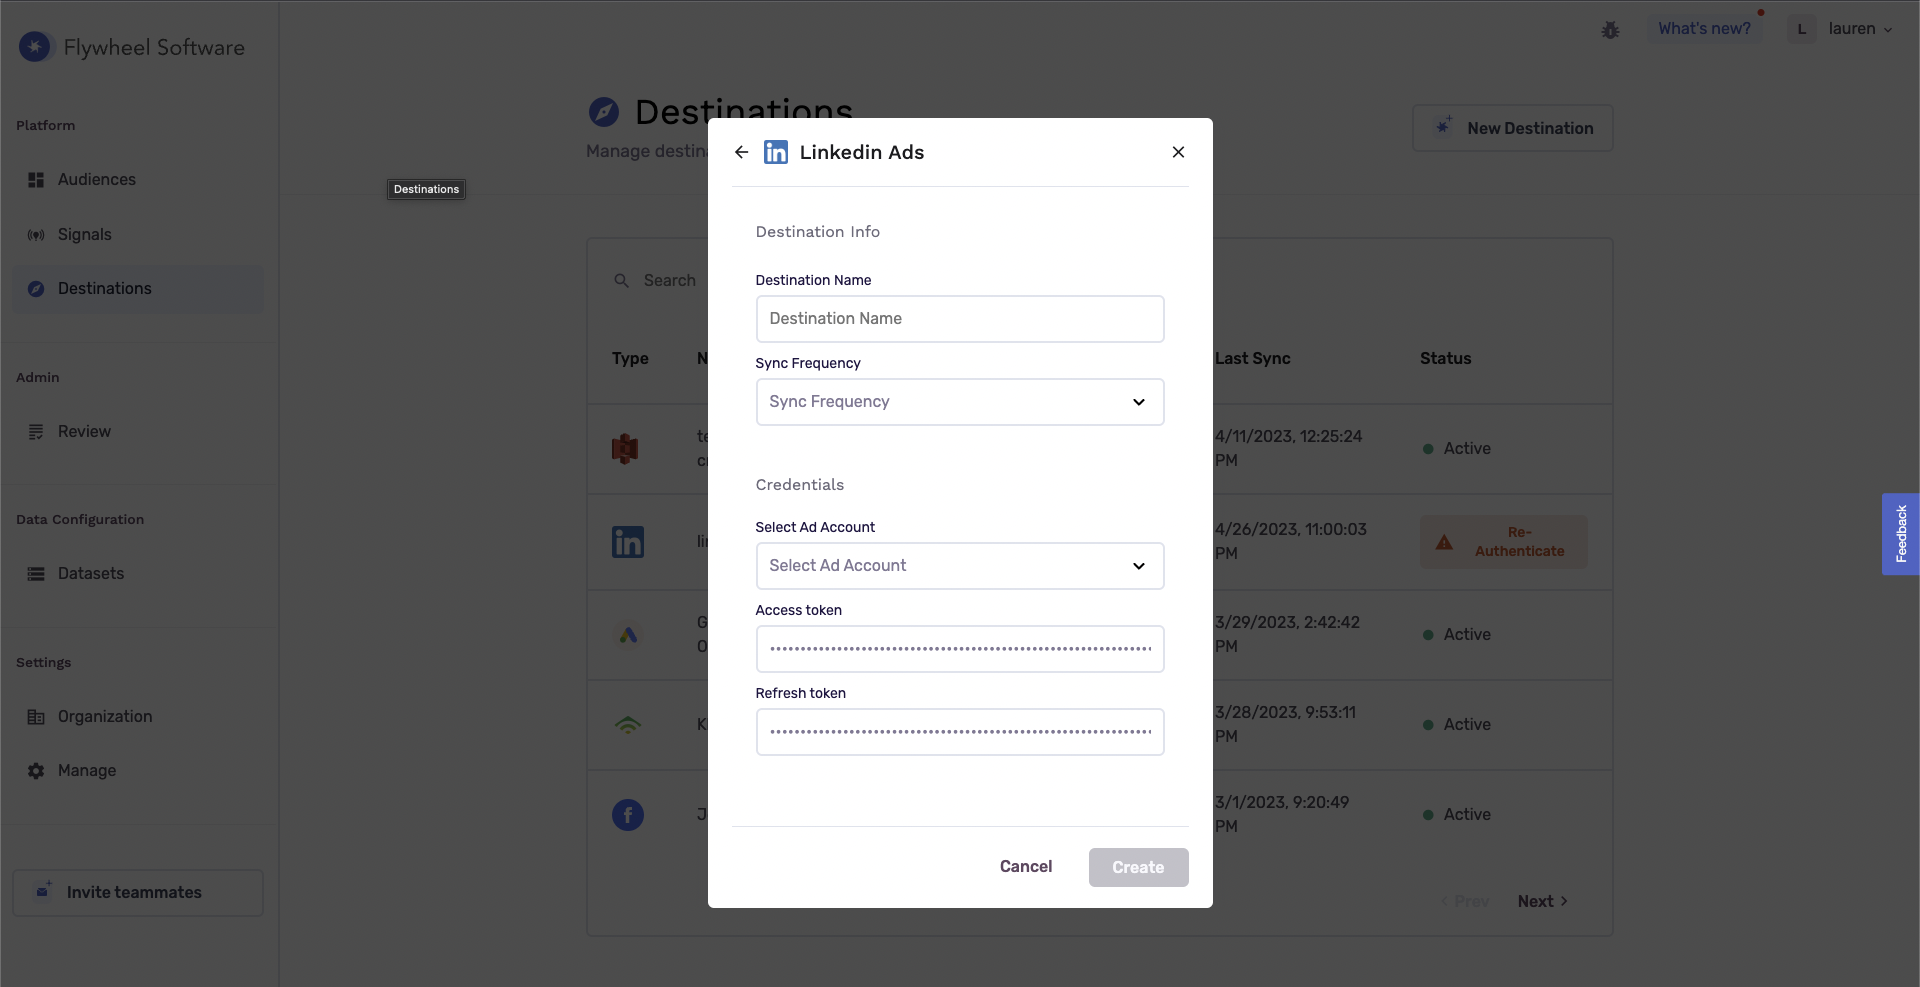
Once you Login, you will be routed back to the GrowthLoop web application, which will require you to select/insert the following information:
- Destination Name: This how the destination will be named and referred to in to the app going forward. It is helpful to make this name “marketer friendly” so everyone on your team knows it’s purpose.
- Sync frequency: This is the default frequency audiences will be synced to a destination. Marketers can always change frequency of an export to LinkedIn, but this sets the default.
- Ad Account: This dropdown should automatically populate with Ads Accounts your LinkedIn account has access to. Select the Ads Account you would like to add as a destination. You can always add an additional destination if you’d like to add another LinkedIn Ads account in the future.
- Access Token: This will automatically populate from LinkedIn.
- Refresh Token: This will automatically populate from LinkedIn.
Go ahead and select Create, and we’ll validate we have all the proper permissions to load audience data to LinkedIn.
You should now see LinkedIn Ads in your list of connected destinations!
Exporting to LinkedIn
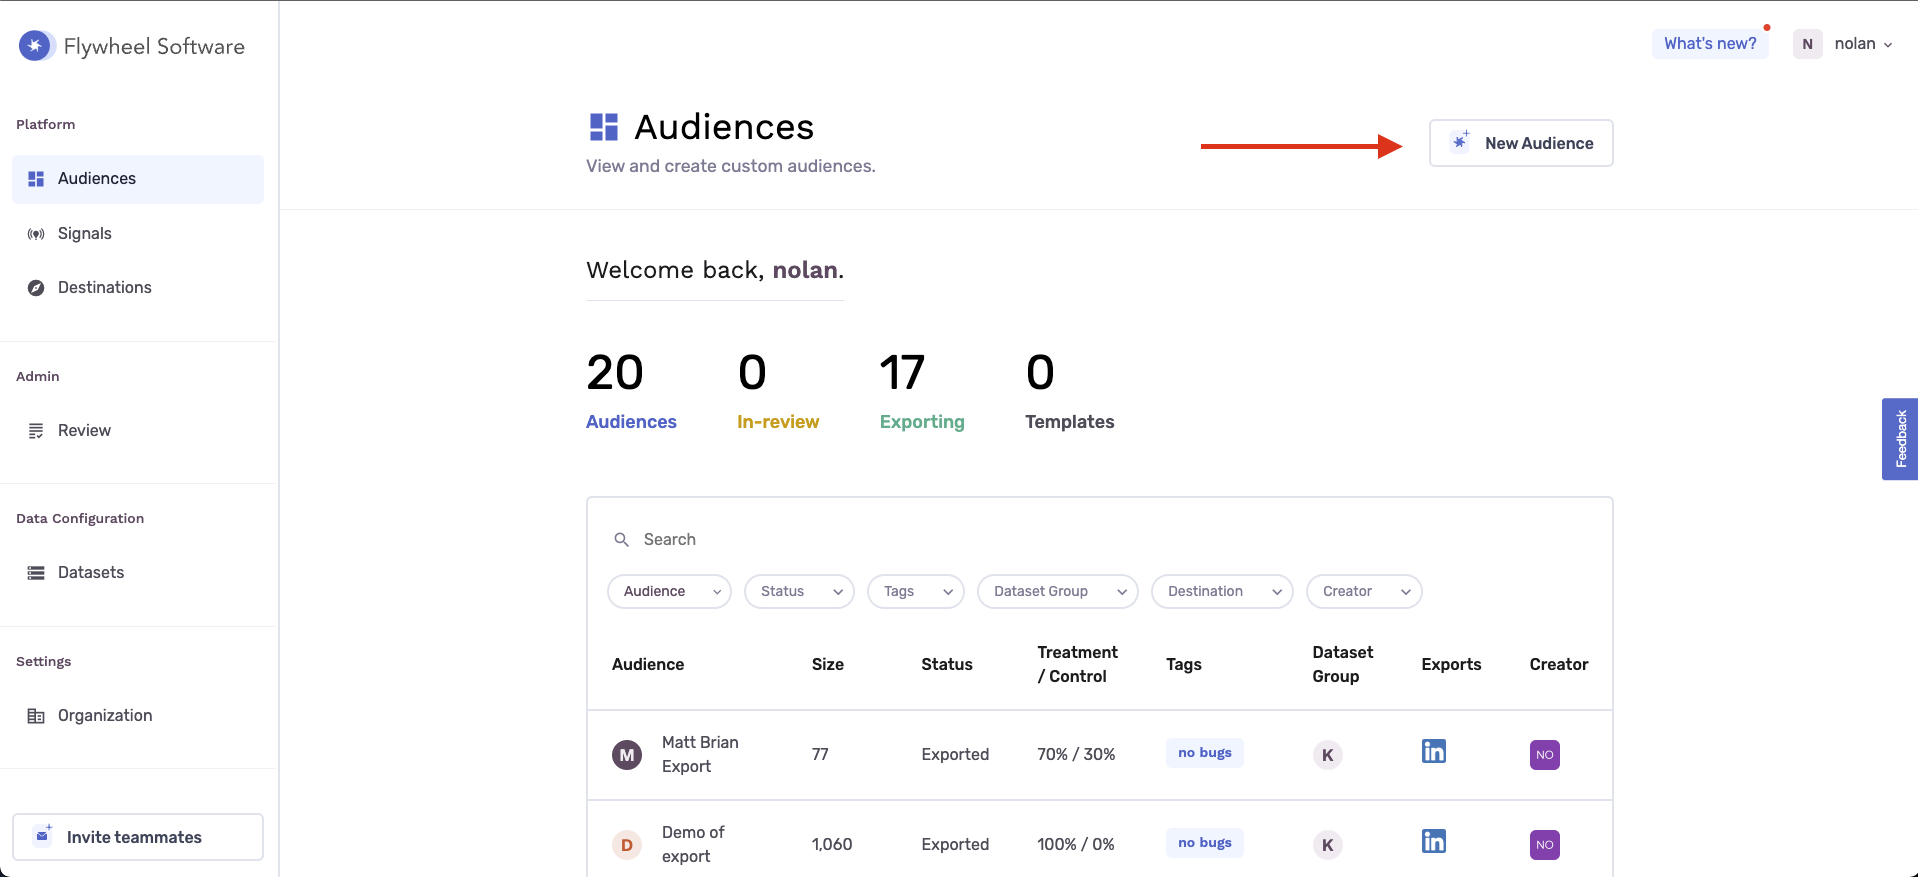
To build an audience and export it to LinkedIn, click New Audience
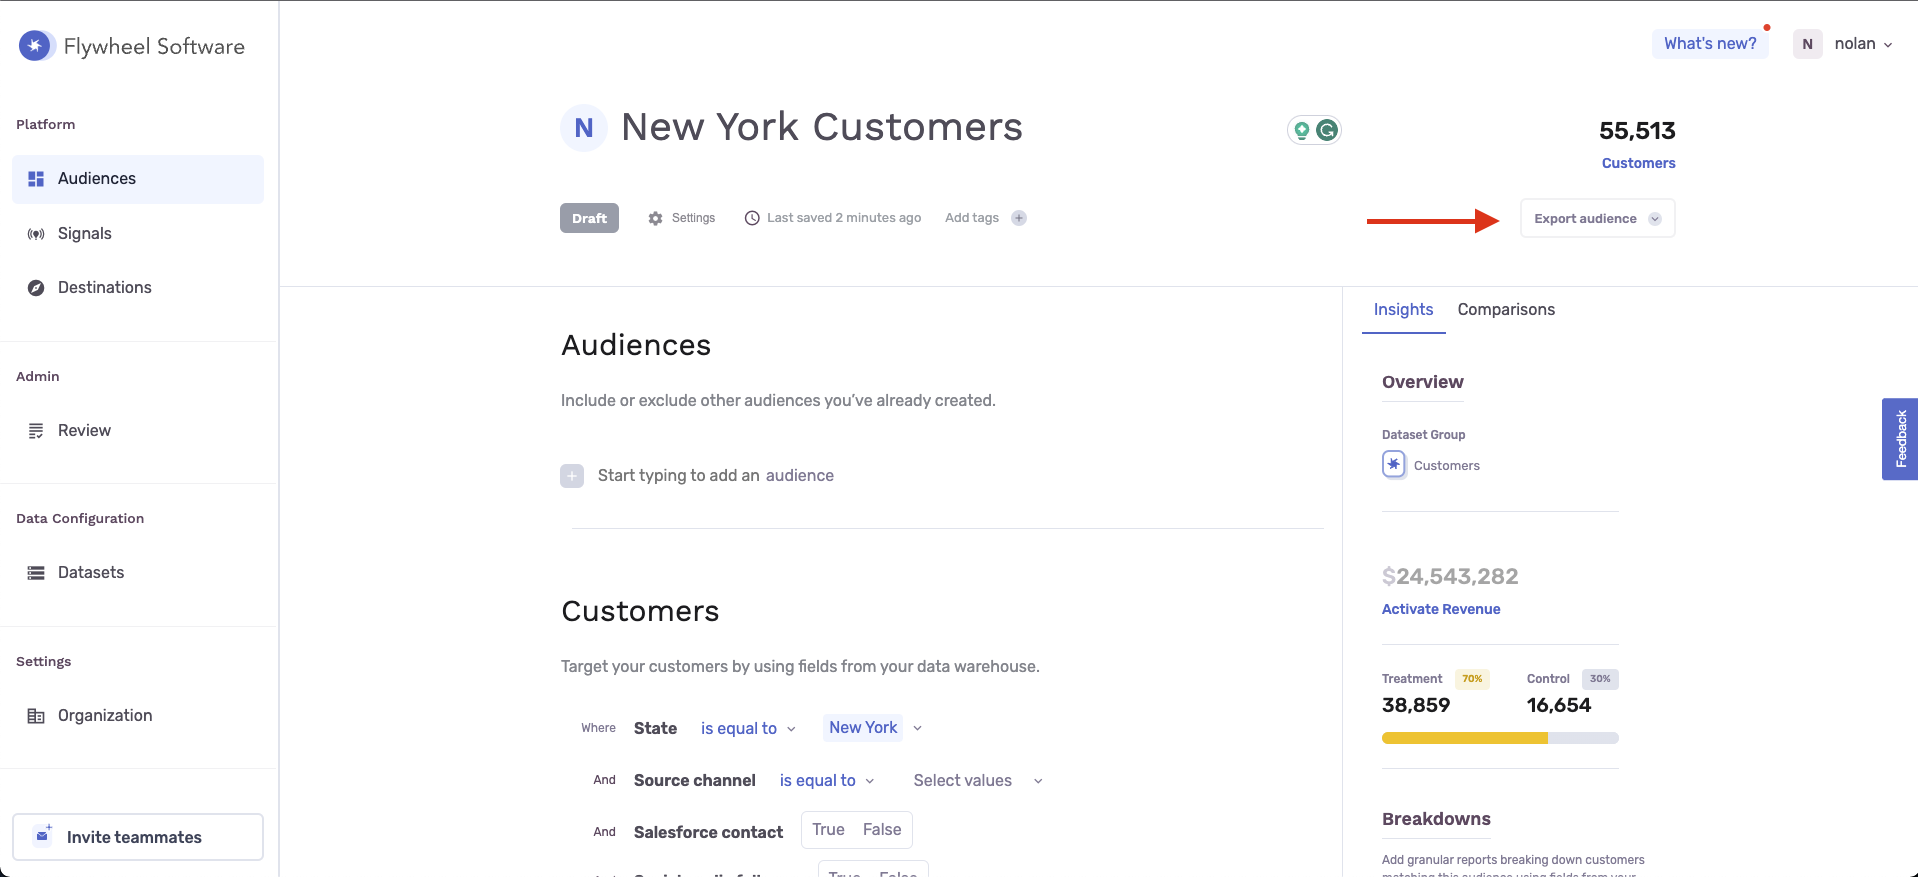
In the Builder, create your desired Audience. In this example audience, we are going to target our Customers who live in New York. Once you finish building the audience, click Export Audience
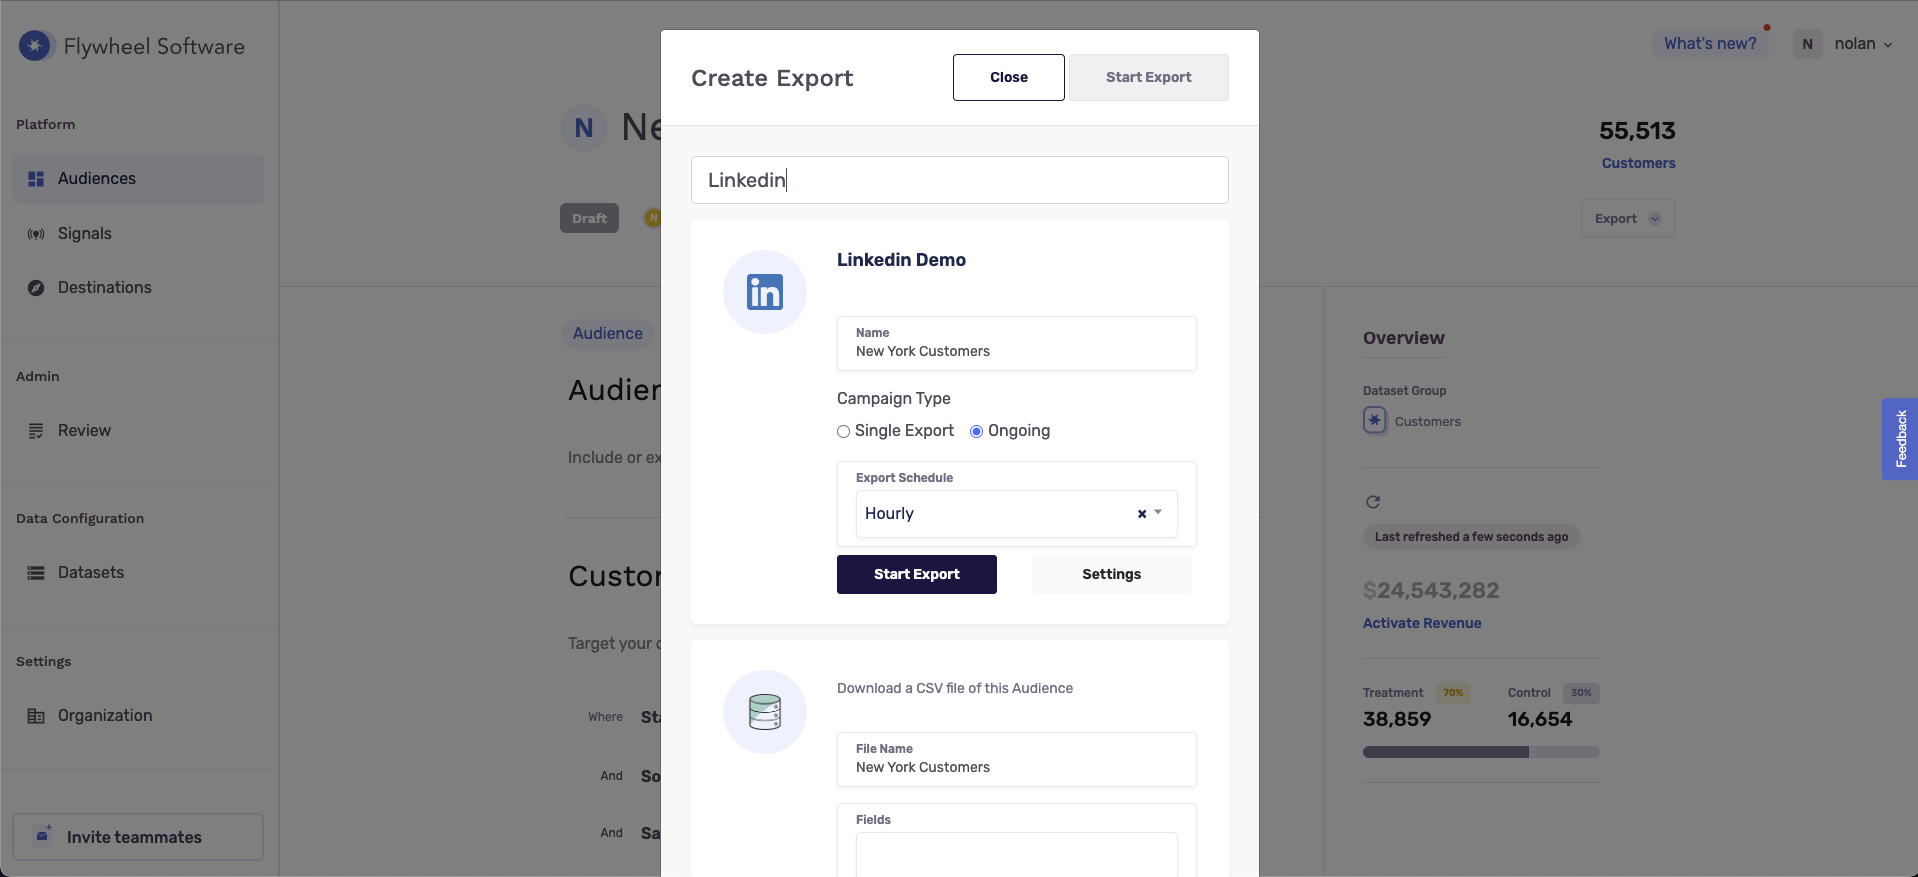
In the Create Export view, search for your Linkedin Destination.
Before starting the export, press the Settings Button to indicate if you are exporting Contacts or Companies and choose the match fields. Match fields available depend on the match type you choose, as shown below.
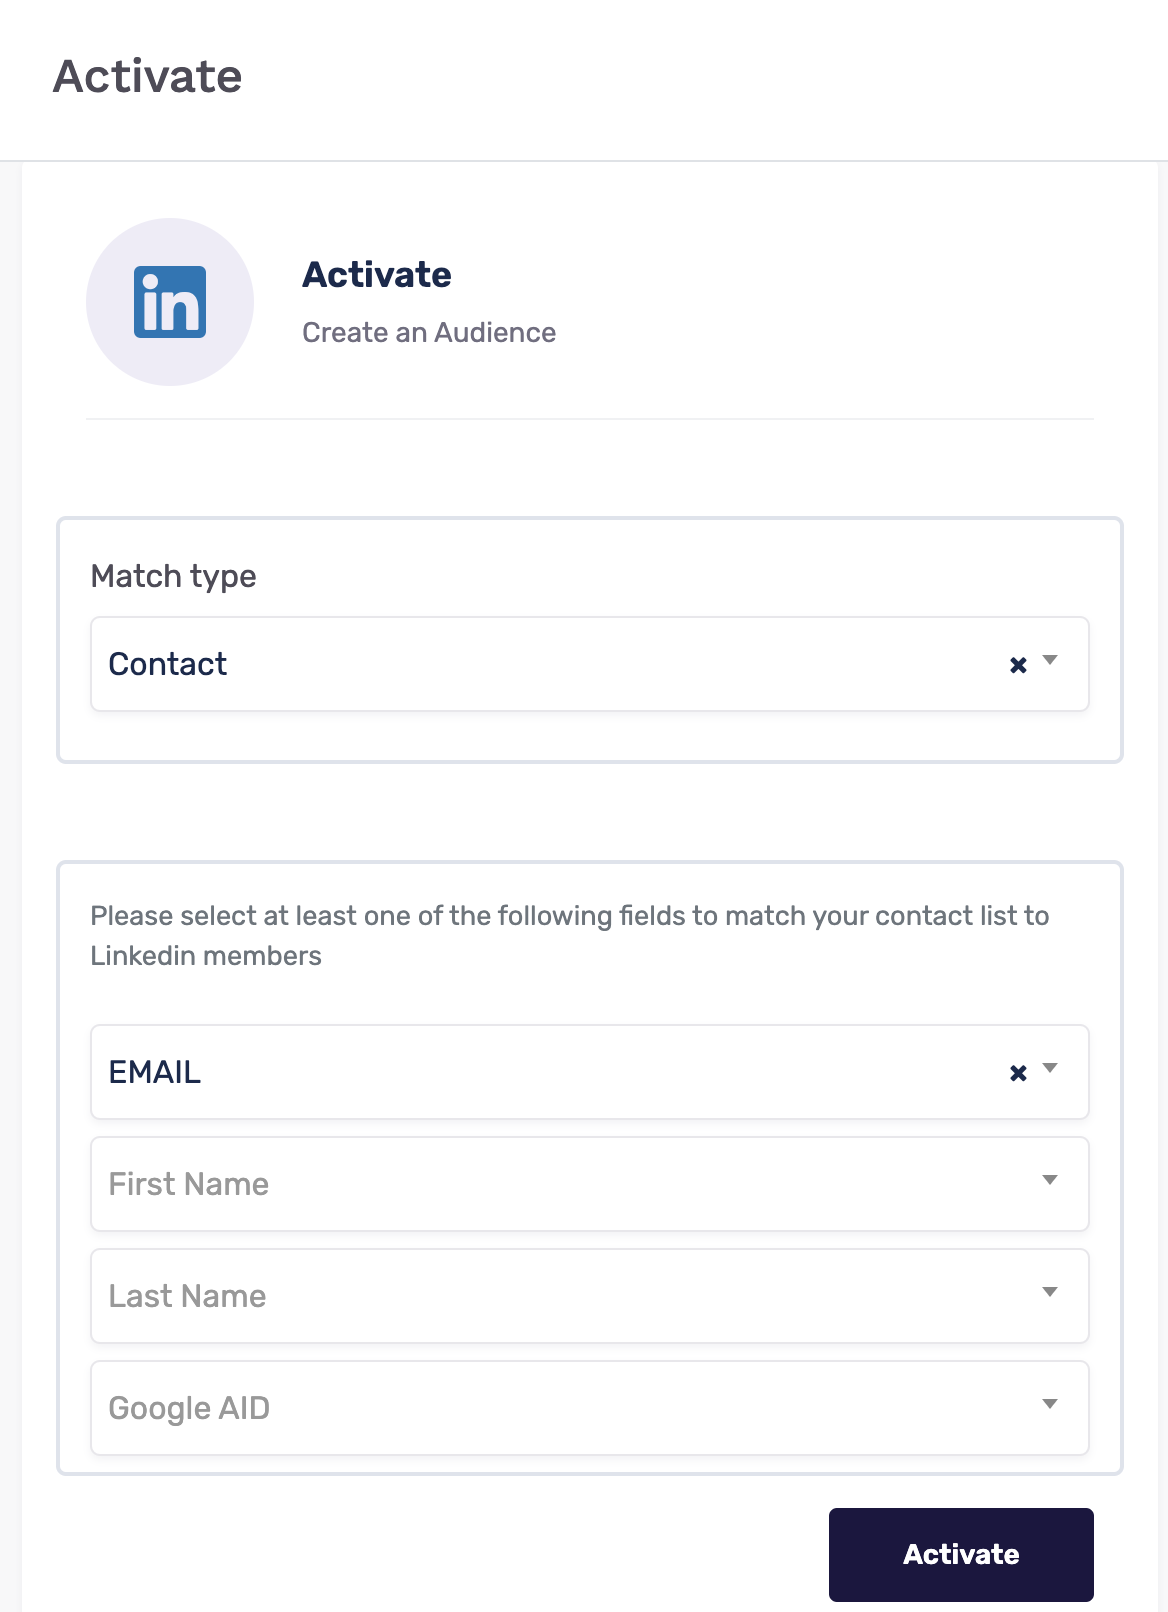
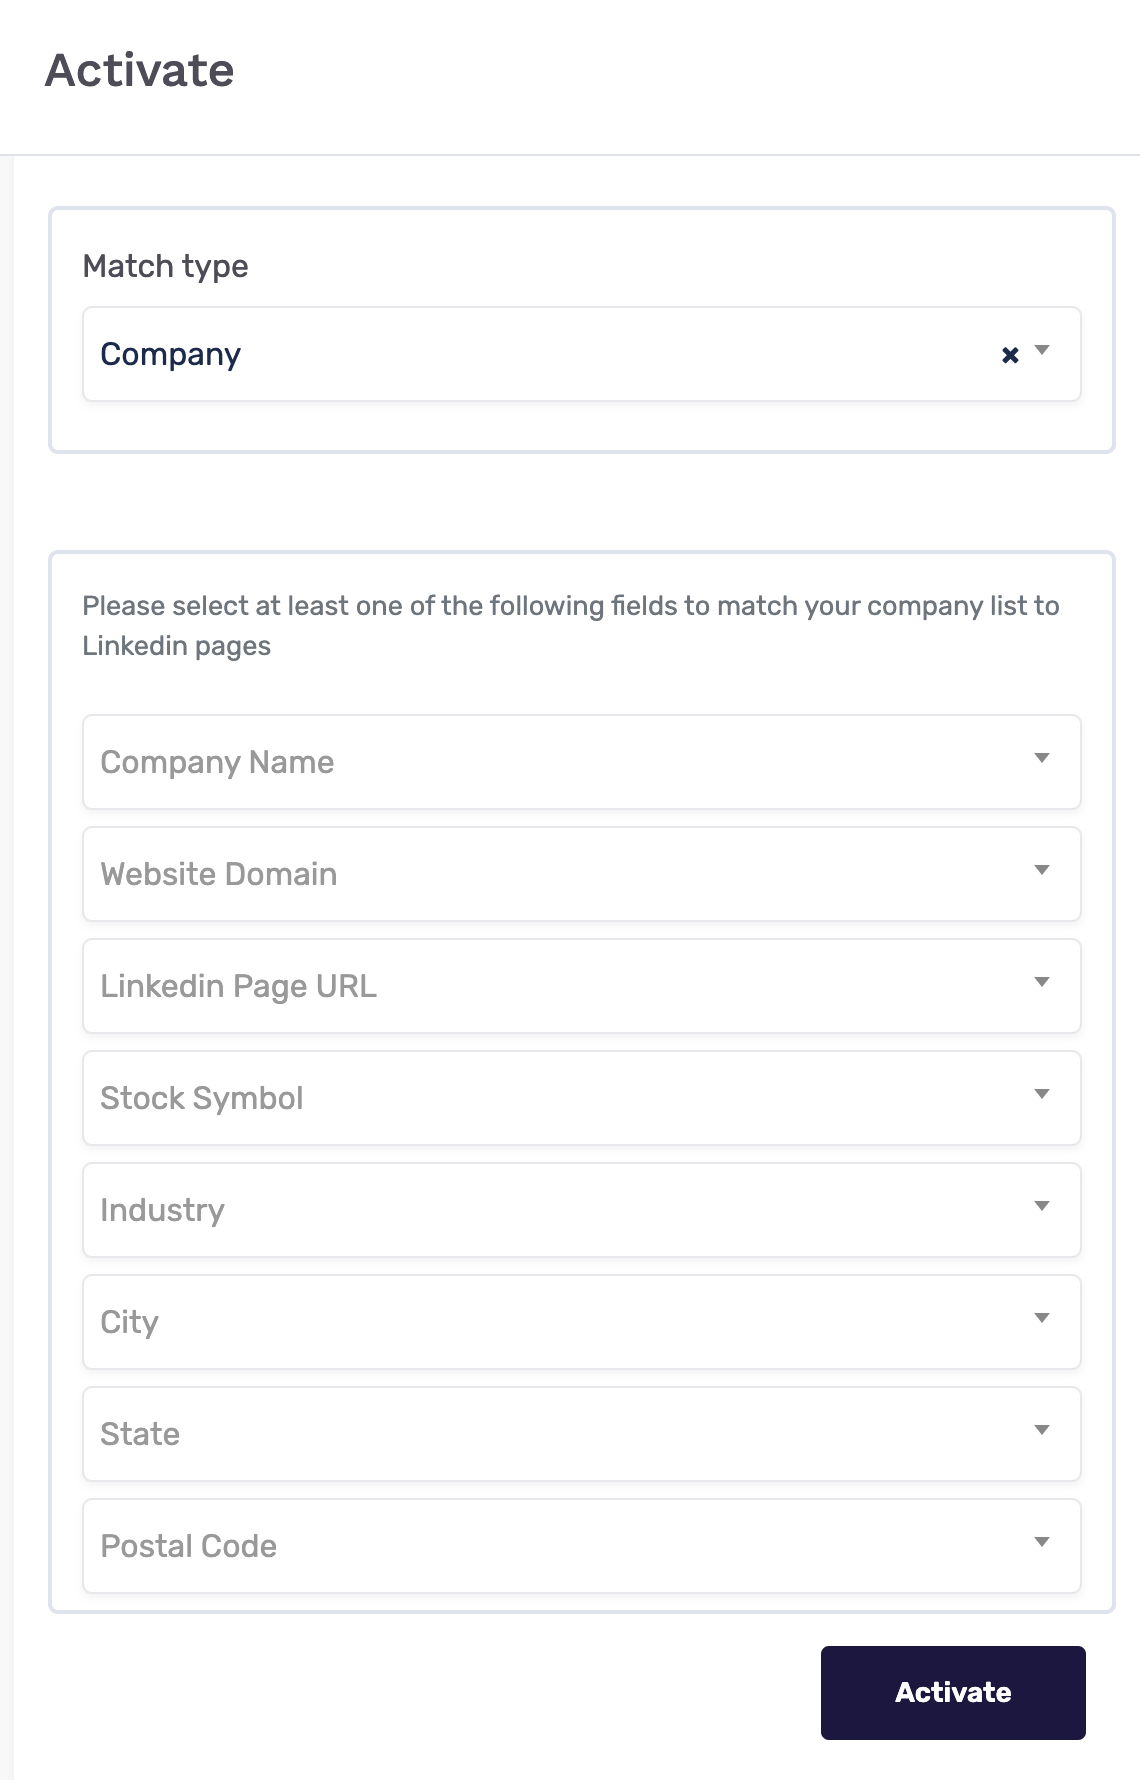
Click Activate to save these settings and you will be brought back to the Create Export view, where you can set up your desired Campaign Type and Export Schedule, and click the Start Export button.
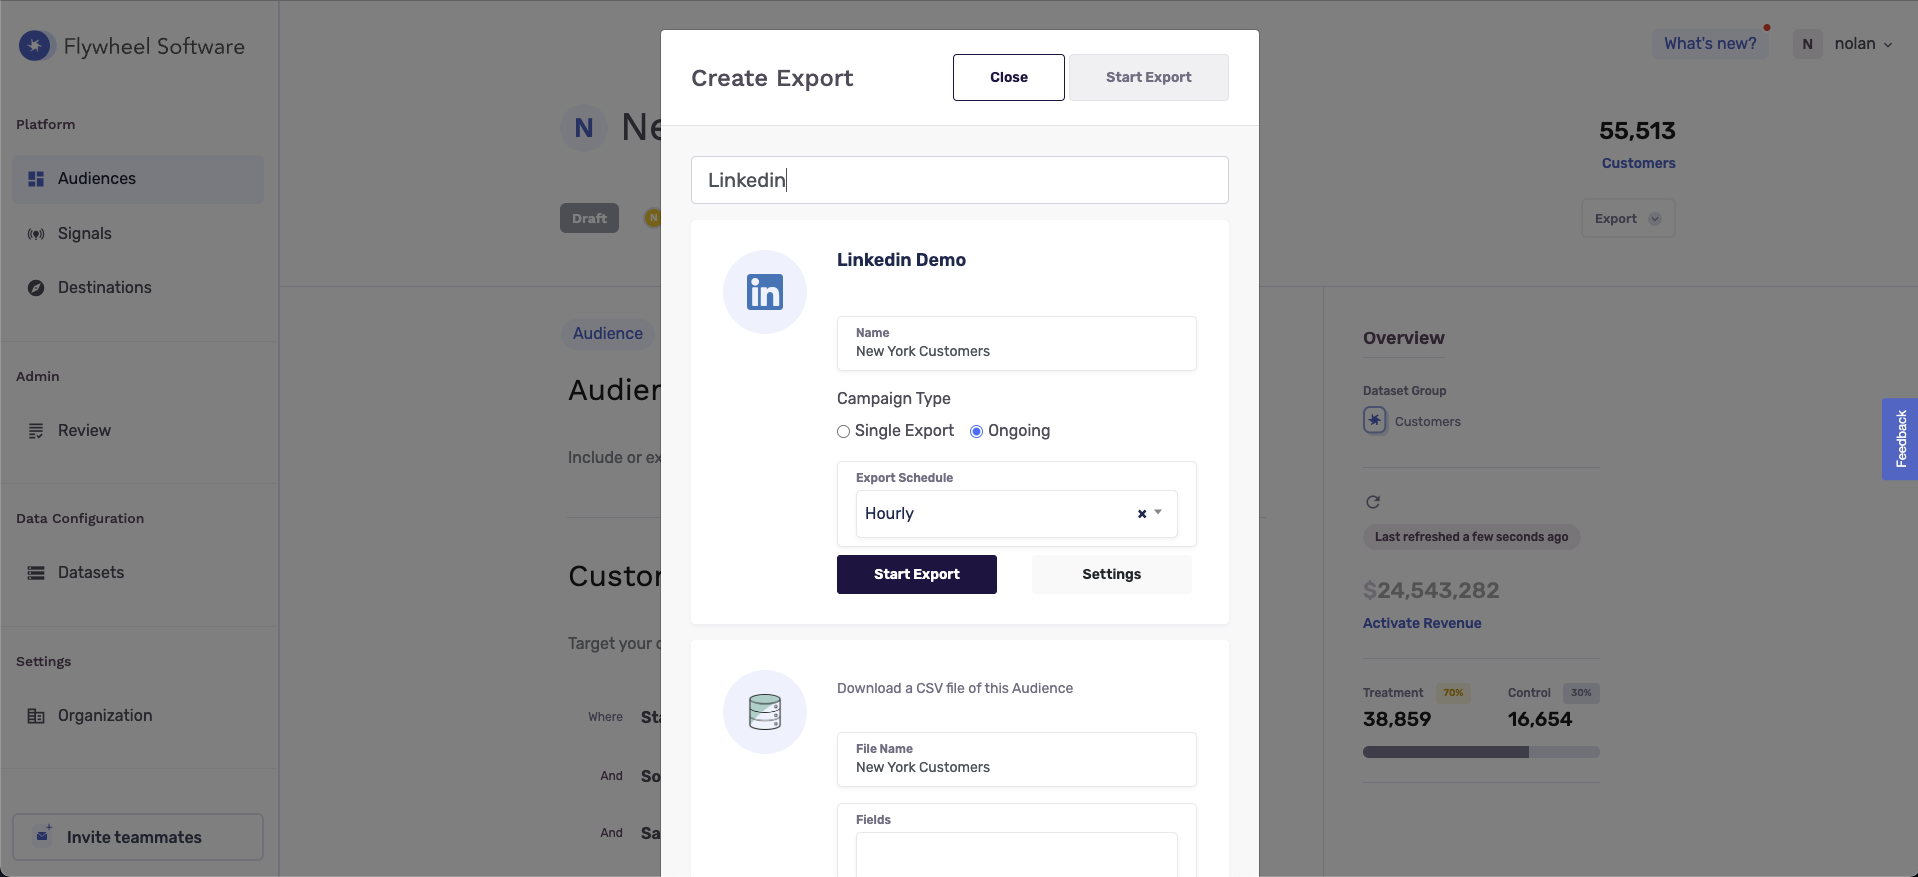
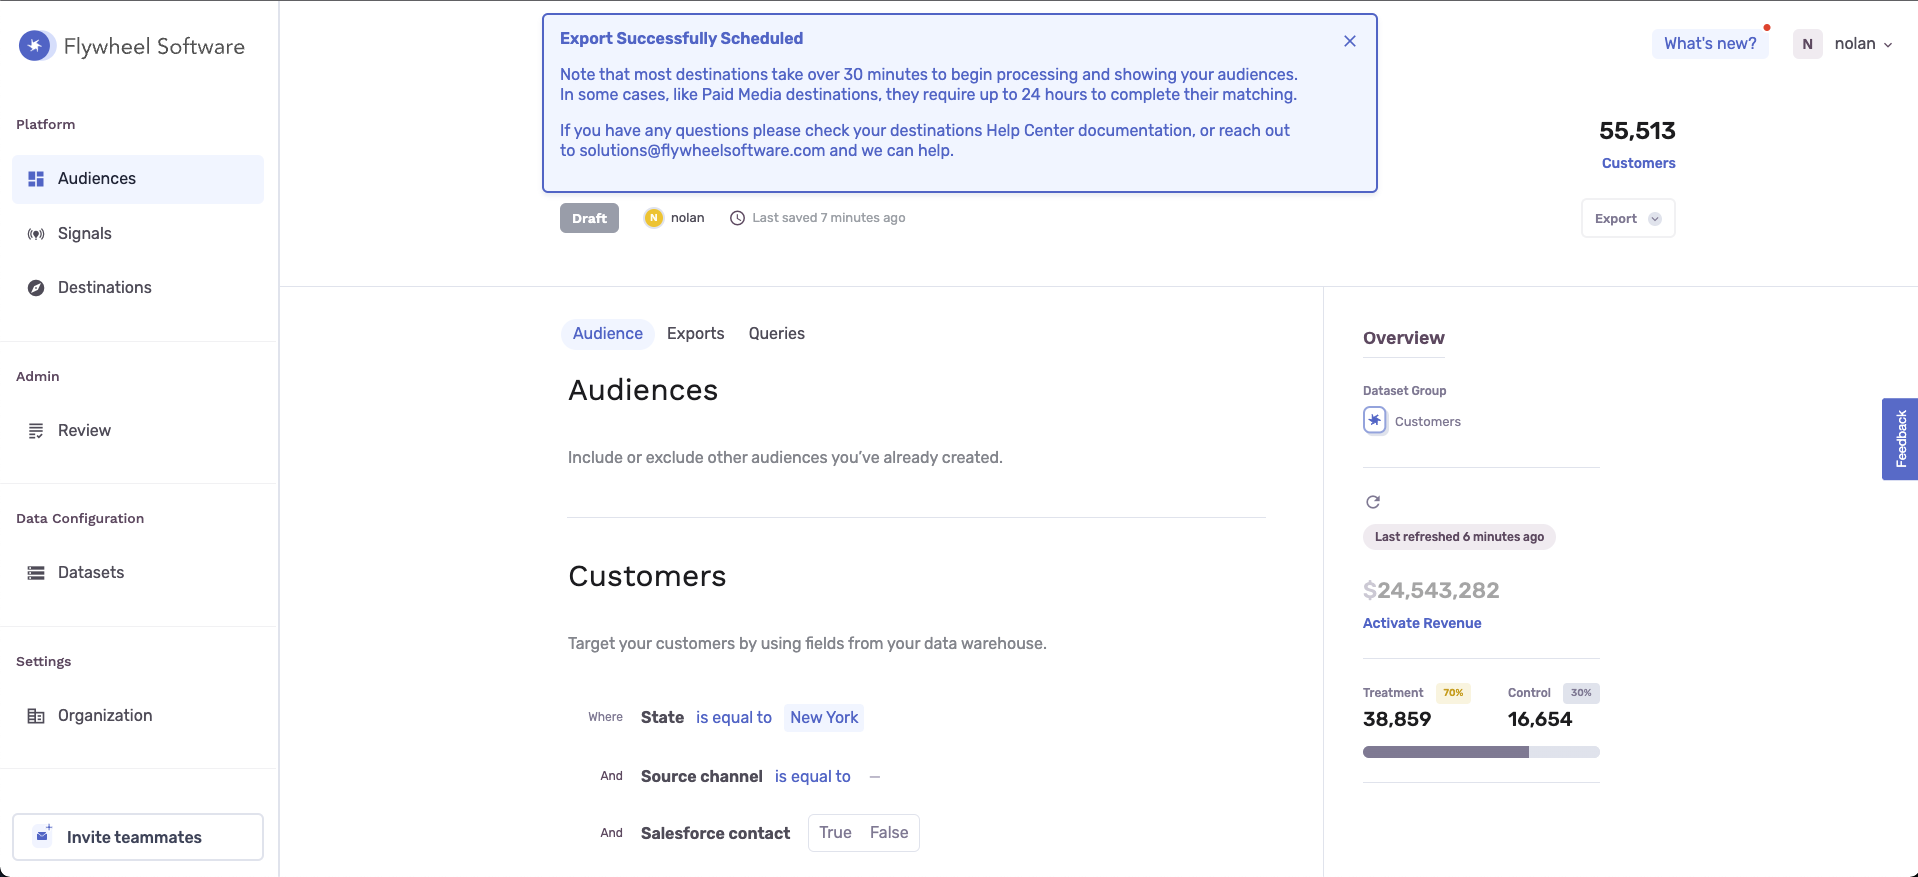
And that’s it! You’ve successfully exported an Audience to LinkedIn Ads!
Once you export an audience to the LinkedIn Ads, you can log in to your LinkedIn Ads console and see if the audience was successfully routed to LinkedIn Ads. In the top left dropdown, click Plan and you will see Audiences as an option in the dropdown. Here, you will find your newly exported audience in the list.
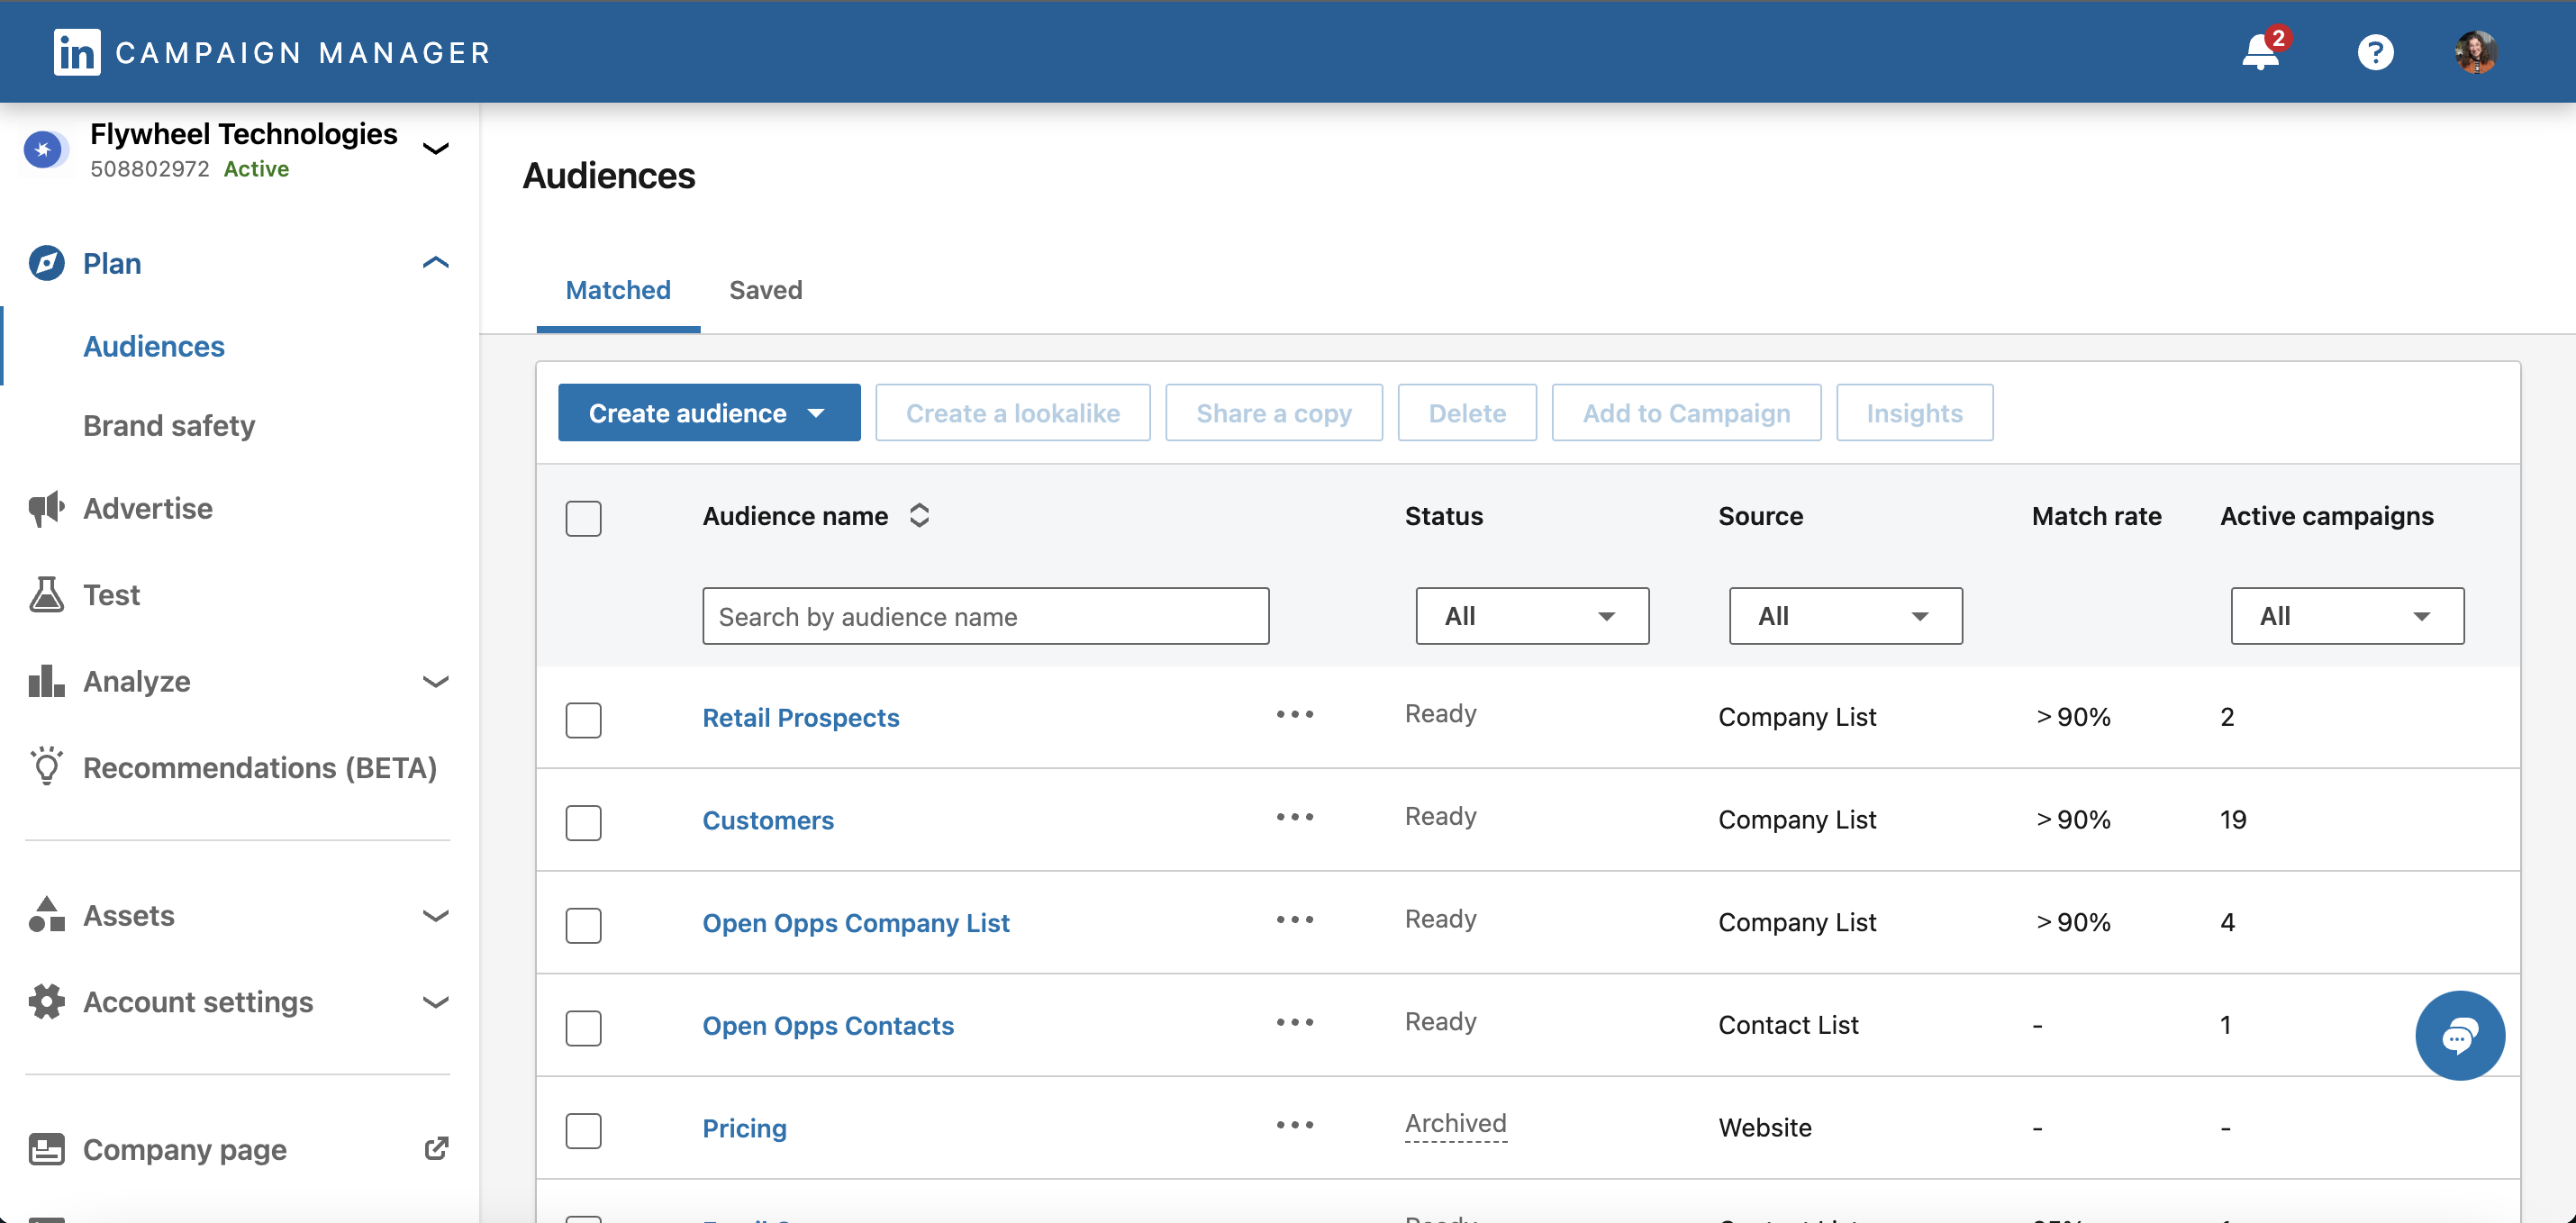
Keep in mind that the sync frequency and internal pipeline operations will impact how quickly your audience appears in LinkedIn Ads after being exported from the application. Note that large audiences can take longer than 48 hours to process and any audience under 300 contacts might not process.
Experiencing any issues when connecting to Linkedin Ads? Reach out to us at [email protected] and we’ll be in-touch shortly to help resolve the matter!
Updated 9 months ago
Learn how to maximize your paid media match rates with Match Maximizer.