
Conversica
Export audiences from your data warehouse to Conversica for intelligent AI-based customer engagement.
Conversica
This article will walk you through the steps to connect Conversica as a destination in the GrowthLoop web application. Once connected, you can send your audience segments to Conversia for intelligent AI-based customer engagement.
Prerequisites
- Before you begin this process, you must have a Conversica account. If you don’t, please click here to request a demo with a representative.
Set up destination
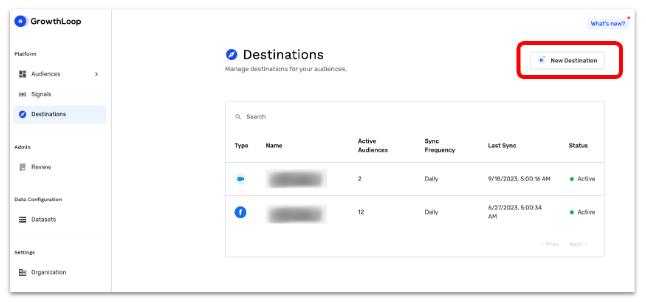
- When you sign into the GrowthLoop platform, navigate to the Destinations tab on the left sidebar and click New Destination in the top right corner.
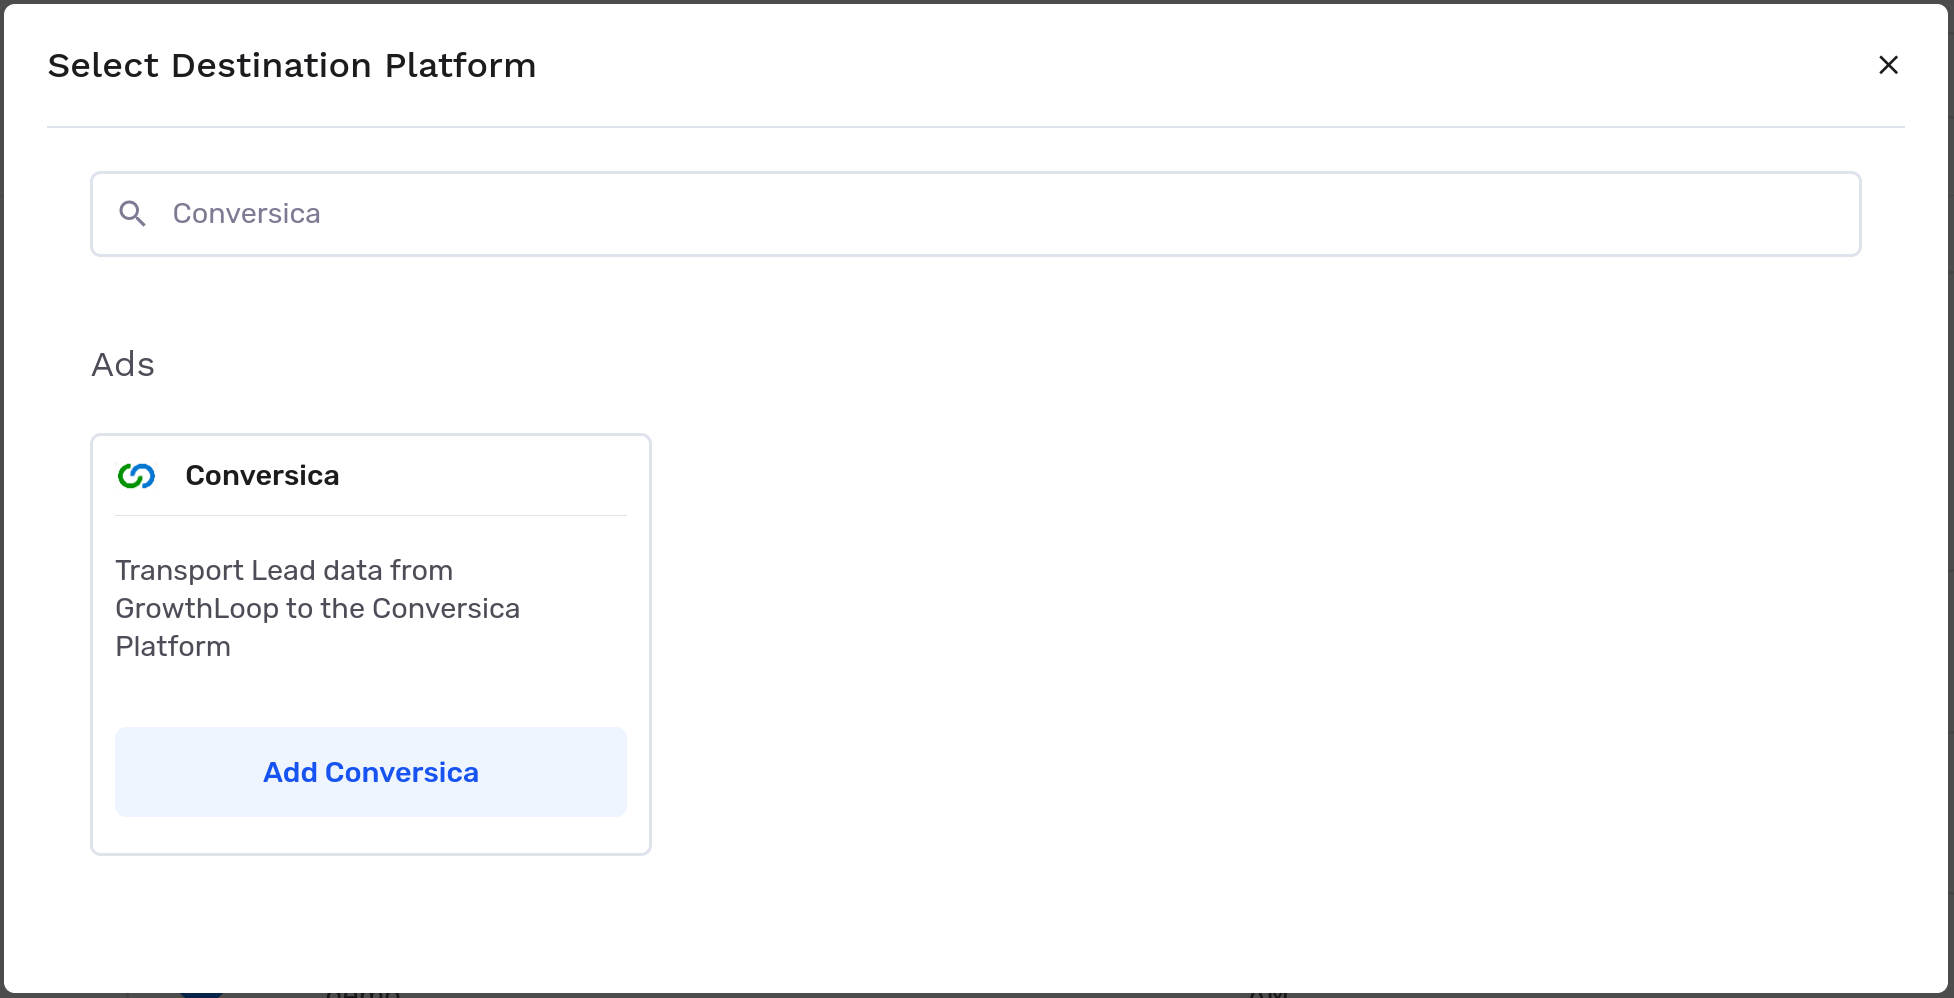
- When the Select Destination window opens, type Conversica into the search bar and click Add Conversica.
-
Clicking Add Conversica will require you to select/insert the following information:
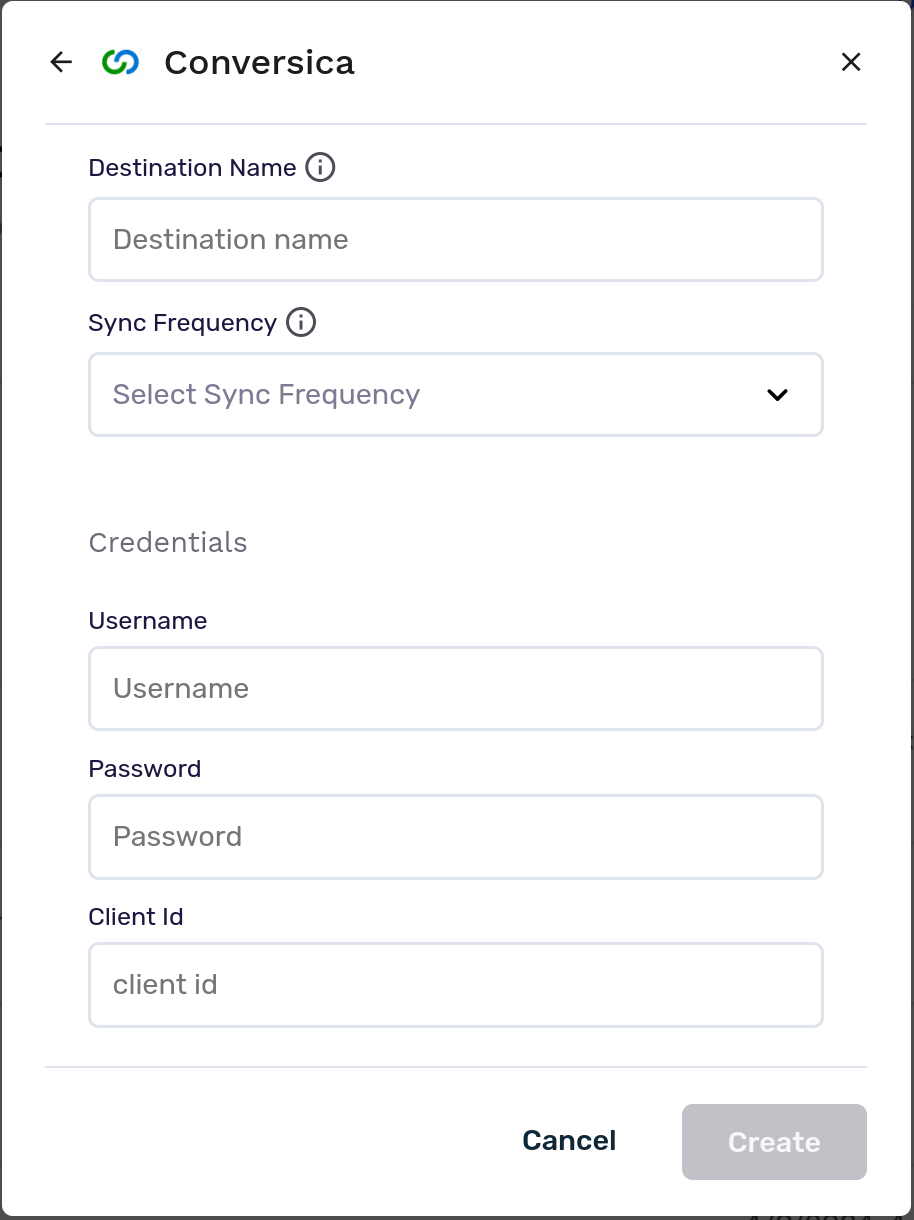
- Destination Information:
- Destination Name: This is how the destination will be named and referred to in to the app going forward. It is helpful to make this name “marketer friendly” so everyone on your team knows its purpose.
- Sync frequency: This is the default frequency audiences will be synced to a destination. Marketers can always change the frequency of an export, but this sets the default.
- Credentials:
- Username: Your assigned Conversica username.
- Password: Your assigned Conversica password.
- Client ID: Your account’s unique ID.
- Destination Information:
-
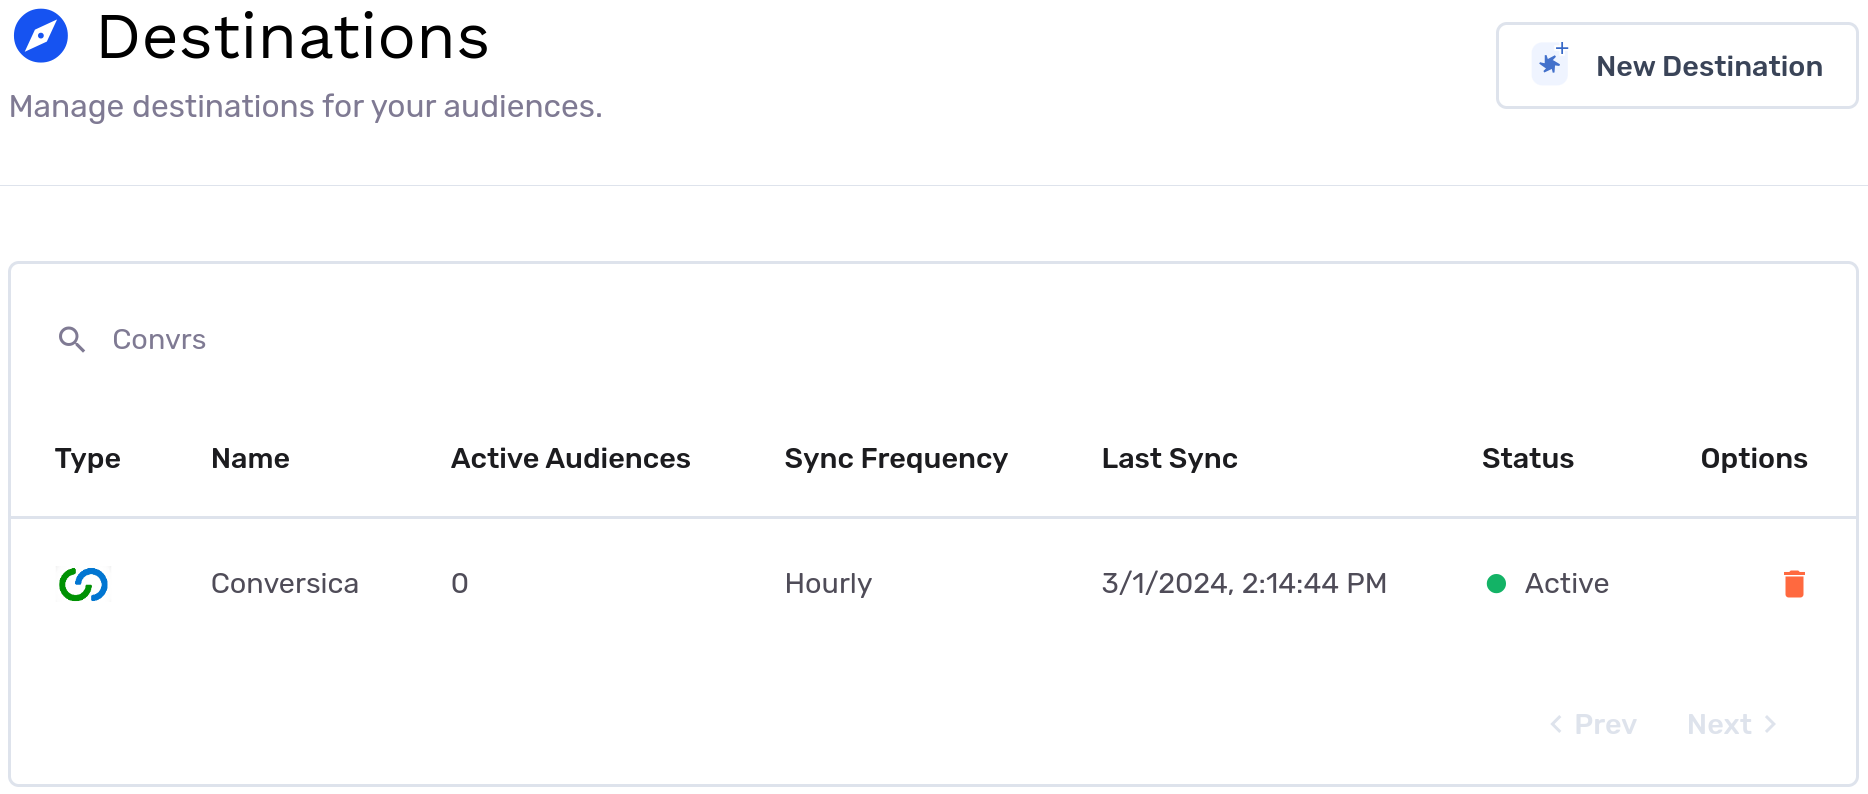
Go ahead and select Create, and we’ll validate we have all the proper permissions to load audience data. You should now see Conversica in your list of connected destinations!
Export to destination
- To export an audience, you’ll need to build one first. Click New Audience and Create your New Audience.
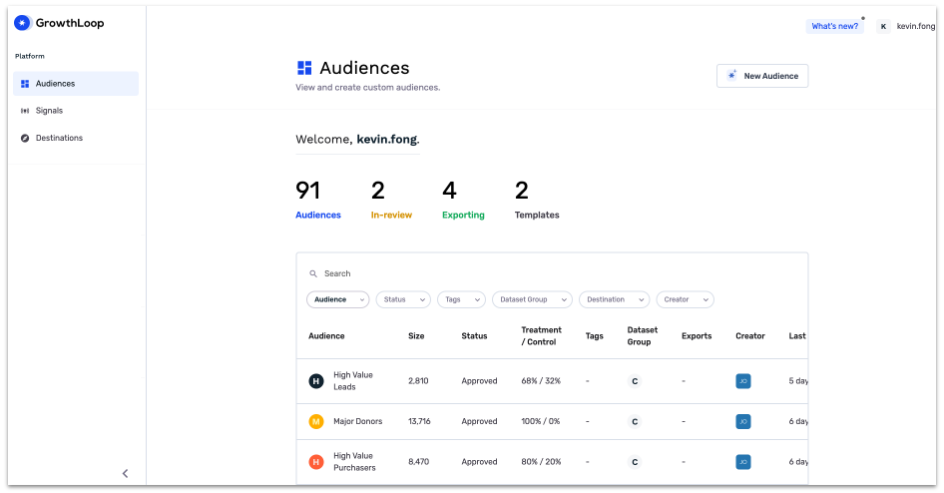
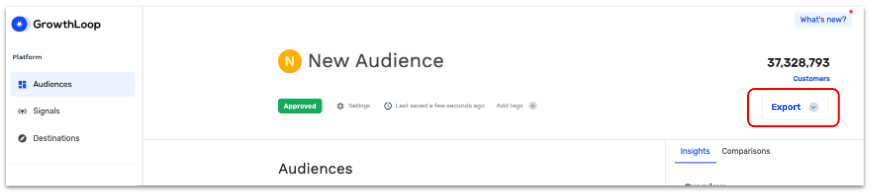
- Once you finish building the audience, click Export Audience.
- When the Create Export window pops up, type Conversica into the search bar and click Select.
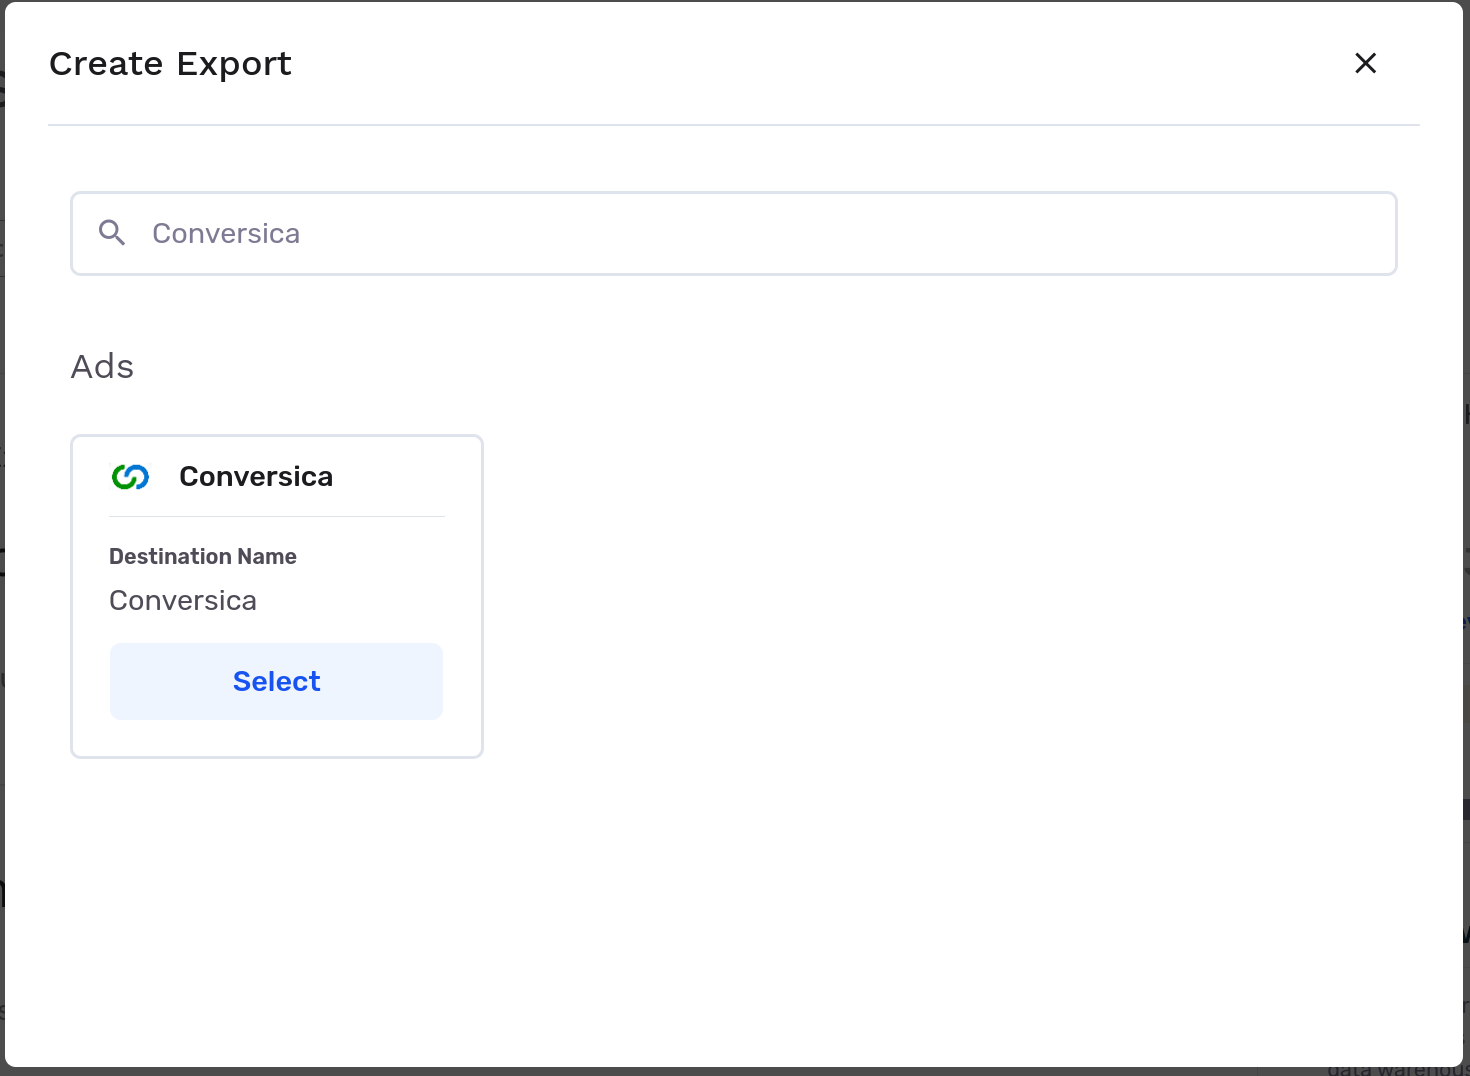
-
Then in the Export Settings tab, configure the following fields:
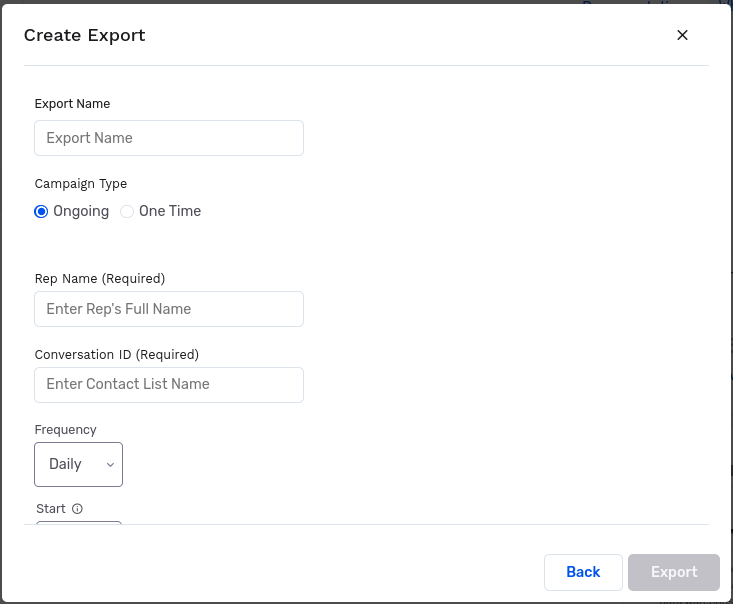
- Export Name: Automatically populated with your audience name for easy identification in the destination.
- Campaign Type: Choose between a one-time export or ongoing basis.
- Rep Name (Required): Assign the sales representative for these records within Conversica.
- Conversation ID (Required): Assign the contact list for these records within Conversica.
- Export Schedule: Set the Frequency, Start date, End date, and specific Days of the Week.
-
Next, set up your match fields in the Match Fields tab. Mapping Email Address, First Name, Lead Source, and Source ID is mandatory for the export process.
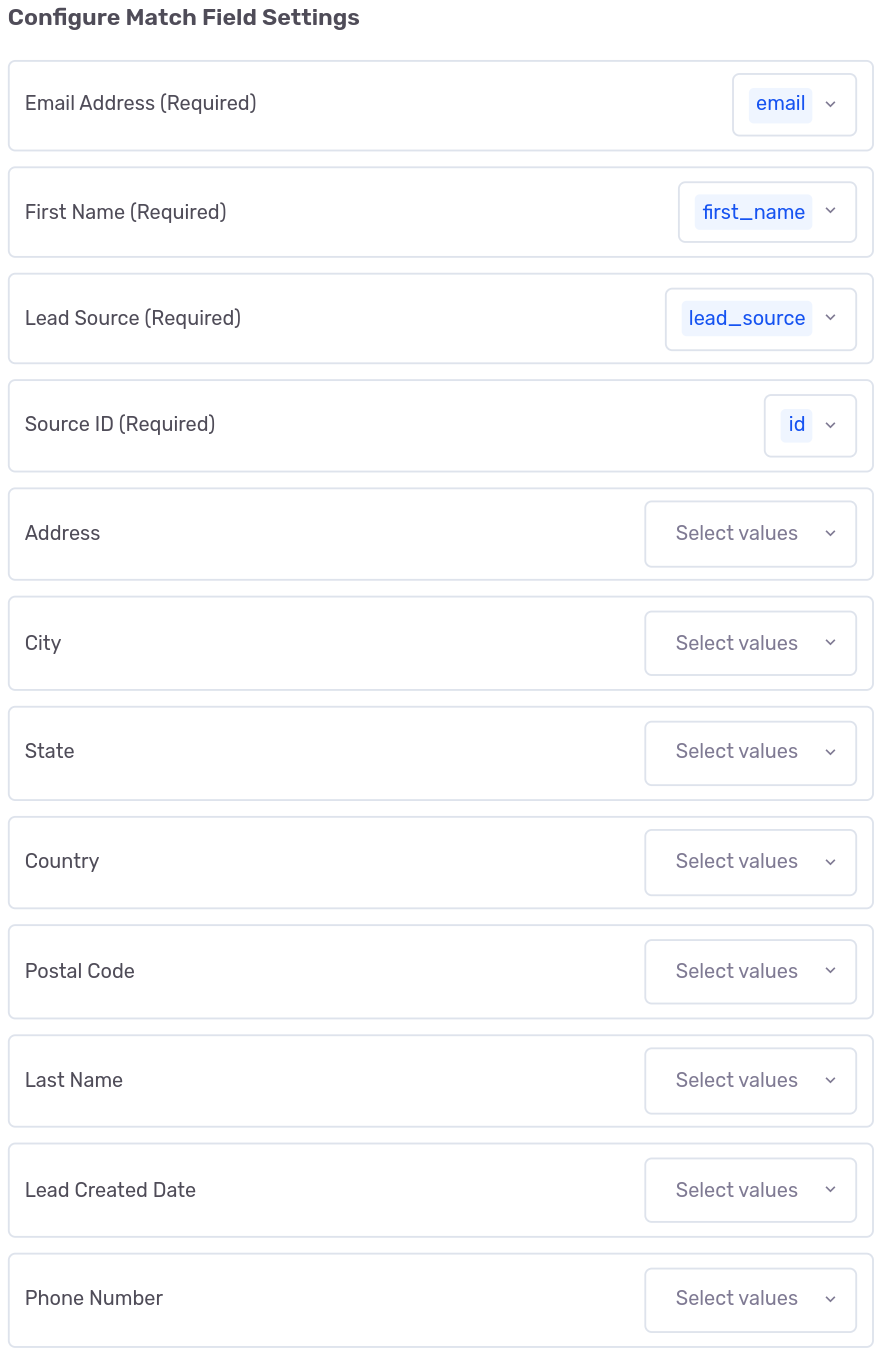
-
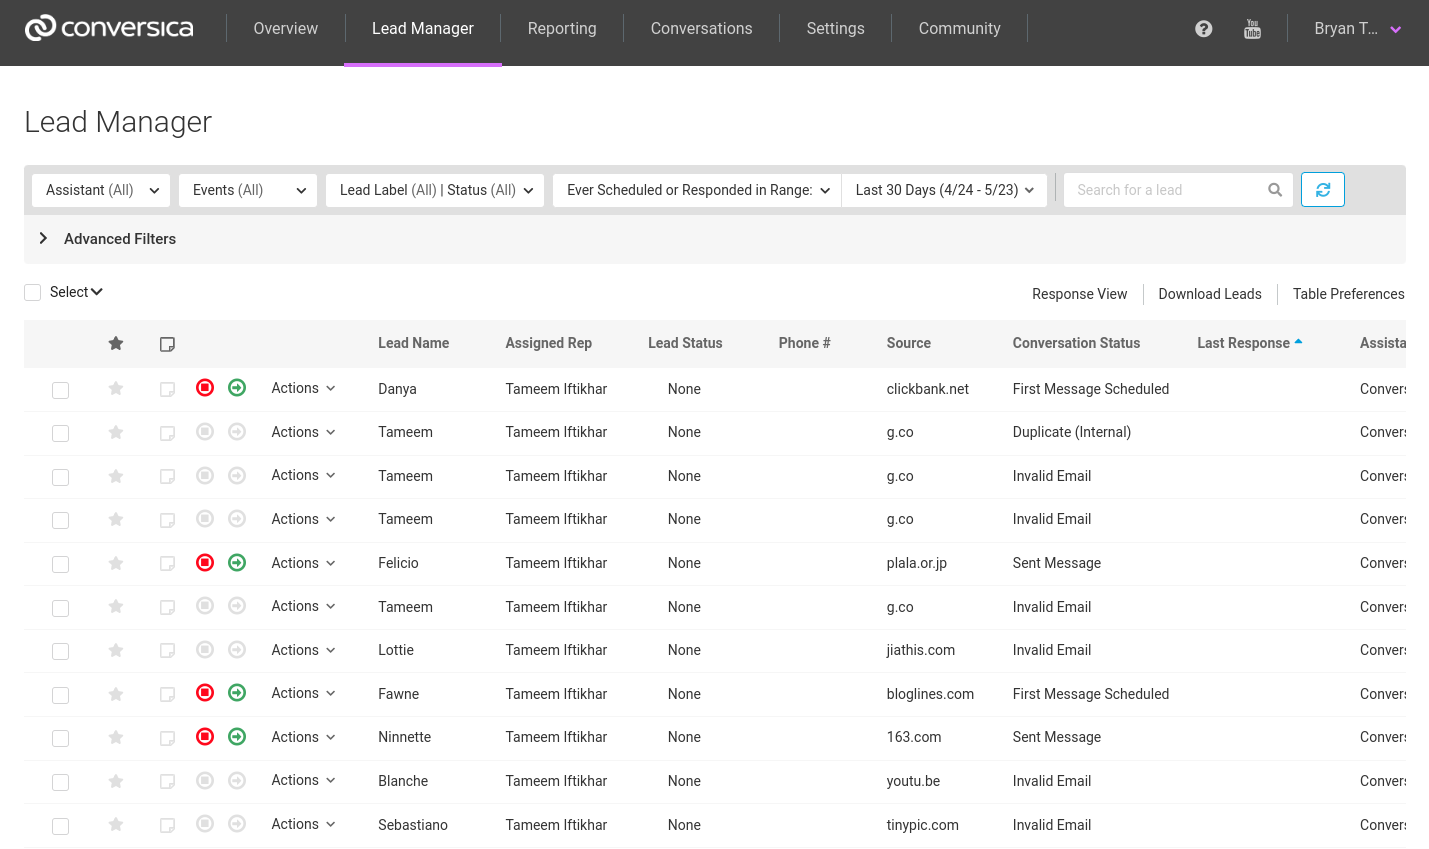
Lastly, click Export, and you're done! Congrats on successfully exporting an audience to Conversica. To view it, login to Conversica and navigate to Lead Manager.
Experiencing any issues when connecting to Conversica? Contact us at [email protected], and we’ll be in touch shortly to help resolve the matter!
Updated about 1 year ago