In this Help Center article, we will walk you through the steps to get Pinterest Ads connected as a destination in the GrowthLoop web application. Once connected, you will be able to send your audience segments to Pinterest Ads for marketing activation!
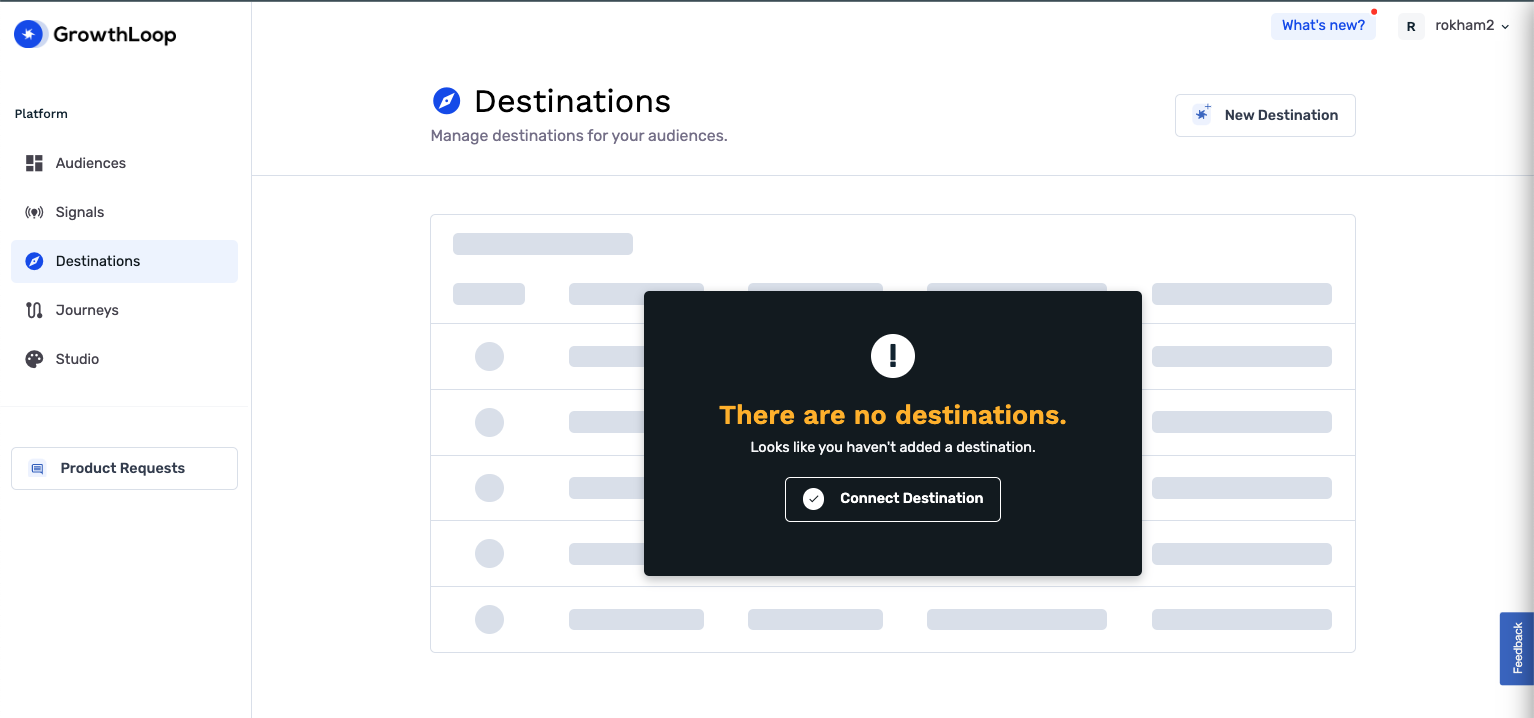
When you sign into the GrowthLoop, navigate to the Destinations tab on the left sidebar and click New Destination in the top right corner
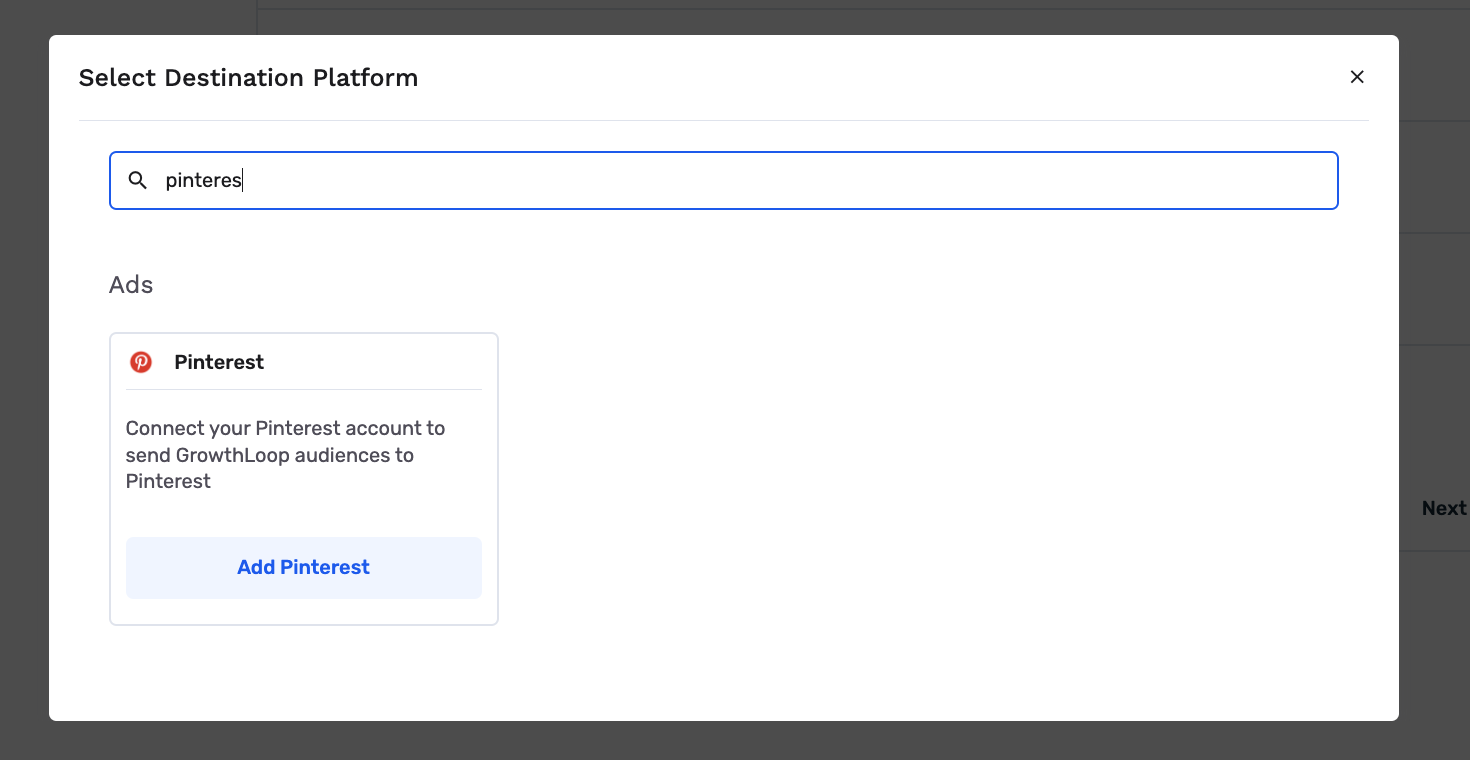
When the Select Destination window pops up, scroll to find Pinterest or Type in the search box and click Add.
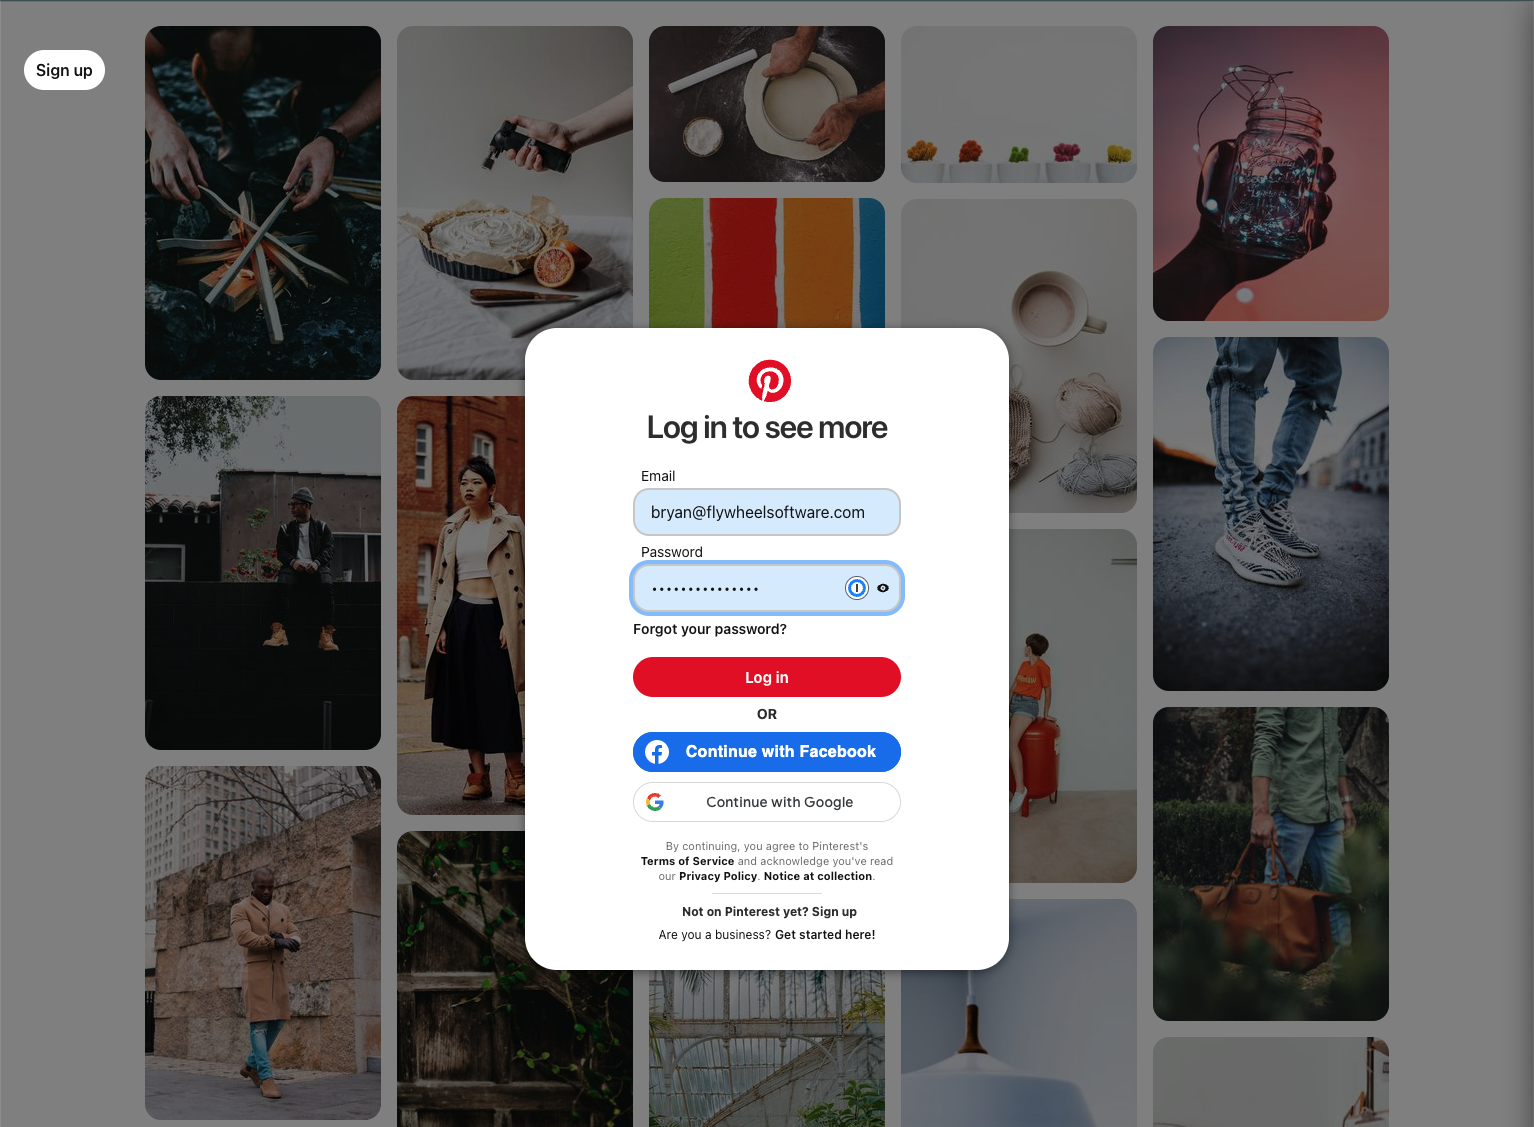
Clicking “Add Pinterest” will take you to the Pinterest login page. This is where you will sign in with your Pinterest Ads Manager credentials.
Once you click login, it will ask if you’d like to Authorize Pinterest to your GrowthLoop subscription. Click Continue.
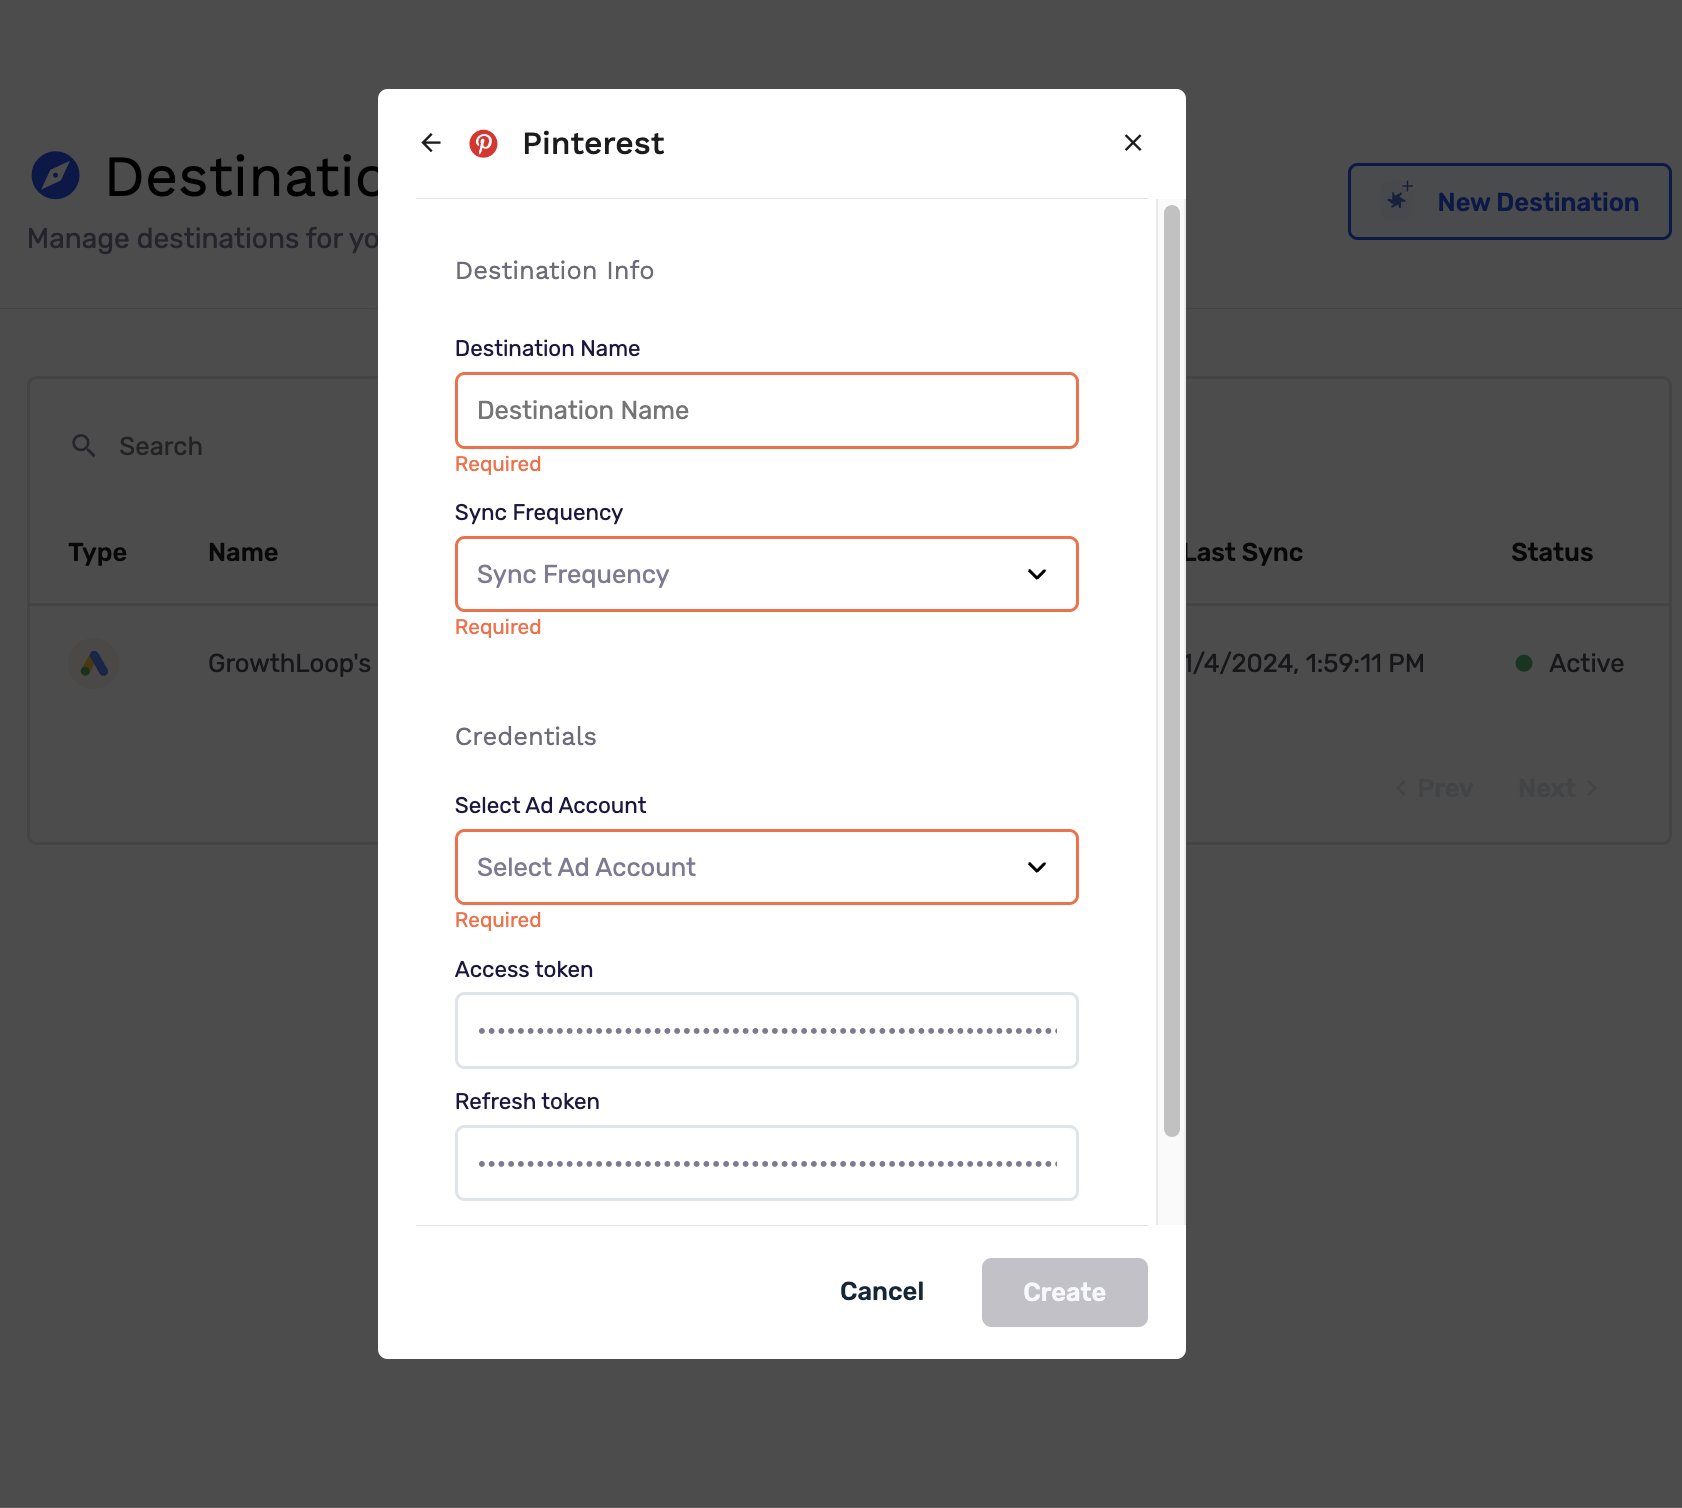
You’ll be routed back to the GrowthLoop web application, which will require you to select/insert the following information
- Destination Name: This is how the destination will be named and referred to in to the app going forward
- Sync frequency: how frequently audiences will be synced to the destination
- Ad account ID: In the Pinterest UI, log in and click the dropdown in the top left. Click Ad accounts and copy the Ad account ID and paste it in this field.
- Access token: this will automatically populate when you initially log into your Pinterest Ads Manager console via the GrowthLoop application
- Refresh Token: this will automatically populate when you initially log into your Pinterest Ads Manager console via the GrowthLoop application
You should now see Pinterest in your list of connected destinations!
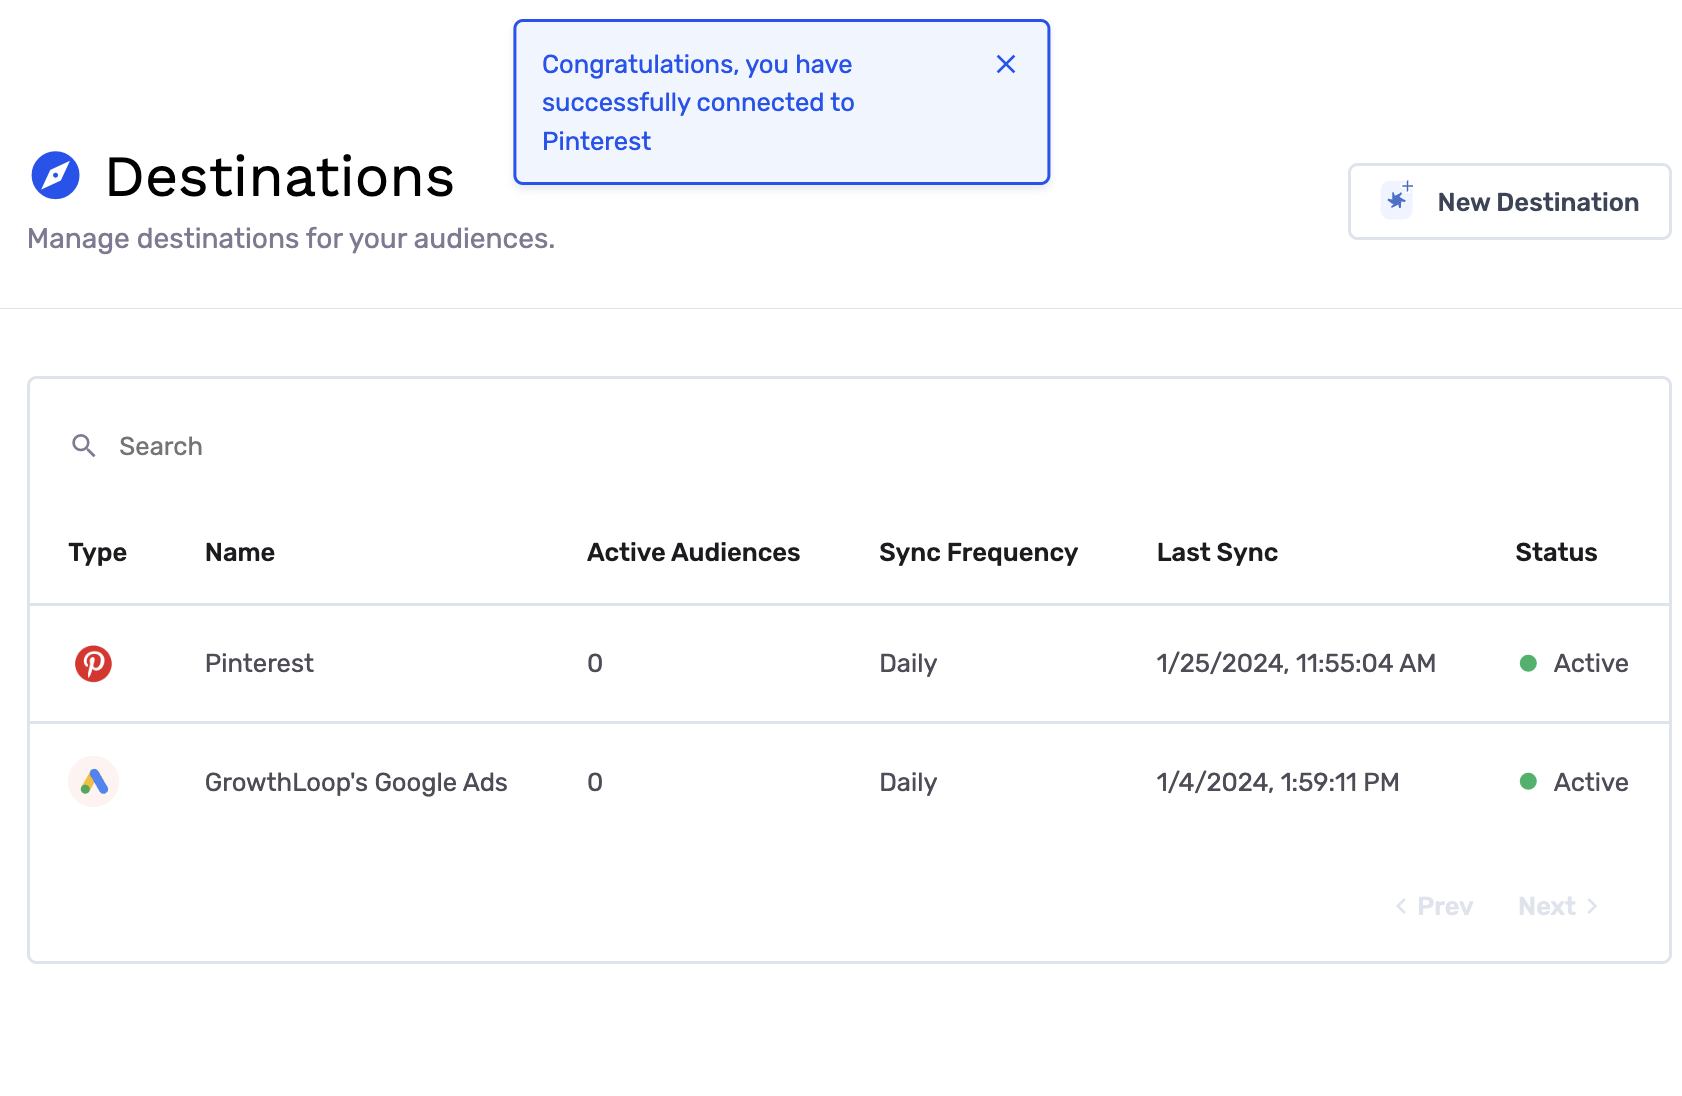
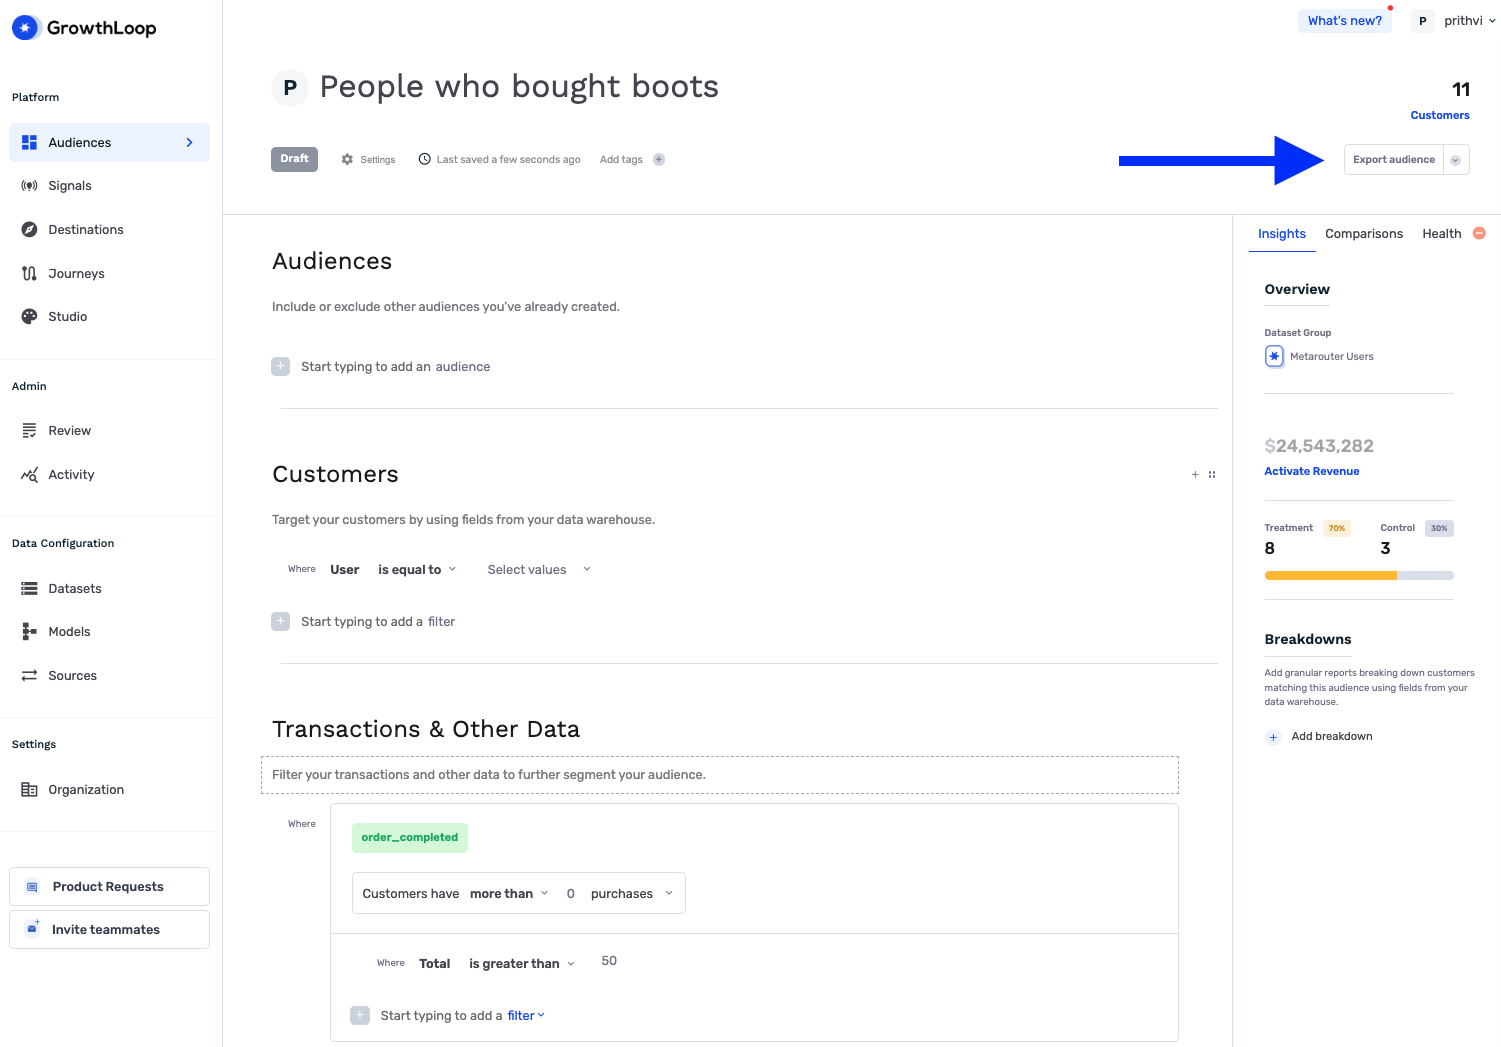
Now let’s export an audience to Pinterest. Click on Audiences in the left side bar, and choose the audience you’d like to export.
Click the Export Audience button in the top right, and select Pinterest. You’ll be prompted next to configure match field settings.
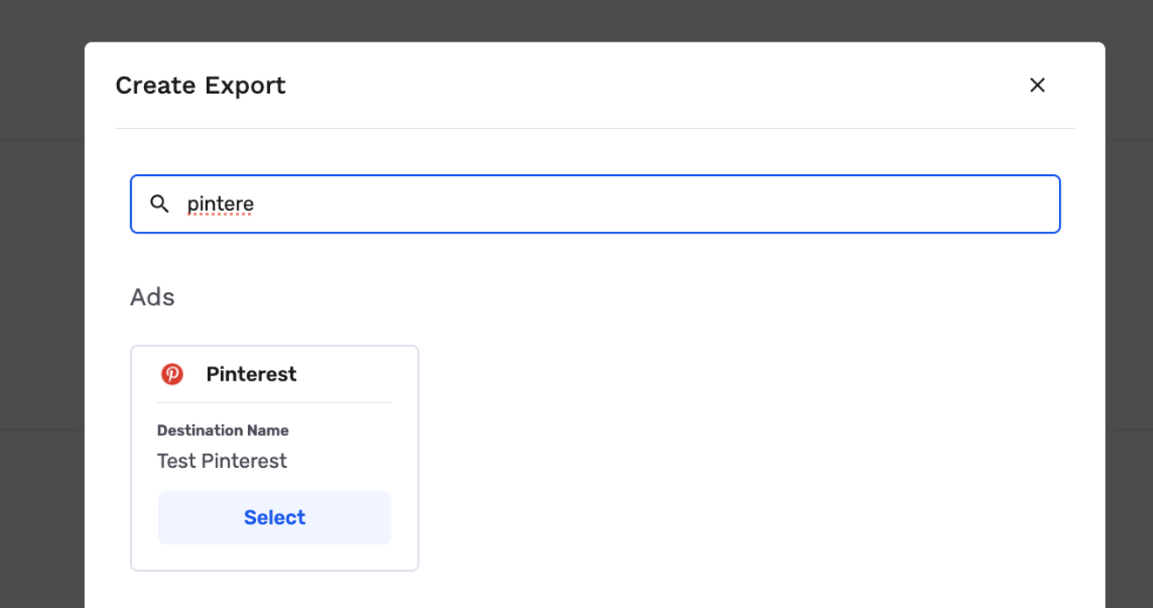
Click Select and proceed. You’ll next want to configure the Match Field(s) and Export Settings. For this instance with Pinterest the only available Match Field is email, these will need to be 1:1 so from the drop down you’ll want to select email.
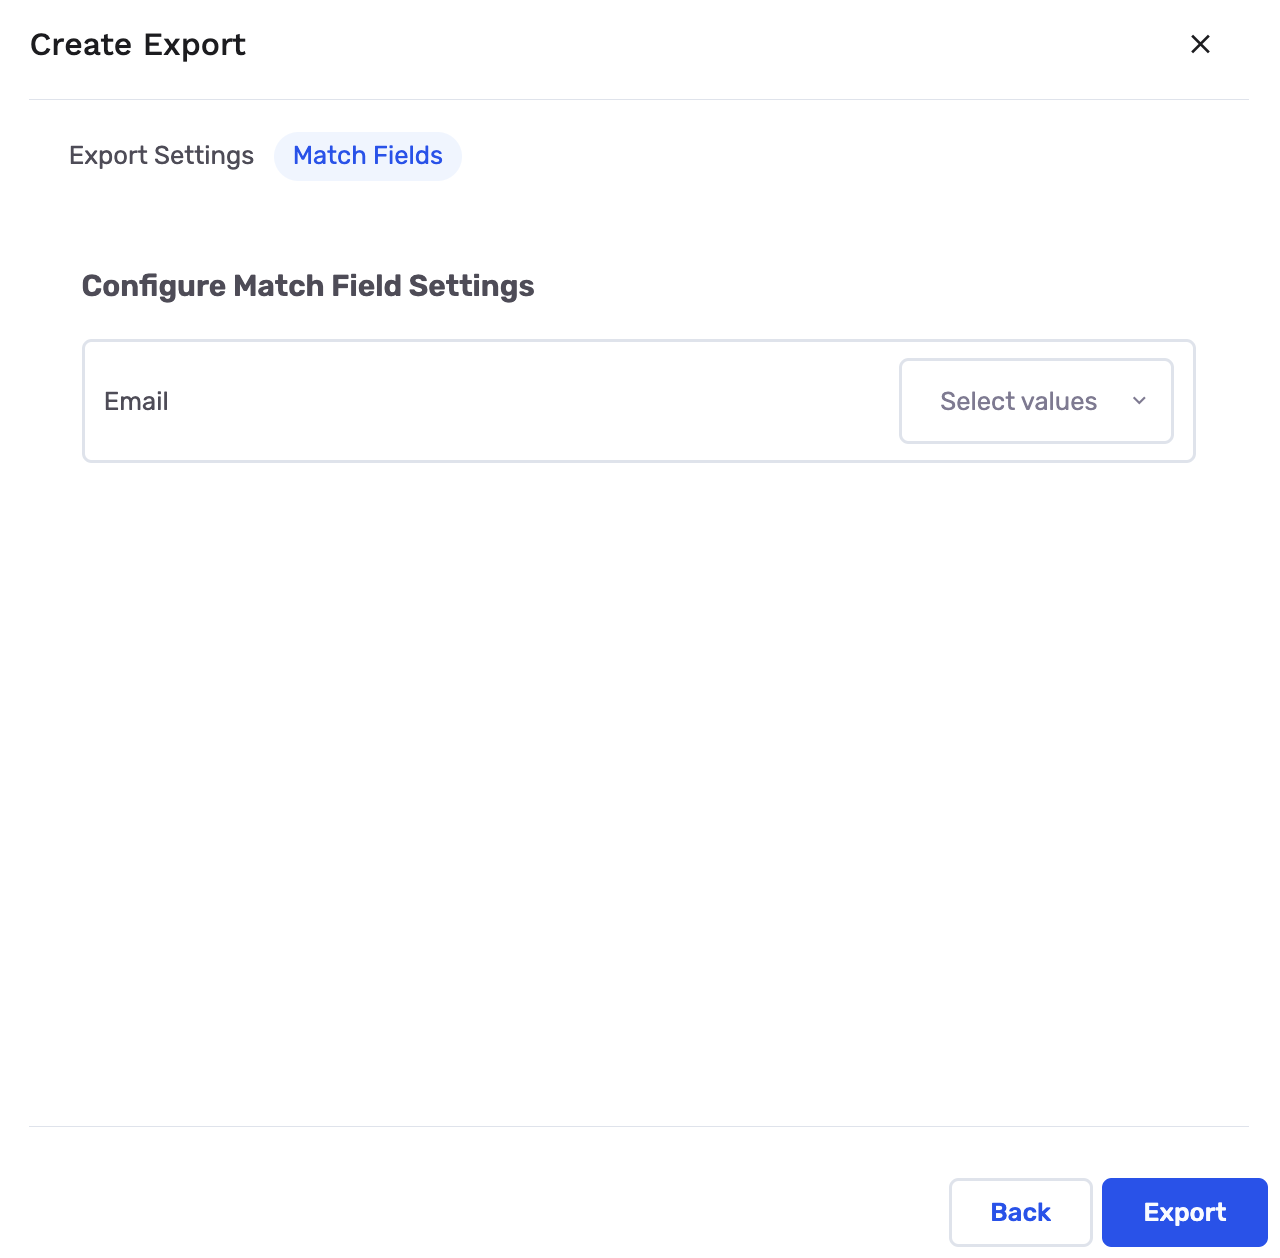
Next let’s define Export Settings.
- Export Name: Give a name to your export for easy reference.
- Campaign Type: Choose between Ongoing (continuous campaign with no end date) and One Time (for a single export).
- Frequency: Decide how often you want to update audience membership and send it to Pinterest. Options include Every Fifteen Minutes, Thirty Minutes, Hourly, Daily, Weekly, and Monthly.
- Start: The default is to start Now, but you can choose a specific time from the dropdown.
- End: The default is to end Never, but you can choose a specific time from the dropdown if needed.
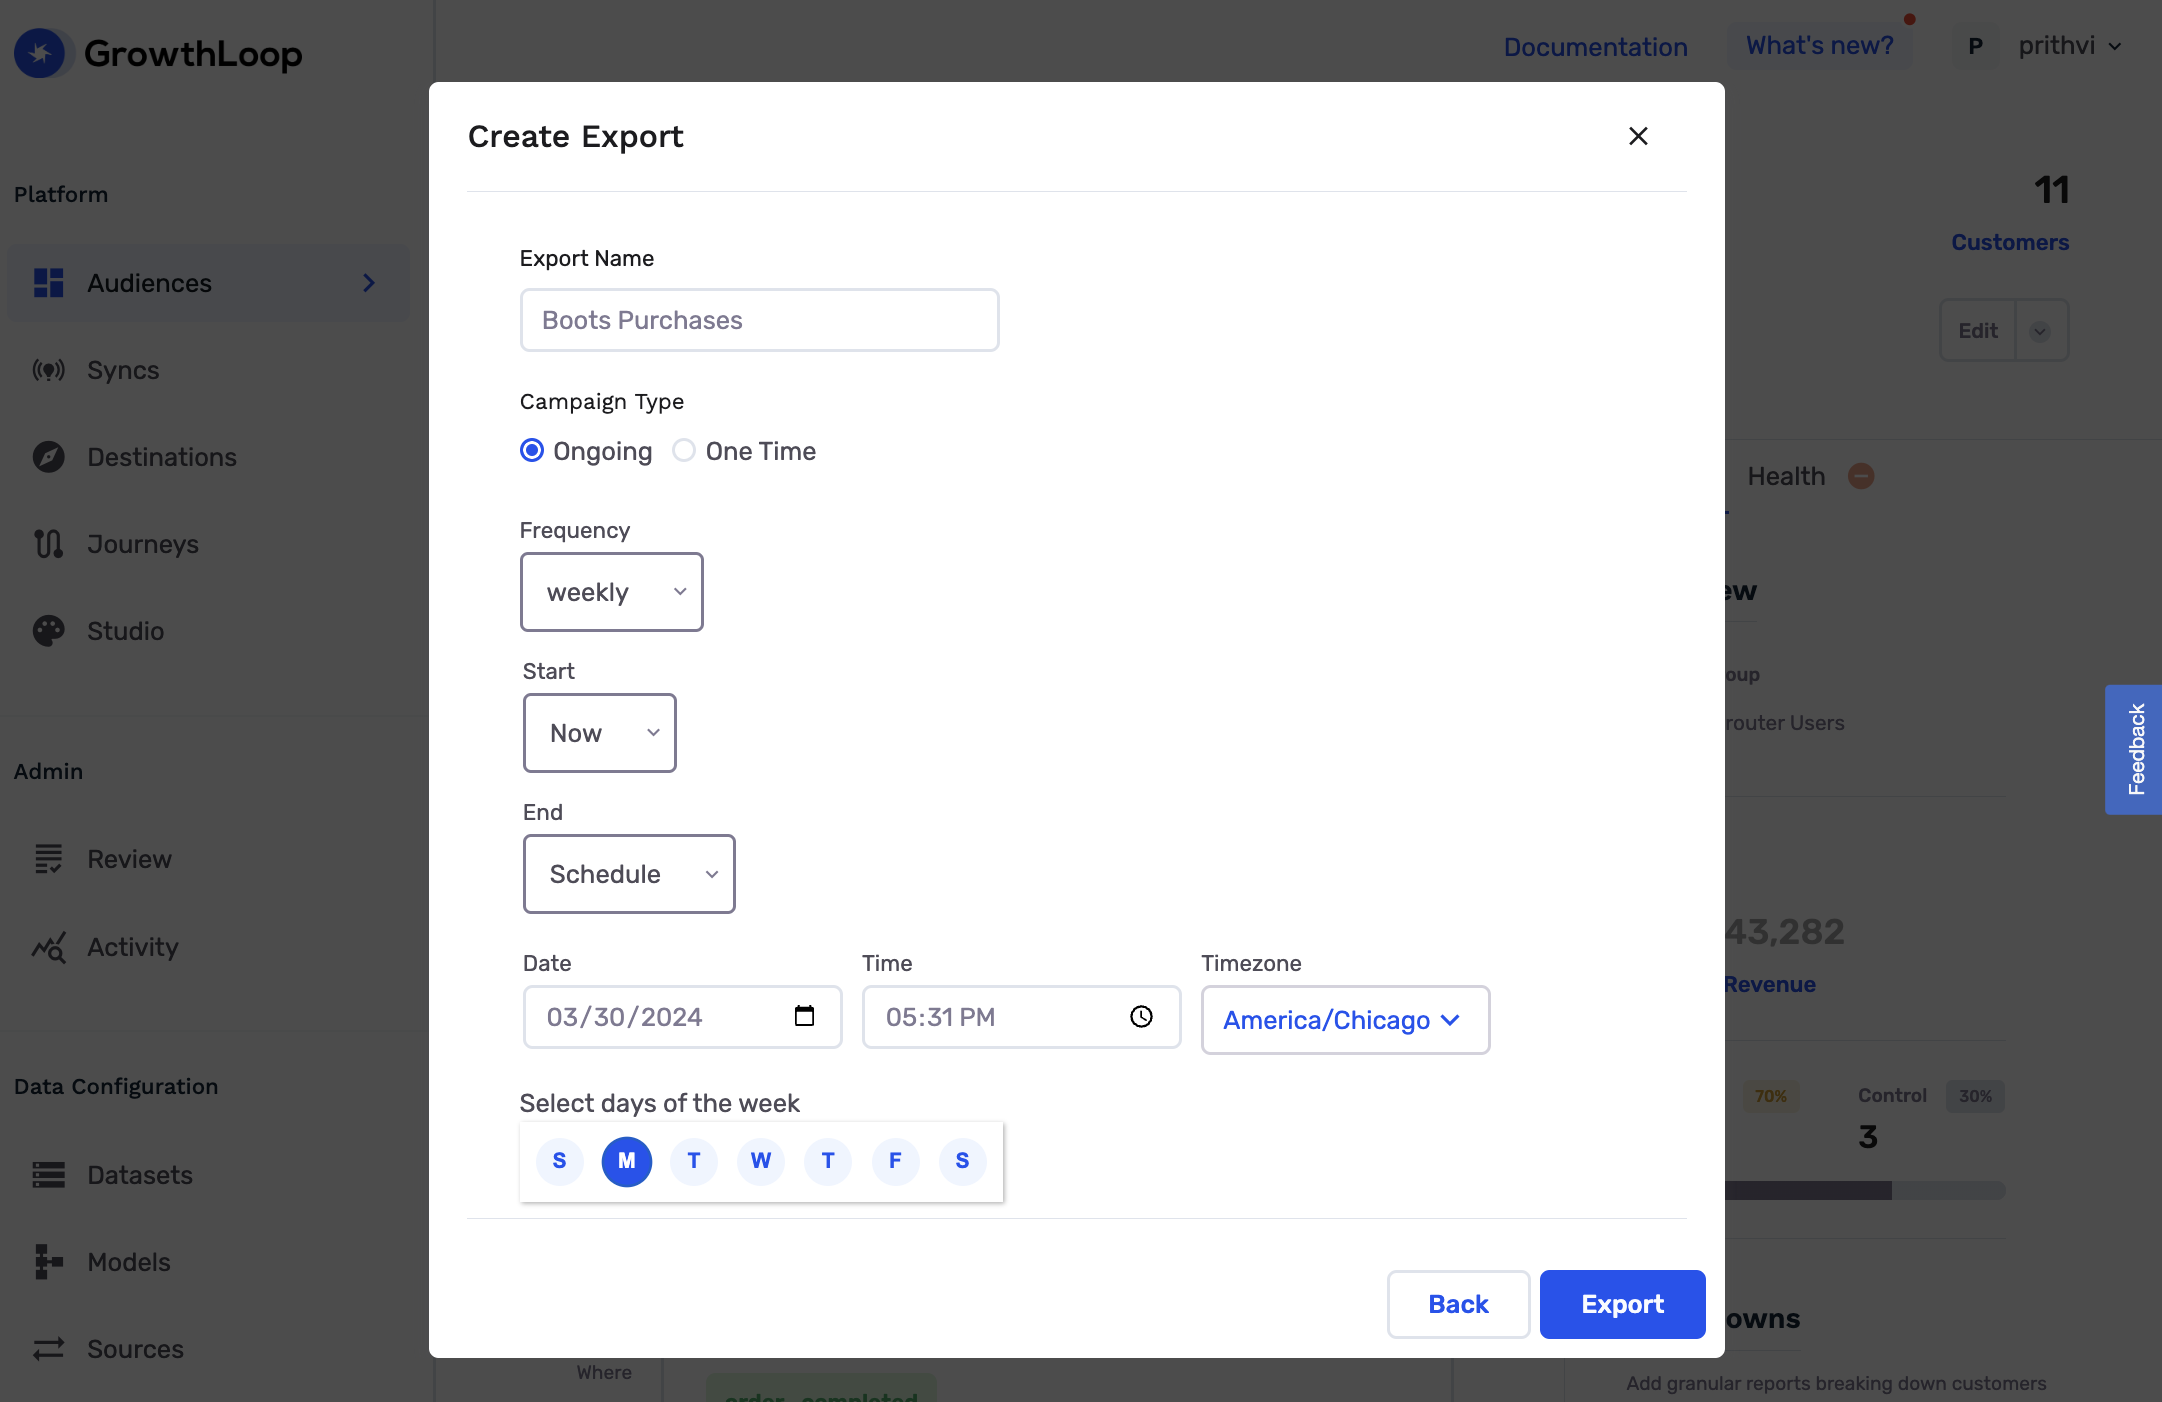
Click Export and you’ll see Active Export in Green to verify export is live.

How to find your exported audience on Pinterest
Once you’ve exported an audience to Pinterest, you can log in to your Pinterest Ads manager and see if the audience successfully routed to Pinterest. In the top left dropdown, click Audiences and under Business column click Audiences again and you will find your newly exported audience here.
Keep in mind that the sync frequency and internal pipeline operations will impact how quickly your audience appears in Pinterest Ads Manager after being exported from the application.
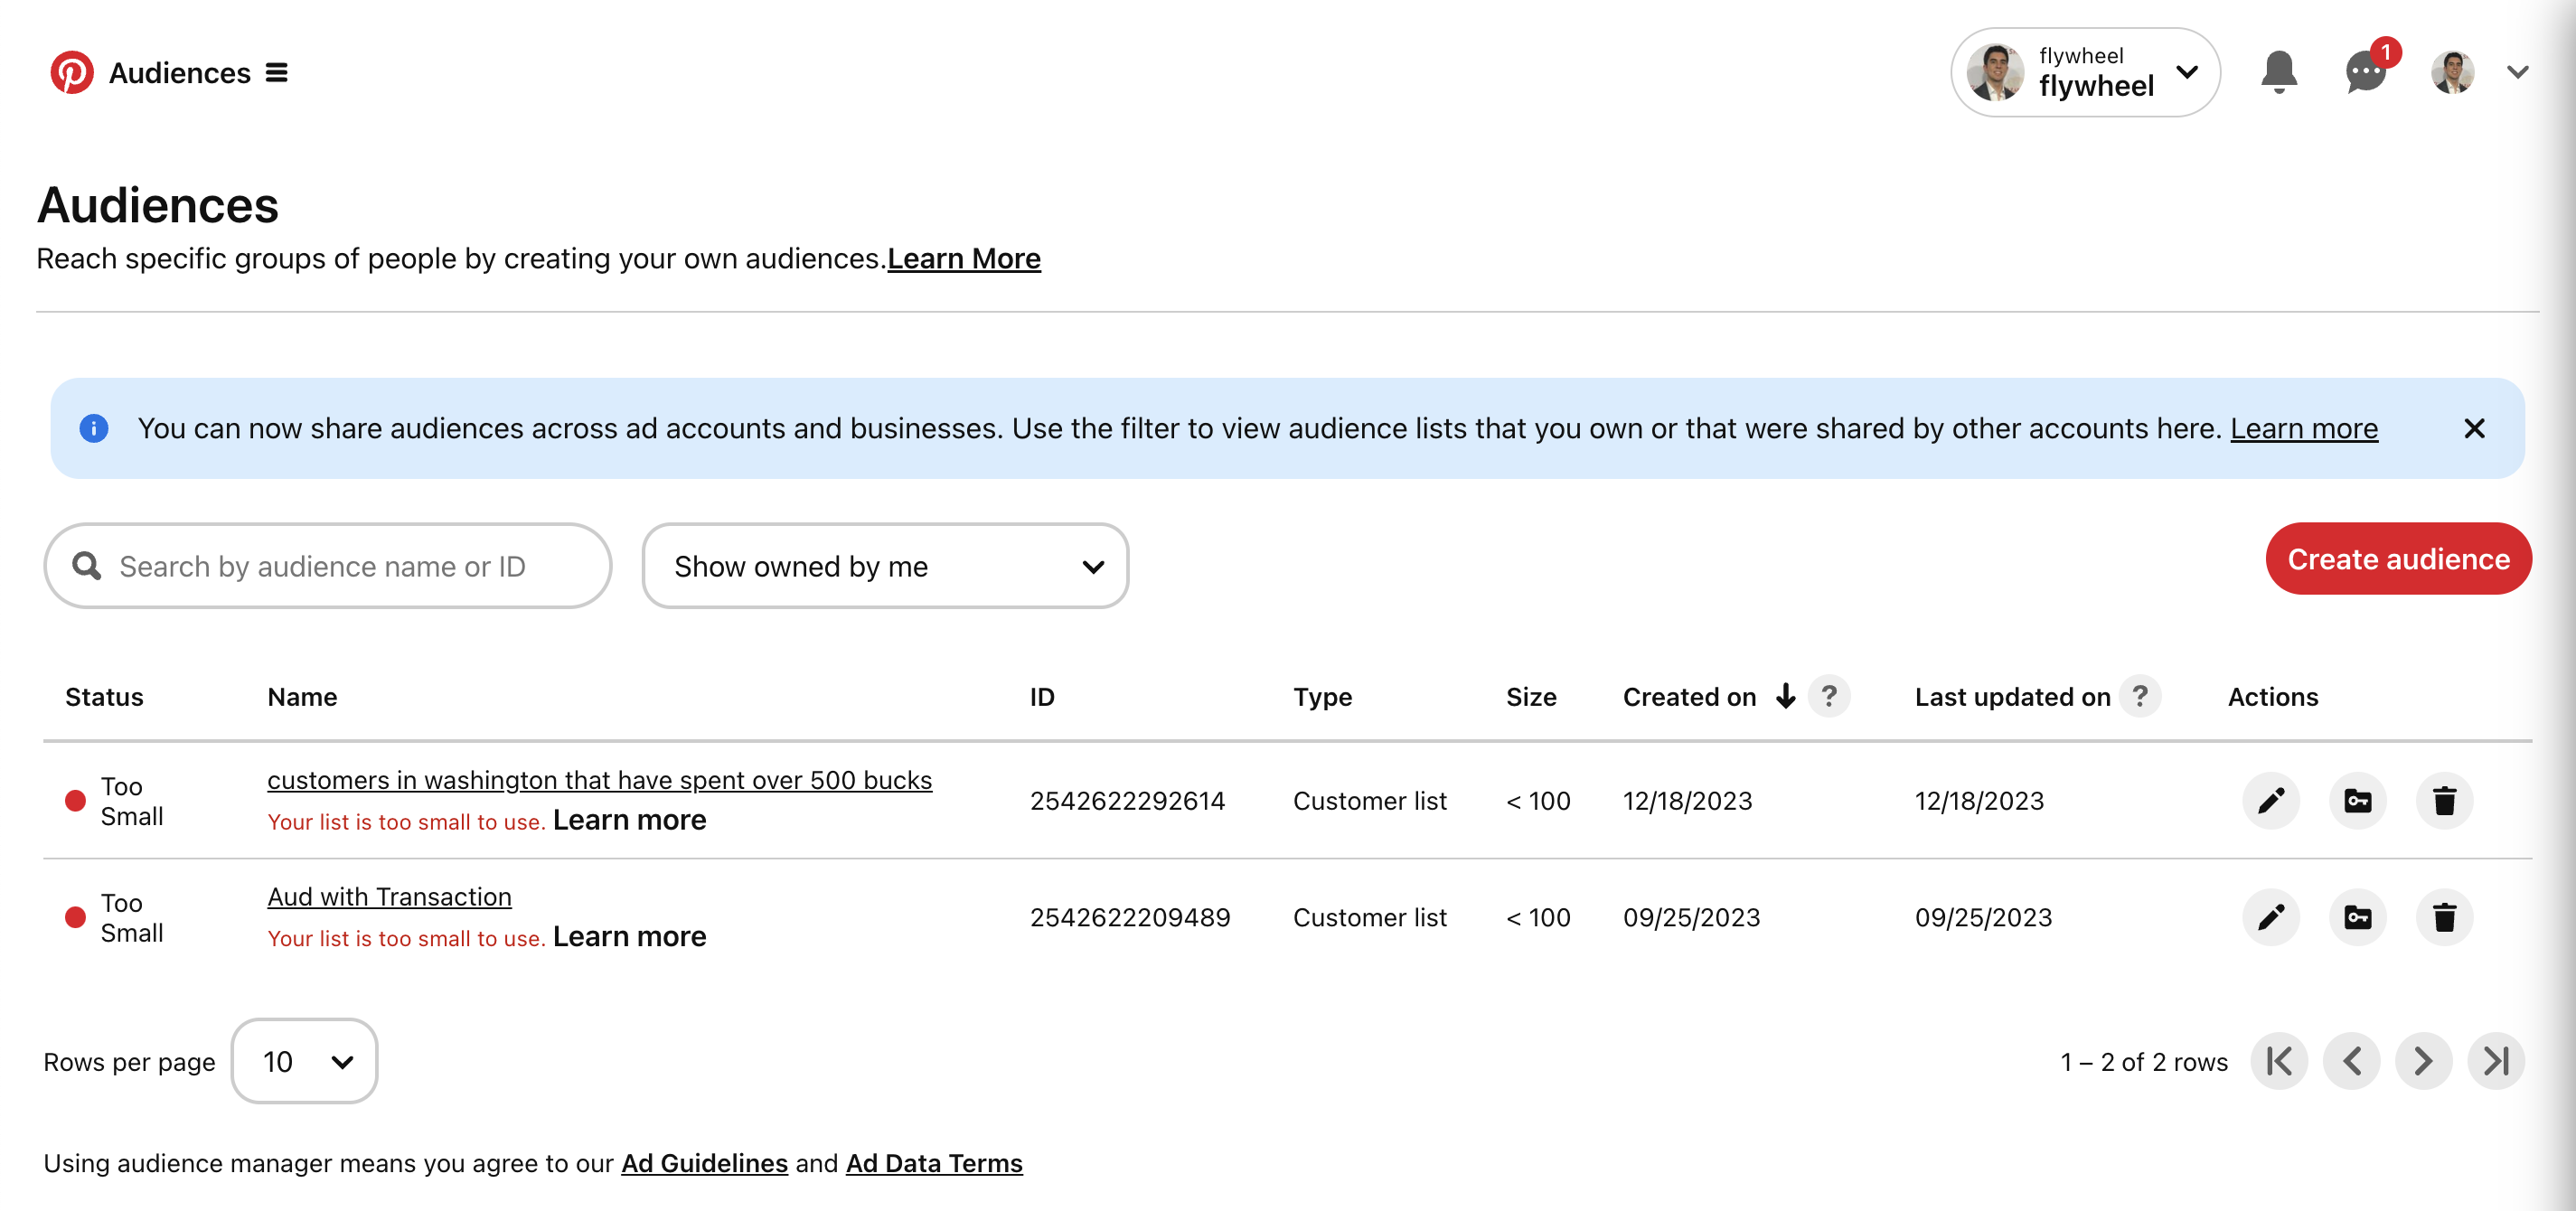
Congratulations! You’ve now successfully connected Pinterest as a destination, and set up an active audience export within GrowthLoop!
Experiencing any issues when connecting to Attentive? Reach out to us at [email protected] and we’ll be in-touch shortly to help resolve the matter!
Updated 9 months ago