Custom Attributes
In this article, you'll learn how to track custom attributes on your audiences for analytics and measurement.
It is often useful to add additional attributes to audiences that can be used for tracking or linking to internal concepts. A few common use cases are:
- Categorizing audiences: You can add a
Program Nameto your audiences so you can keep track of what audiences you are using for each marketing program. - Linking to campaigns: If you are using an audience in a campaign, you can associate that
campaign idwith each audience. - Leveraging existing analytics assets: You can add a custom attribute that serves as a join key to any existing analytics tables that want to reference audience membership and personalization data.
Inherited Custom Attributes
If an audience is created from a Template, then all of its custom attributes (keys & values) are also inherited by the audience. However, you can further modify or edit those inherited custom attributes.
Add Custom Attributes to New Audience
- On Home Page, in action card click
Create Audience - Choose your
Dataset Group - Choose how you want to create your
Audience:Start with Basics,Start from Scratch, etc. - On the Audience Canvas, in the subheader menu select
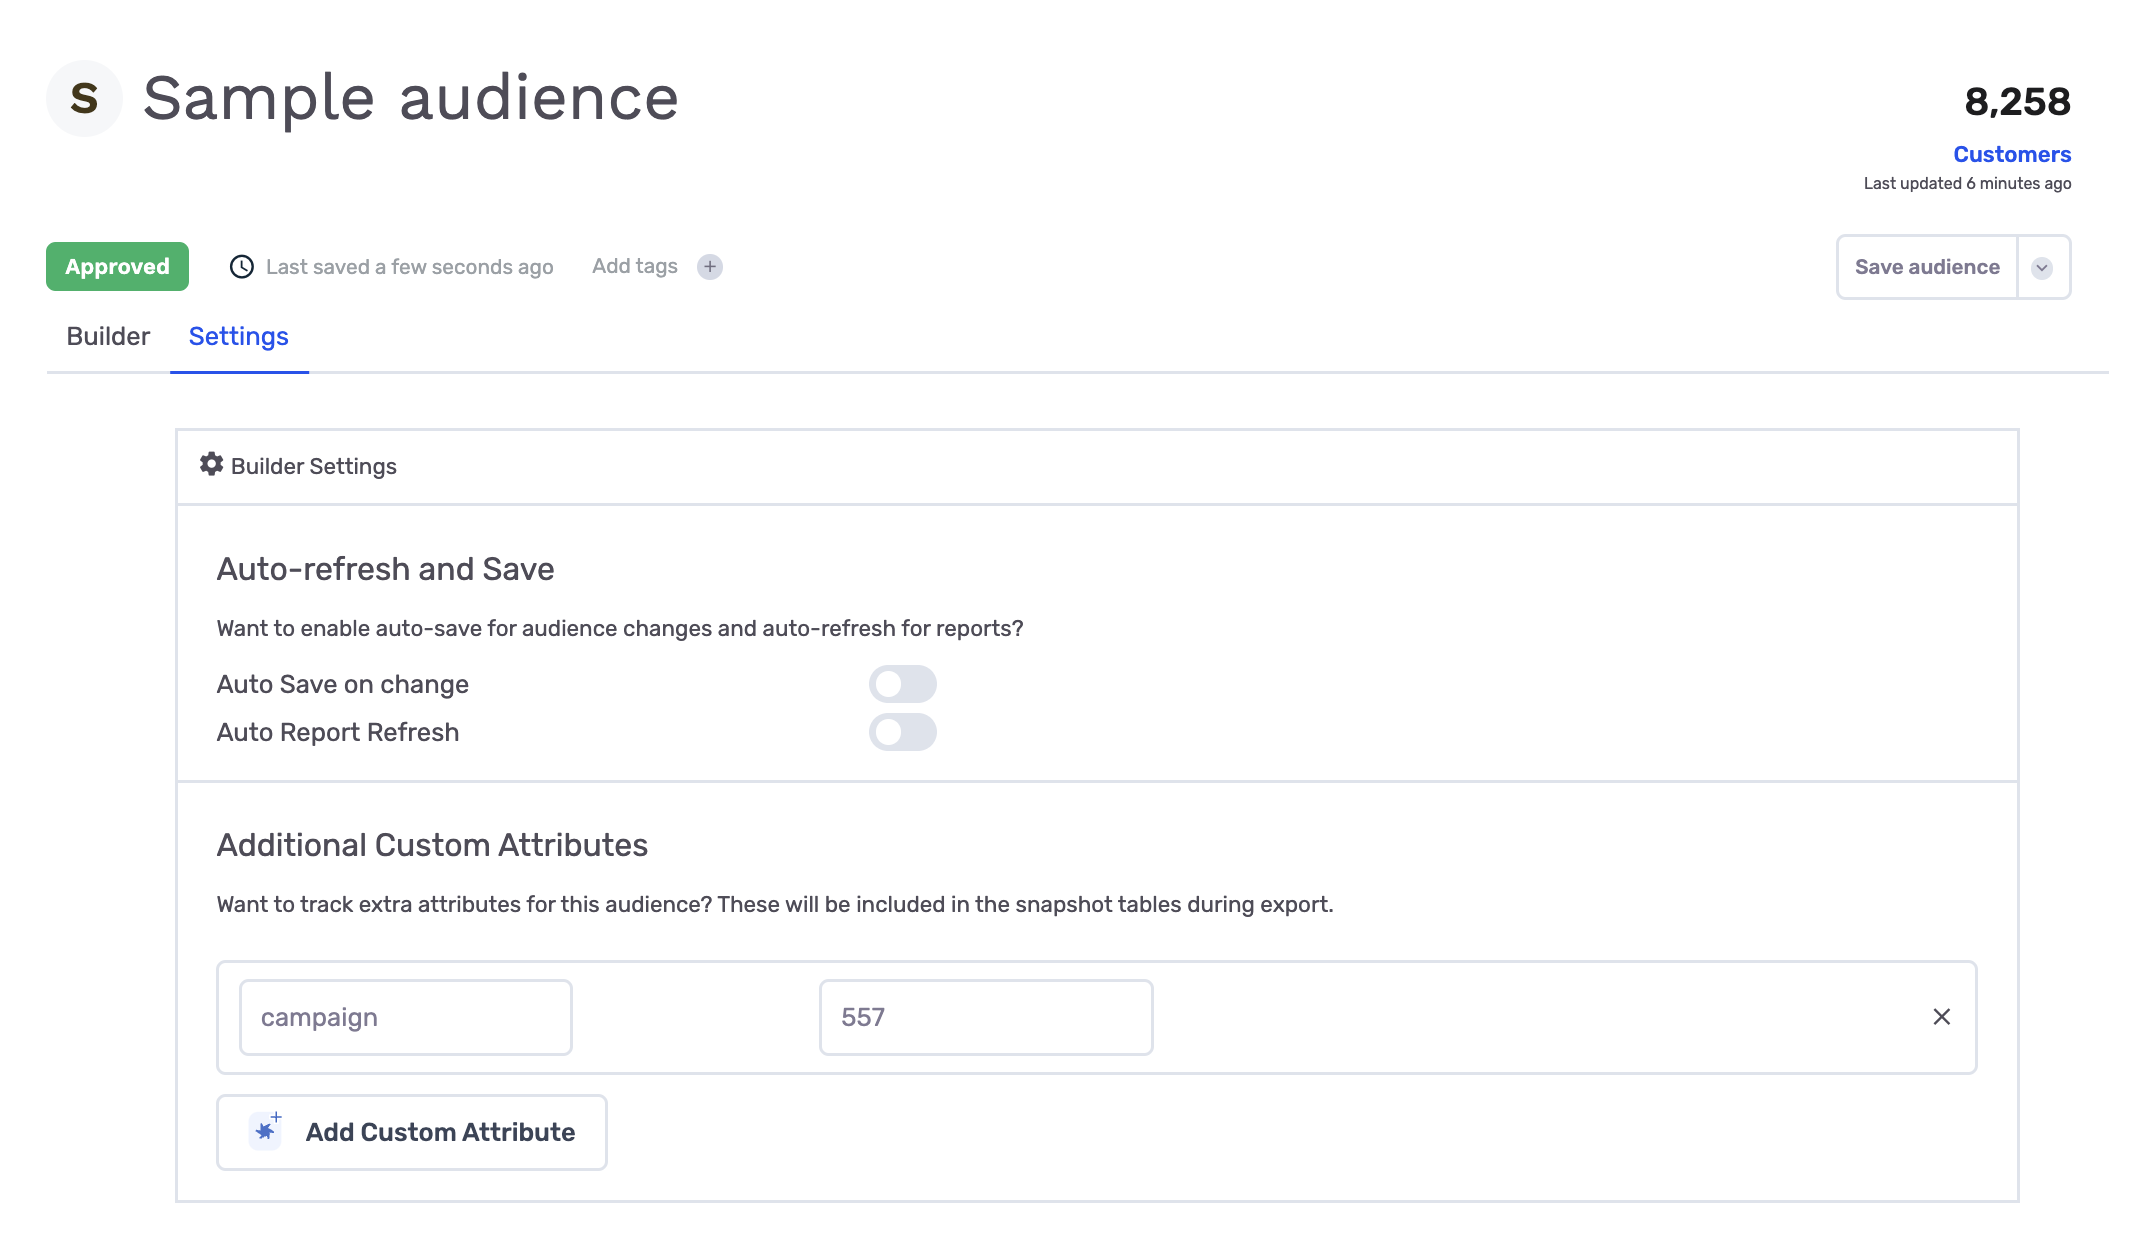
Settings - Under
Additional Custom AttributesclickAdd Custom Attribute - Add your
Label: The label is the name of the attribute. For example: "campaign_id". - Add your
Value: The value is the input for your attribute. For example: The actual campaign id you want to associate with this audience. Note: Your label and values cannot have spaces, but can use underscores.

Add Custom Attributes to Existing Audience
- On Home Page, in left-hand menu select
Audiences - Click on the audience that you would like to add
Custom Attributesto. - On the
Exportbutton click the dropdown arrow and selectEdit - On the Audience Canvas, in the subheader menu select
Settings - Under
Additional Custom AttributesclickAdd Custom Attribute - Add your
Label: The label is the name of the attribute. For example: "campaign_id". - Add your
Value: The value is the input for your attribute. For example: The actual campaign id you want to associate with this audience. Note: Your label and values cannot have spaces, but can use underscores.
Use Custom Attributes in your Data Cloud
Every audience snapshot will contain your custom attributes. This is very useful so you can join to other tables you have internally and utilize in your business intelligence platform.
You can access your attributes direcatly in your data cloud:
- Within your
flywheel_systedataset, query snapshotting delta table for the audience you added custom attributes to. - Each
Custom Attributewill have its own column where:Column Name: This will contain the Label provided for custom attribute on audience.Value: This will contain theValueprovided for custom attribute on audience.

If you have any questions on how to utilize custom attributes please let us know at [email protected]
Updated 5 months ago
