
Snapchat Conversions
Learn how to create Syncs for Snapchat conversions
In this guide, we’ll walk you through syncing web, app, and offline event data from your data warehouse into Snapchat to optimize future campaigns. Let's get started!
Supported Conversion Events
GrowthLoop enables syncing for the following Snapchat conversion events:
| Event | Description | Sync Modes | Field Mappings (Required) | Field Mappings (Optional) |
|---|---|---|---|---|
Web | Sync and track website behaviors, such as clicks, page views, or interactions | Insert (adds new events) |
| See full list of conversion parameters here |
Purchase | Sync and track when users complete a transaction on your website or within your app | Insert (adds new events) | All
| See full list of conversion parameters here |
App | Sync and track in-app behaviors, such as installs, opens, or interactions | Insert (adds new events) | All
| See full list of conversion parameters here |
Prerequisites
- Have a Snapchat Ads Manager account. Create one here!
- Created a Conversion API Key. Navigate to the "Events Manager" section of Snapchat Ads Manager to generate and manage your API keys.
- Located your Pixel ID for web and offline events. You can find it in the "Events Manager" section, within the settings for your pixel.
- Located your Snap App ID for app events. Available in the "App Ads" section of Snapchat Ads Manager.
Set up connection
- Log in to GrowthLoop and click Destinations on the left sidebar.
- Click New Destination in the top right corner.
- Search for "Snapchat Conversions" and click Add Snapchat Conversions.
- Enter the required information in the modal, then click Create.
- Destination Name: This is how the destination will be named and referred to in the app going forward.
- Sync Frequency: This indicates how frequently audiences will be synced to the destination.
- Conversion API Key: A unique key provided by Snapchat for server-to-server data sharing. Located in the Snapchat Ads Manager under the "Events Manager" section, where you can generate and manage API keys.
- Pixel ID: A unique identifier for your specific Snapchat Pixel. Found in the "Events Manager" section of Snapchat Ads Manager, within the settings for your pixel.
- App ID: A unique identifier for your mobile application. Available in the "App Ads" section of Snapchat Ads Manager, where you can manage and track app-related campaigns.
Set up sync
- Click Destinations on the left sidebar.
- Select Syncs from the options listed on the left sidebar.
- Then click Create Sync on the upper right side.
- Next, configure your sync by filling out the following fields:
- Route Name:
- Name: A friendly name for the sync.
- Sync frequency: The default frequency for syncing data to the destination. The options are: 15 minutes, 30 minutes, hourly, and daily.
- Update Rule: The default operation for syncing data to the destination. Snapchat supports only the Insert rule, which means new data is added to the destination without updating or overwriting existing data.
- Source:
- Dataset/Table: The table that holds the data you want to sync to the destination. Usually, it's organized within a user or events table.
- Dataset Unique Field(s): The unique field(s) on the table. They will populate automatically after selecting the Dataset/Table.
- Match Field: The column in your source table that is used to match data to the destination. Please select your email field.
- Destination:
- Connection: The destination you will sync data to. Please select Snapchat Conversions.
- Object Type: Select the type of object you want to send data to. Please choose Conversions.
- Match Field: Select Email Address, which corresponds to the email field in your source dataset.
- Route Name:
- Once you finish selecting/inserting the required fields, click Save Route.
- Next, set up the field mappings to start your sync. The fields you need to map depend on the type of event:
- Web events: Map Event Name, Event Time, Source URL, Action Source, and at least one user identifier like Email.
- Purchase events: Include Currency and Value along with the web event fields.
- App events: Map Mobile Advertising ID, App ID, Extended Information, and Is Advertiser Tracking Enabled? along with the web event fields.
- For Web Events, start by selecting the field from your Source table that has your conversion event names (e.g., PURCHASE, SAVE, START_CHECKOUT). In the Destination section, choose Event Name from the drop-down menu, unless it’s already selected.
- Next, map Event Time. Select the field from your Source table that shows the event time. Ensure the values are in Epoch/Unix format. In the Destination section, choose Conversion Event Time from the drop-down menu, unless it’s already selected.
- Map Source URL. Choose the field from your Source table that captures the URL of the web page where the event happened. Make sure it includes the protocol (e.g., http, https). In the Destination section, select Conversion Source URL from the drop-down menu, unless it’s already selected.
- Map Action Source. Choose the field from your Source table that indicates where the event took place. It must be WEB, OFFLINE, or MOBILE_APP. In the Destination section, select Conversion Action Source from the drop-down menu, unless it’s already selected.
- Lastly, map a user identifier, such as Email. Choose the field from your Source table that contains the Email Address. In the Destination section, select Email Address from the drop-down menu, unless it’s already selected.
- Click Update Route, then return to your sync and enable it by clicking the toggle at the top of the page!
SuccessYou’ve successfully created a conversion sync to Snapchat. You should see it in the Syncs table.
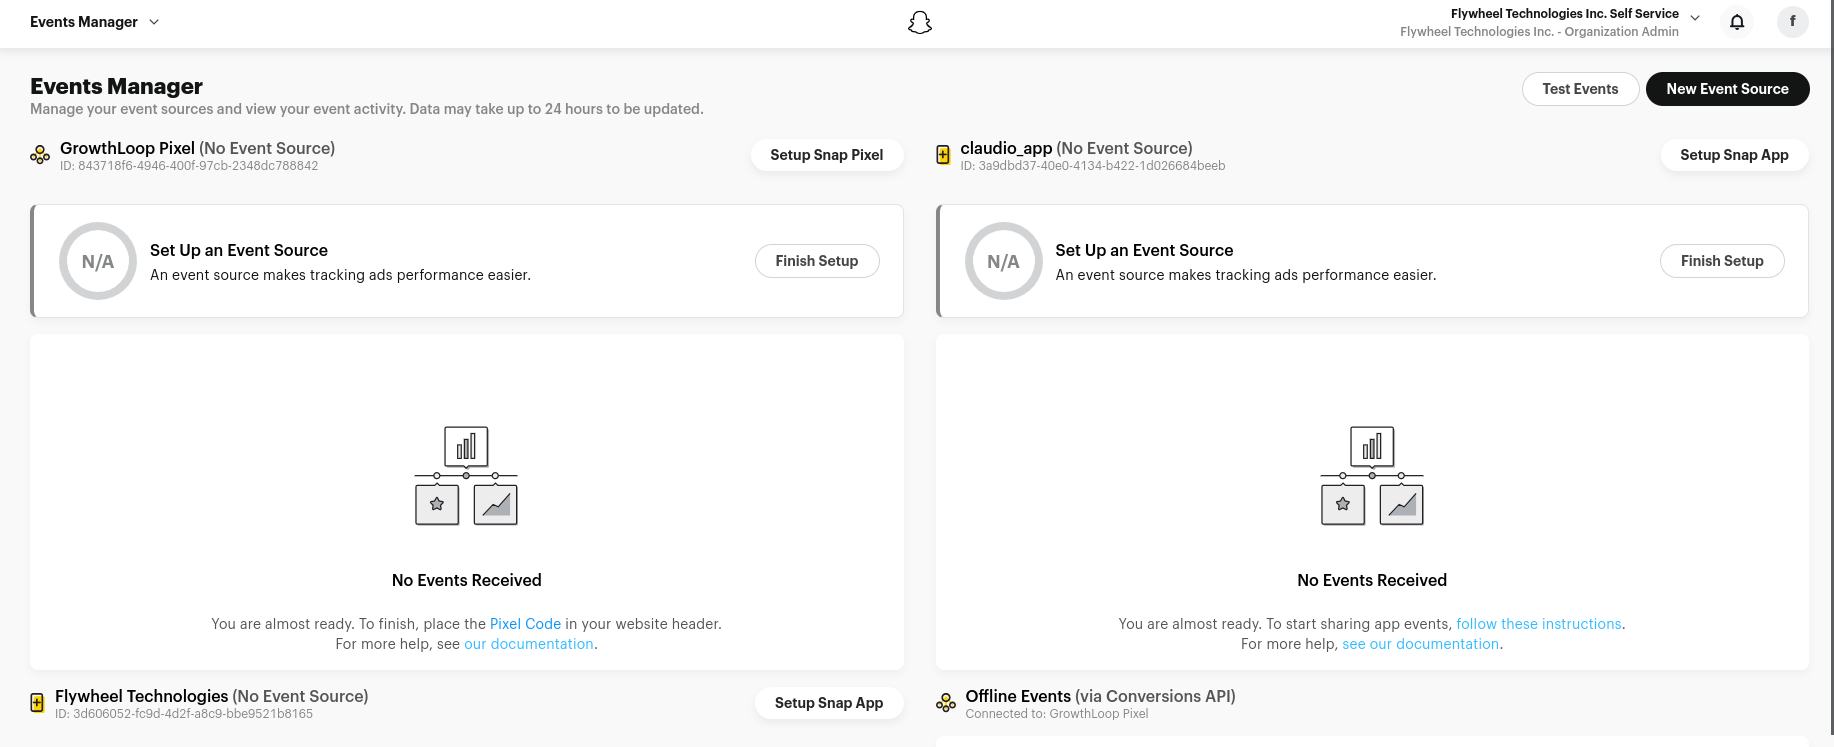
To confirm your web event data is received, log in to your Ads Manager account, select the drop-down in the upper left corner, and choose Events Manager. There, you’ll see your recently uploaded conversion events!
Note:If you experience any issues when connecting to or creating syncs to Snapchat Conversions, please reach out to us at [email protected], and we’ll be in touch shortly to help resolve the matter!
Updated about 1 year ago