
Pinterest Conversions
Learn how to send conversion events to Pinterest Ads via Growthloop
In this article, we'll walk you through syncing conversion events to Pinterest for a more comprehensive view of your campaign performance. Let's get started!
Supported Objects
GrowthLoop enables syncing to the following Pinterest object:
| Object | Description | Sync Modes | Field Mappings (Required) | Field Mappings (Optional) |
|---|---|---|---|---|
Conversion | Sync and track web, in-app, and offline behaviors | Insert (adds new events) |
| See full list of parameters here |
Prerequisites
- Have a
Pinterest Ads Manageraccount. Create one here! - Created a
Conversion Access Token. To create one, open the main dropdown in the upper left corner, clickConversionsunderManage Business, then clickSet up APIunderConversion API, and finally, selectGenerate New Token.
Set up connection
-
To begin, sign into the GrowthLoop Platform and navigate to the
Destinationstab on the left sidebar. ClickNew Destinationin the top right corner. -
In the
Select Destinationwindow that appears, just typePinterestinto the search bar. Then, clickAdd Pinterest. -
In the window, please enter the following information to set up the connection to the destination.
Destination Name: This is how the destination will be named and referred to in the app going forward.Sync Frequency: Choose betweenHourlyorDailyto determine how frequently GrowthLoop exports audiences toPinterest.Select Ad Account: Choose the account where you would like to receive GrowthLoop audiences.Conversion Access Token: Enter yourConversion Access Tokenhere to send conversion events to Pinterest Ads.Access & Refresh tokens: These tokens are automatically generated when you authorize the app.
-
Once you've entered the information, click on
Create. We'll check to make sure we have all the necessary permissions to send audience data toPinterest. If everything is in order, you'll now find the newPinterestDestination in your list of connected destinations.
Set up sync
- To route the latest conversion events (e.g., web, in-app, offline) to
Pinterest, go to theSyncstab on the left sidebar and clickCreate Syncin the top right corner. - Clicking
Create Syncwill require you to select/insert the following information:- Route Name:
- Name: A friendly name for the signal route.
- Sync Frequency: The default frequency for syncing the latest conversion info to a destination.
- Update Rule: The default operation for syncing the latest user info to a destination. Pinterest supports only the
Insertrule, which means new data is added to the destination without updating or overwriting existing data.
- Source:
- Source Dataset/Table: The table that holds the latest user info. Usually, it's organized within an
Eventstable. - Dataset Unique Field(s): The column that contains values that are distinct for each user in the table.
- Match Field: The column used to match and identify users from your source table in the destination system. Please select the column that contains either
MAID,Hashed Email,Client IP Address.
- Source Dataset/Table: The table that holds the latest user info. Usually, it's organized within an
- Destinations:
- Connection: The destination you will sync data to. Please select the Pinterest destination you set up in the previous step.
- Object Type: The object you want to send data to. Please select
Conversion Event. - Match Field: The column used to match and identify users from the destination system in your source table. Depending on what you selected as your
Source Match Field, chooseMAID,Hashed Email, orClient IP Address.
- Route Name:
- Once you finish selecting/inserting the required fields, click
Save Route. - It's time to add the field mappings to activate your signal route. The following fields are required:
Action Source,Event Name,Event ID, andEvent Time (timestamp). In addition, you must select eitherEmailsorHashed MAID (List)or bothClient IP AddressandClient User Agent. - To map the fields, navigating to the
Field Mappingsection. Choose the columns that correspond to the requiredDestination Fieldsfrom the drop-down menu underSource. - To include extra mappings for the other fields, click on
Add Mapping. This will generate a new row forSource > Destination. - Look for and choose the fields in your source table for the remaining items.
- Finally, click the
toggleat the top of the page to enable the sync!
SuccessYou have successfully created a conversion sync to
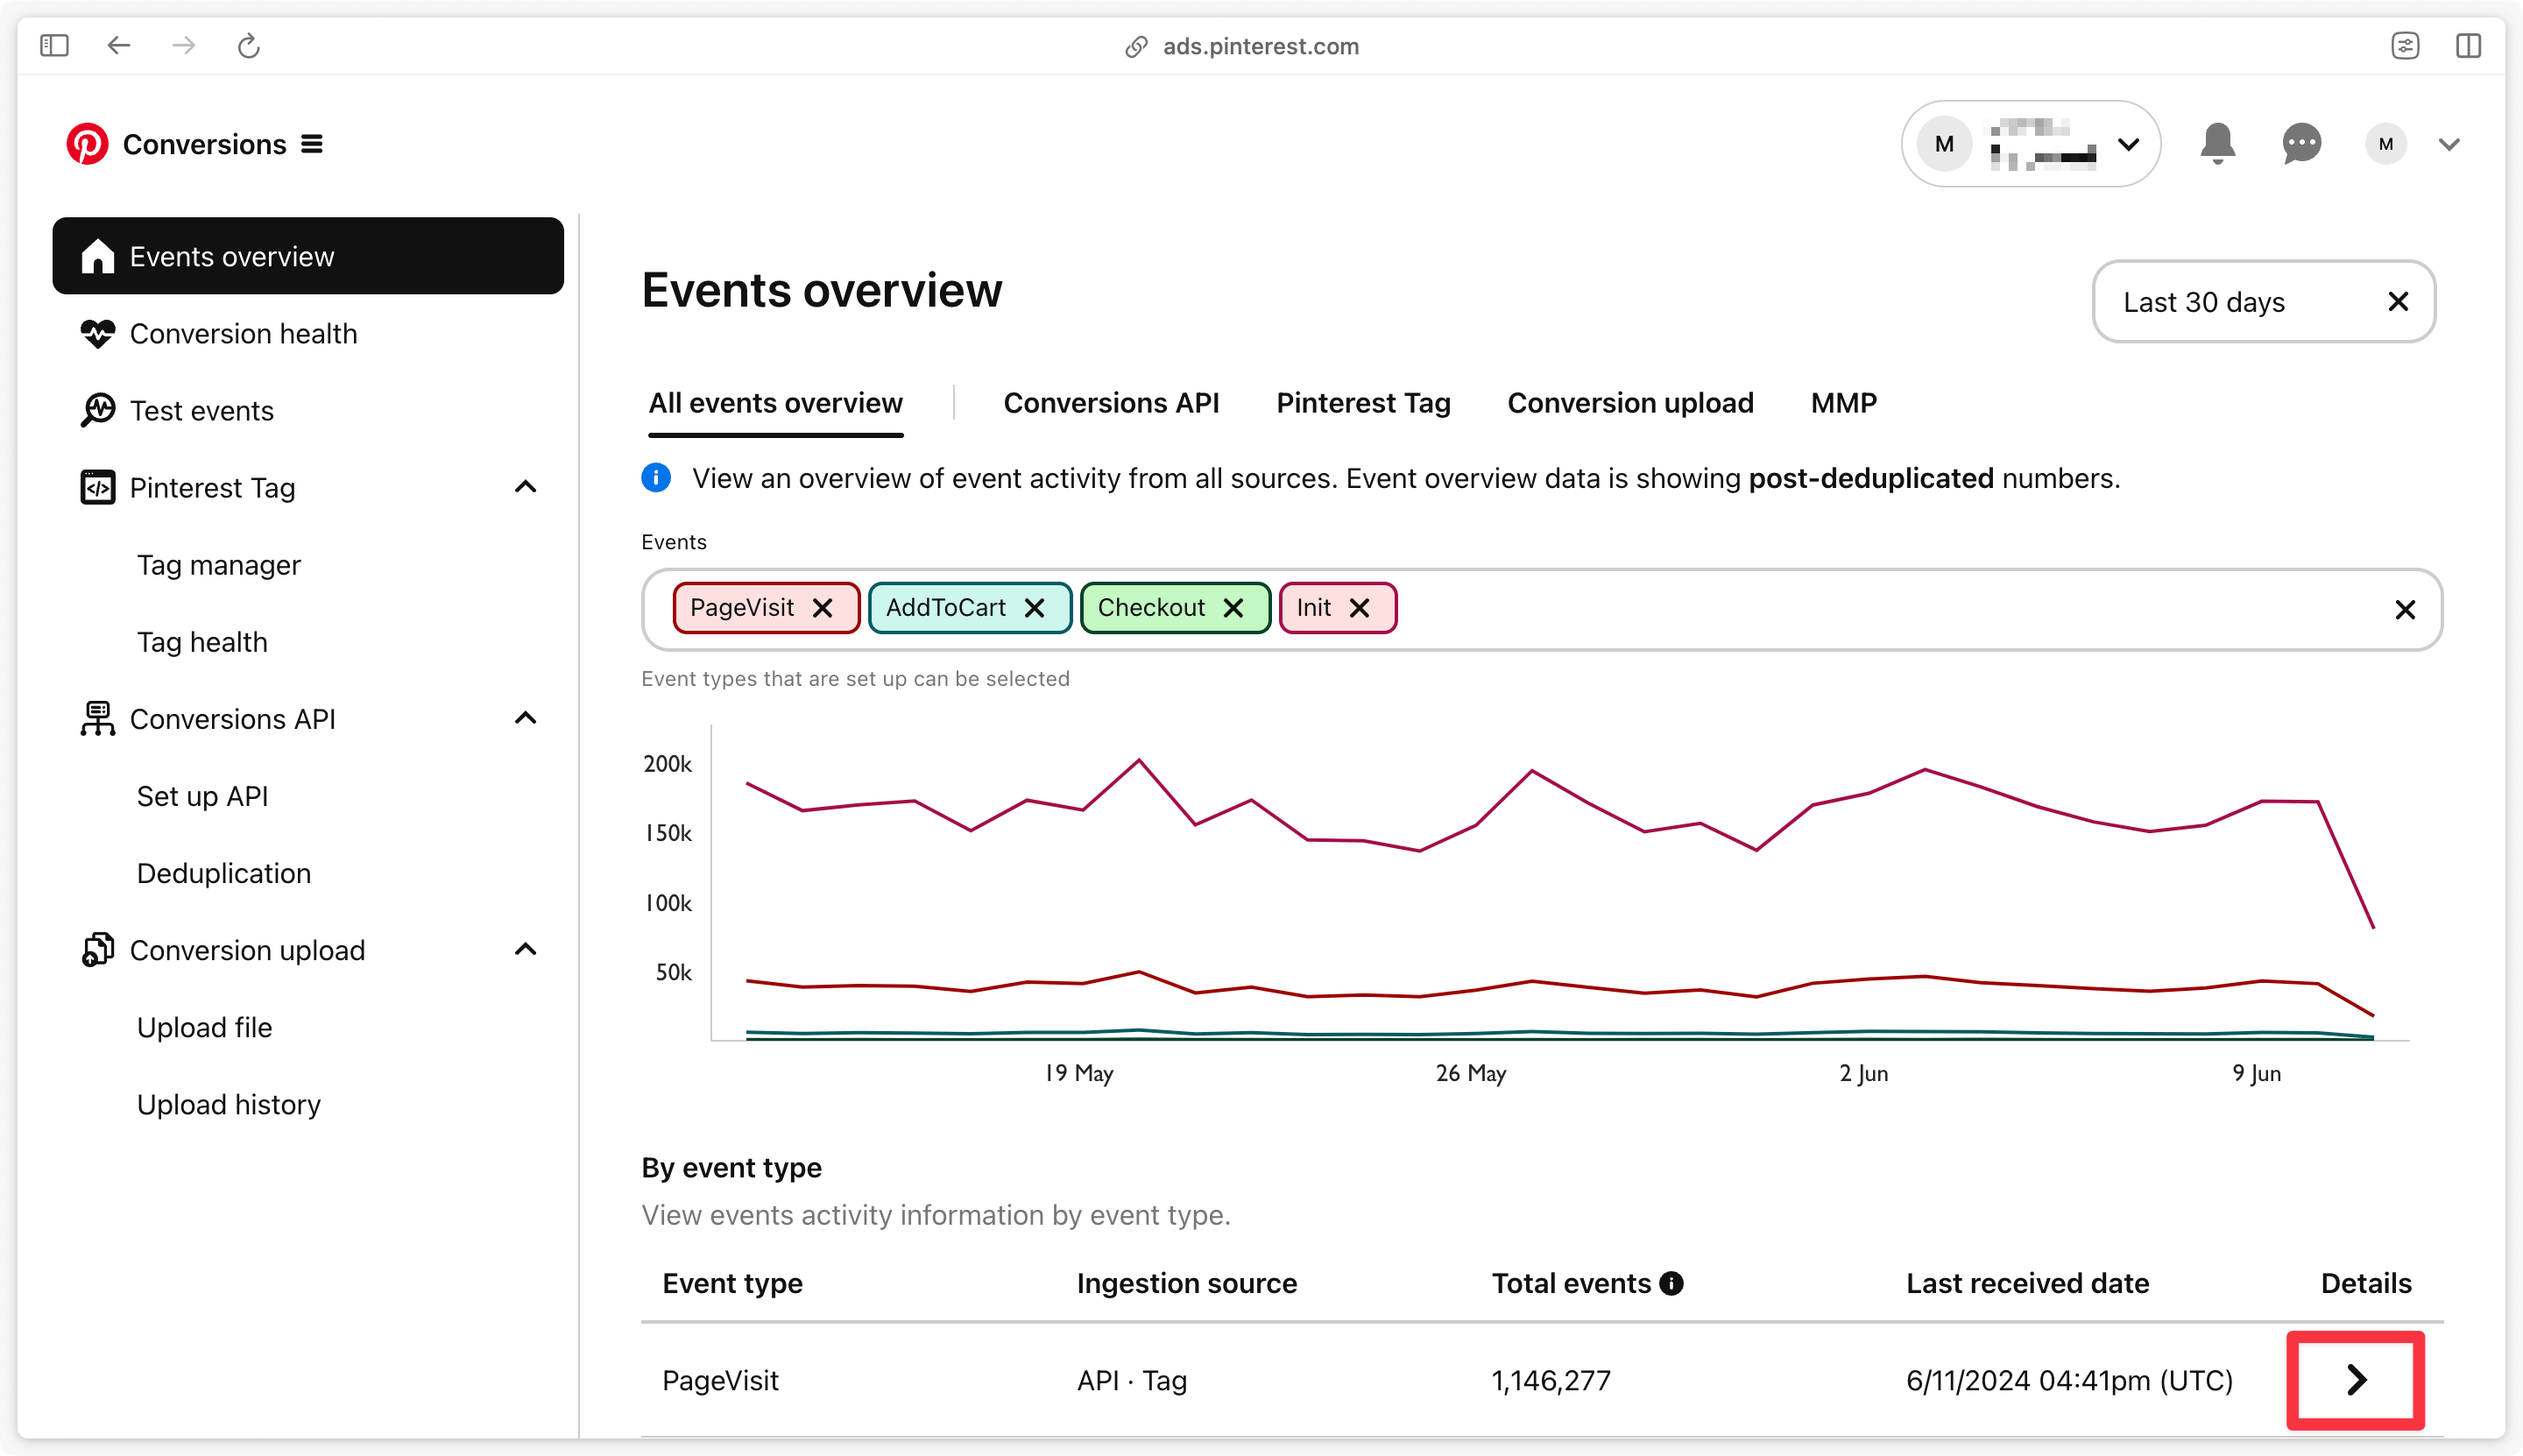
To confirm that your event data has been received, log in to your Ads account, navigate to the Account Overview menu and select Conversions under Business.
Note:If you experience any issues when connecting to or creating syncs to Pinterest Conversions, please reach out to us at [email protected], and we’ll be in touch shortly to help resolve the matter!
Updated about 1 year ago