
LiveRamp Activation
Learn how to connect and send audiences to LiveRamp destinations directly in GrowthLoop.
In this article, we’ll walk you through connecting LiveRamp Activation to GrowthLoop, selecting your activation destinations, and exporting your audience. Once the export is triggered, GrowthLoop handles the upload to LiveRamp via SFTP and routes the audience to the selected destinations.
LiveRamp is a data onboarding and identity resolution platform that helps businesses activate and measure their customer data across advertising and marketing channels.
NoteLiveRamp Activation handles both the file upload via SFTP and the delivery of your audience to the selected destination, unlike LiveRamp SFTP, which supports upload only.
Prerequisites
- Make sure you have a LiveRamp SFTP account set up and Activation API credentials available. If not, contact your LiveRamp rep to request them.
- Inform your LiveRamp rep that you’ll be uploading to GrowthLoop’s SFTP location, and ask them to map it to the correct Onboarding API audience. This step is required to ensure your files are processed correctly.
- Work with your LiveRamp rep to ensure your Onboarding API audience is configured to match the structure expected by the Activation API, with the following required columns:
RAMPIDSEGMENT_NAME
- Confirm that your Onboarding API audience is configured to support multi-valued fields. This is necessary to prevent
SEGMENT_NAMEvalues from being overwritten when a RampID appears in multiple segments.
Set up destination
- When you sign into GrowthLoop, navigate to the Destinations tab on the left sidebar and click New Destination in the top right corner.
- When the Select Destination window pops up, type LiveRamp Activation into the search bar and click Add LiveRamp Activation.
- Clicking Add LiveRamp Activation will require you to select/insert the following information:
- Destination Details
Destination Name: This is how the destination will be named and referred to in to the app going forward. It is helpful to make this name “marketer friendly” so everyone on your team knows its purpose.Sync frequency: This is the default frequency audiences will be synced to a destination. Marketers can always change frequency of an export to LiveRamp, but this sets the default.
- API Credentials
Account ID (Username): Enter the Account ID tied to your Service Account.Secret Key (Password): Enter the Secret Key associated with your Service Account.Client ID:Enter the Client ID associated with your Service Account.Organization ID: Enter your ID associated with your organization.
- SFTP Credentials
Username: The unique identifier assigned to an individual to authenticate and access the SFTP server.Password: The password associated with the username to verify identity and gain access to the SFTP server.Host: The network address or domain name of the SFTP server where the files will be transferred to or from.Port: The specific communication endpoint on the SFTP server where the connection is establishedUpload Folder: The designated directory on the SFTP server where files will be transferred or uploaded during the SFTP connection.
- Destination Details
- Go ahead and select Create, and we’ll validate we have all the proper permissions to load audience data to LiveRamp Activation. You should now see it in your list of connected destinations!
Export to destination
- Navigate to your list of audiences by clicking the Audiences tab on the left sidebar.
- Choose an existing audience or create a new one.
NoteNeed help creating audiences? Click here to learn how!
- On the audience page (whether you selected an existing audience or just created one), click the Export button in the upper-right corner.
- Search for LiveRamp Activation in the export modal and then click Select.
- In Configure Match Field Settings, select the column from your dataset that corresponds to the RampID match field. This ensures your audience data is properly matched during export.
- Next step is to configure your Export Settings. This is where you define how, when, and where your audience data is sent.
Export Name: Automatically populated with your audience name for easy identification in the destination.Campaign Type: Choose between One Time to export the audience once or Ongoing to continuously export new audience members as they qualify.Activated Destinations: Select one or more destinations that have already been connected and authorized in your LiveRamp account. These are the downstream channels where your audience data will ultimately be delivered.Export Schedule: Configure the Frequency, Start Date, End Date, and specific Days of the Week (only for Ongoing exports).
- Finally, click Export to send the audience to LiveRamp Activation!
Note:LiveRamp typically takes 12–72 hours to ingest the audience, depending on the size of the file. Once ingestion is complete, GrowthLoop automatically triggers distribution to your selected destinations. Please note that each destination processes data on its own timeline. For example:
- Facebook may take 1-5 days to fully process and activate the audience.
- DV360 can take 5-10 days.
Timing may vary depending on the destination’s internal processing schedules and requirements.
Audience bucketing
For organizations that manage a large number of audiences, GrowthLoop supports automatic audience bucketing on LiveRamp connections. This feature distributes audience files across numbered subfolders (e.g., /uploads/1/, /uploads/2/, … /uploads/10/) within your configured upload folder to stay within LiveRamp's per-folder ingestion limits.
Bucketing works identically for both LiveRamp SFTP and LiveRamp Activation connections. For full details on how bucketing works, capacity planning, and how to enable it, see Audience bucketing in LiveRamp SFTP.
Find your audience
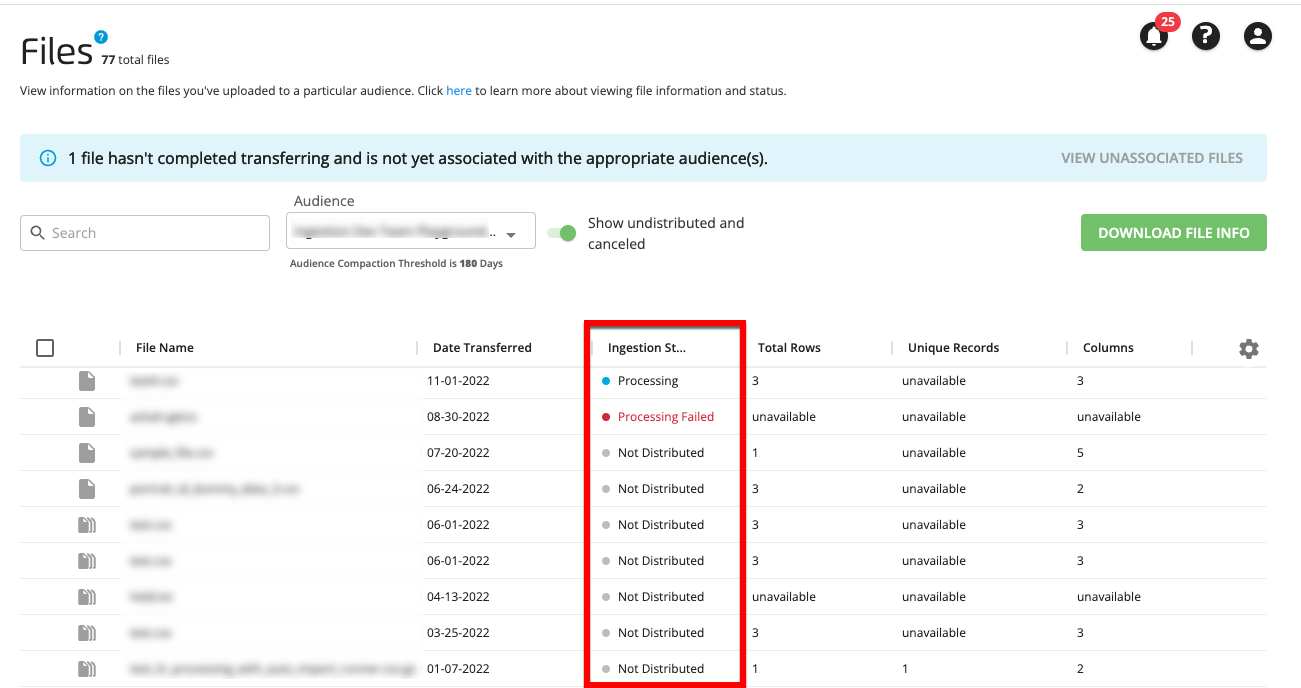
To locate your audience, log in to your LiveRamp account and navigate to the Files page. There, you’ll see your audience listed along with key metadata such as Date Transferred, Ingestion Status, Total Rows, Unique Records, and Columns.
NoteExperiencing any issues when connecting to LiveRamp Activation? Reach out to us at [email protected] and we’ll be in-touch shortly to help resolve the matter!
Updated 1 day ago