Braze
In this tutorial, you’ll set up Braze as a destination platform.
In this tutorial, you’ll set up Braze as a destination platform, which enables you to export audiences to Braze to support marketing campaigns. Before connecting Braze to the GrowthLoop application, we will walk through the requirements below:
- Configure Braze Rest API Key
- Define API URL
Configure Braze REST API Key
Before connecting the GrowthLoop application to the Braze destination, you will need to create a new REST API key. In the Braze UI, scroll to the bottom of the left hand options, and select Developer Console.
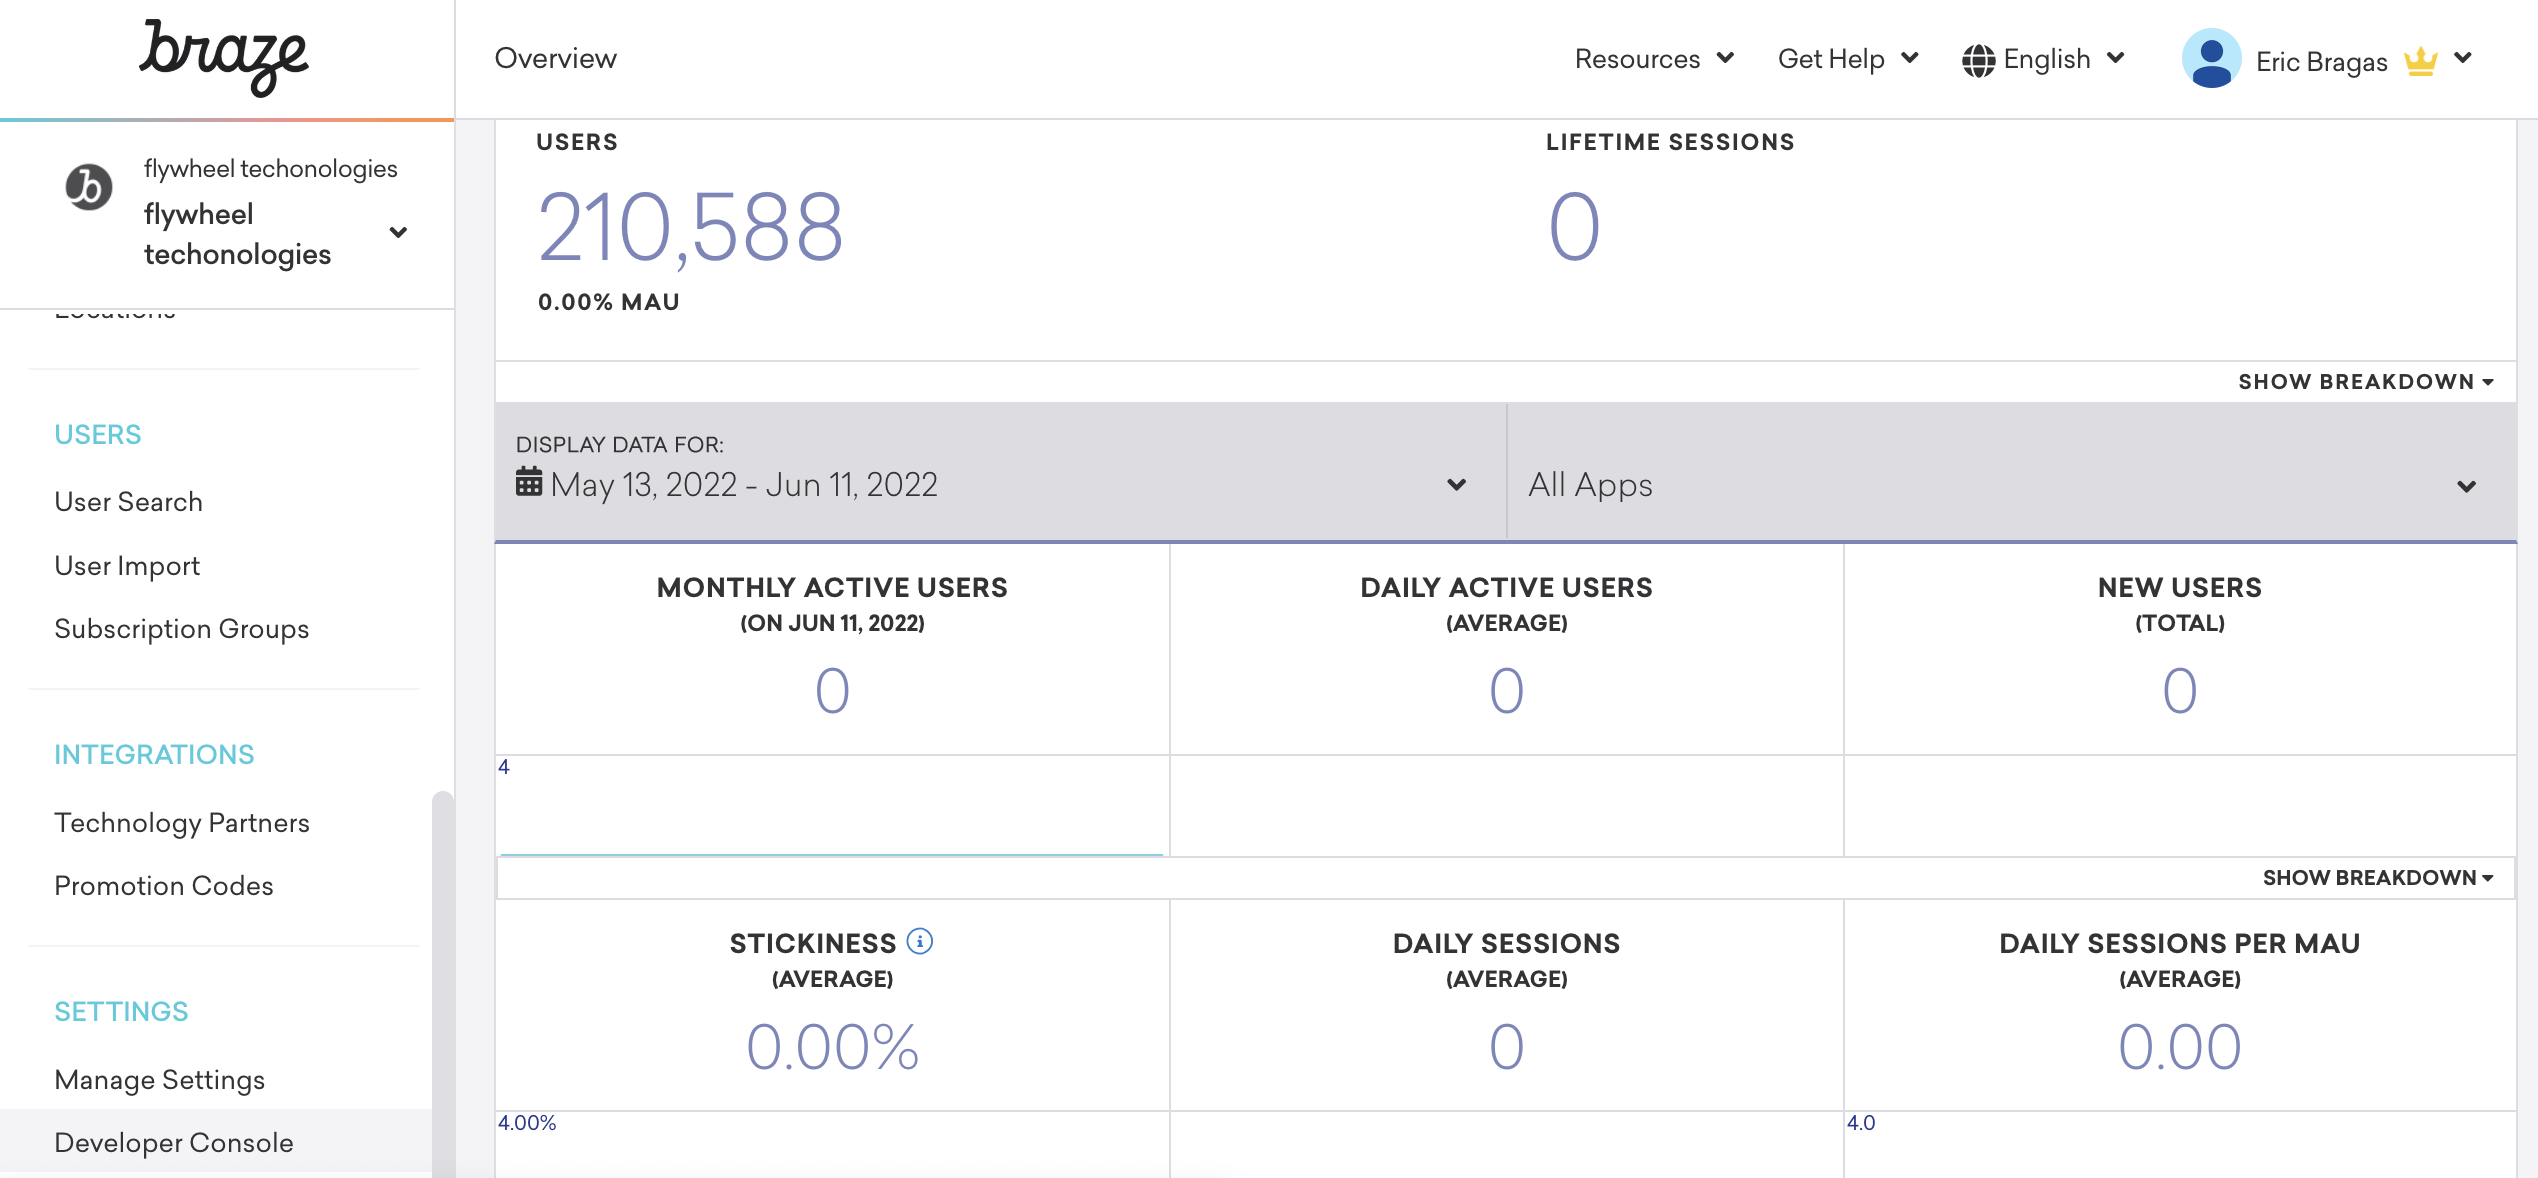
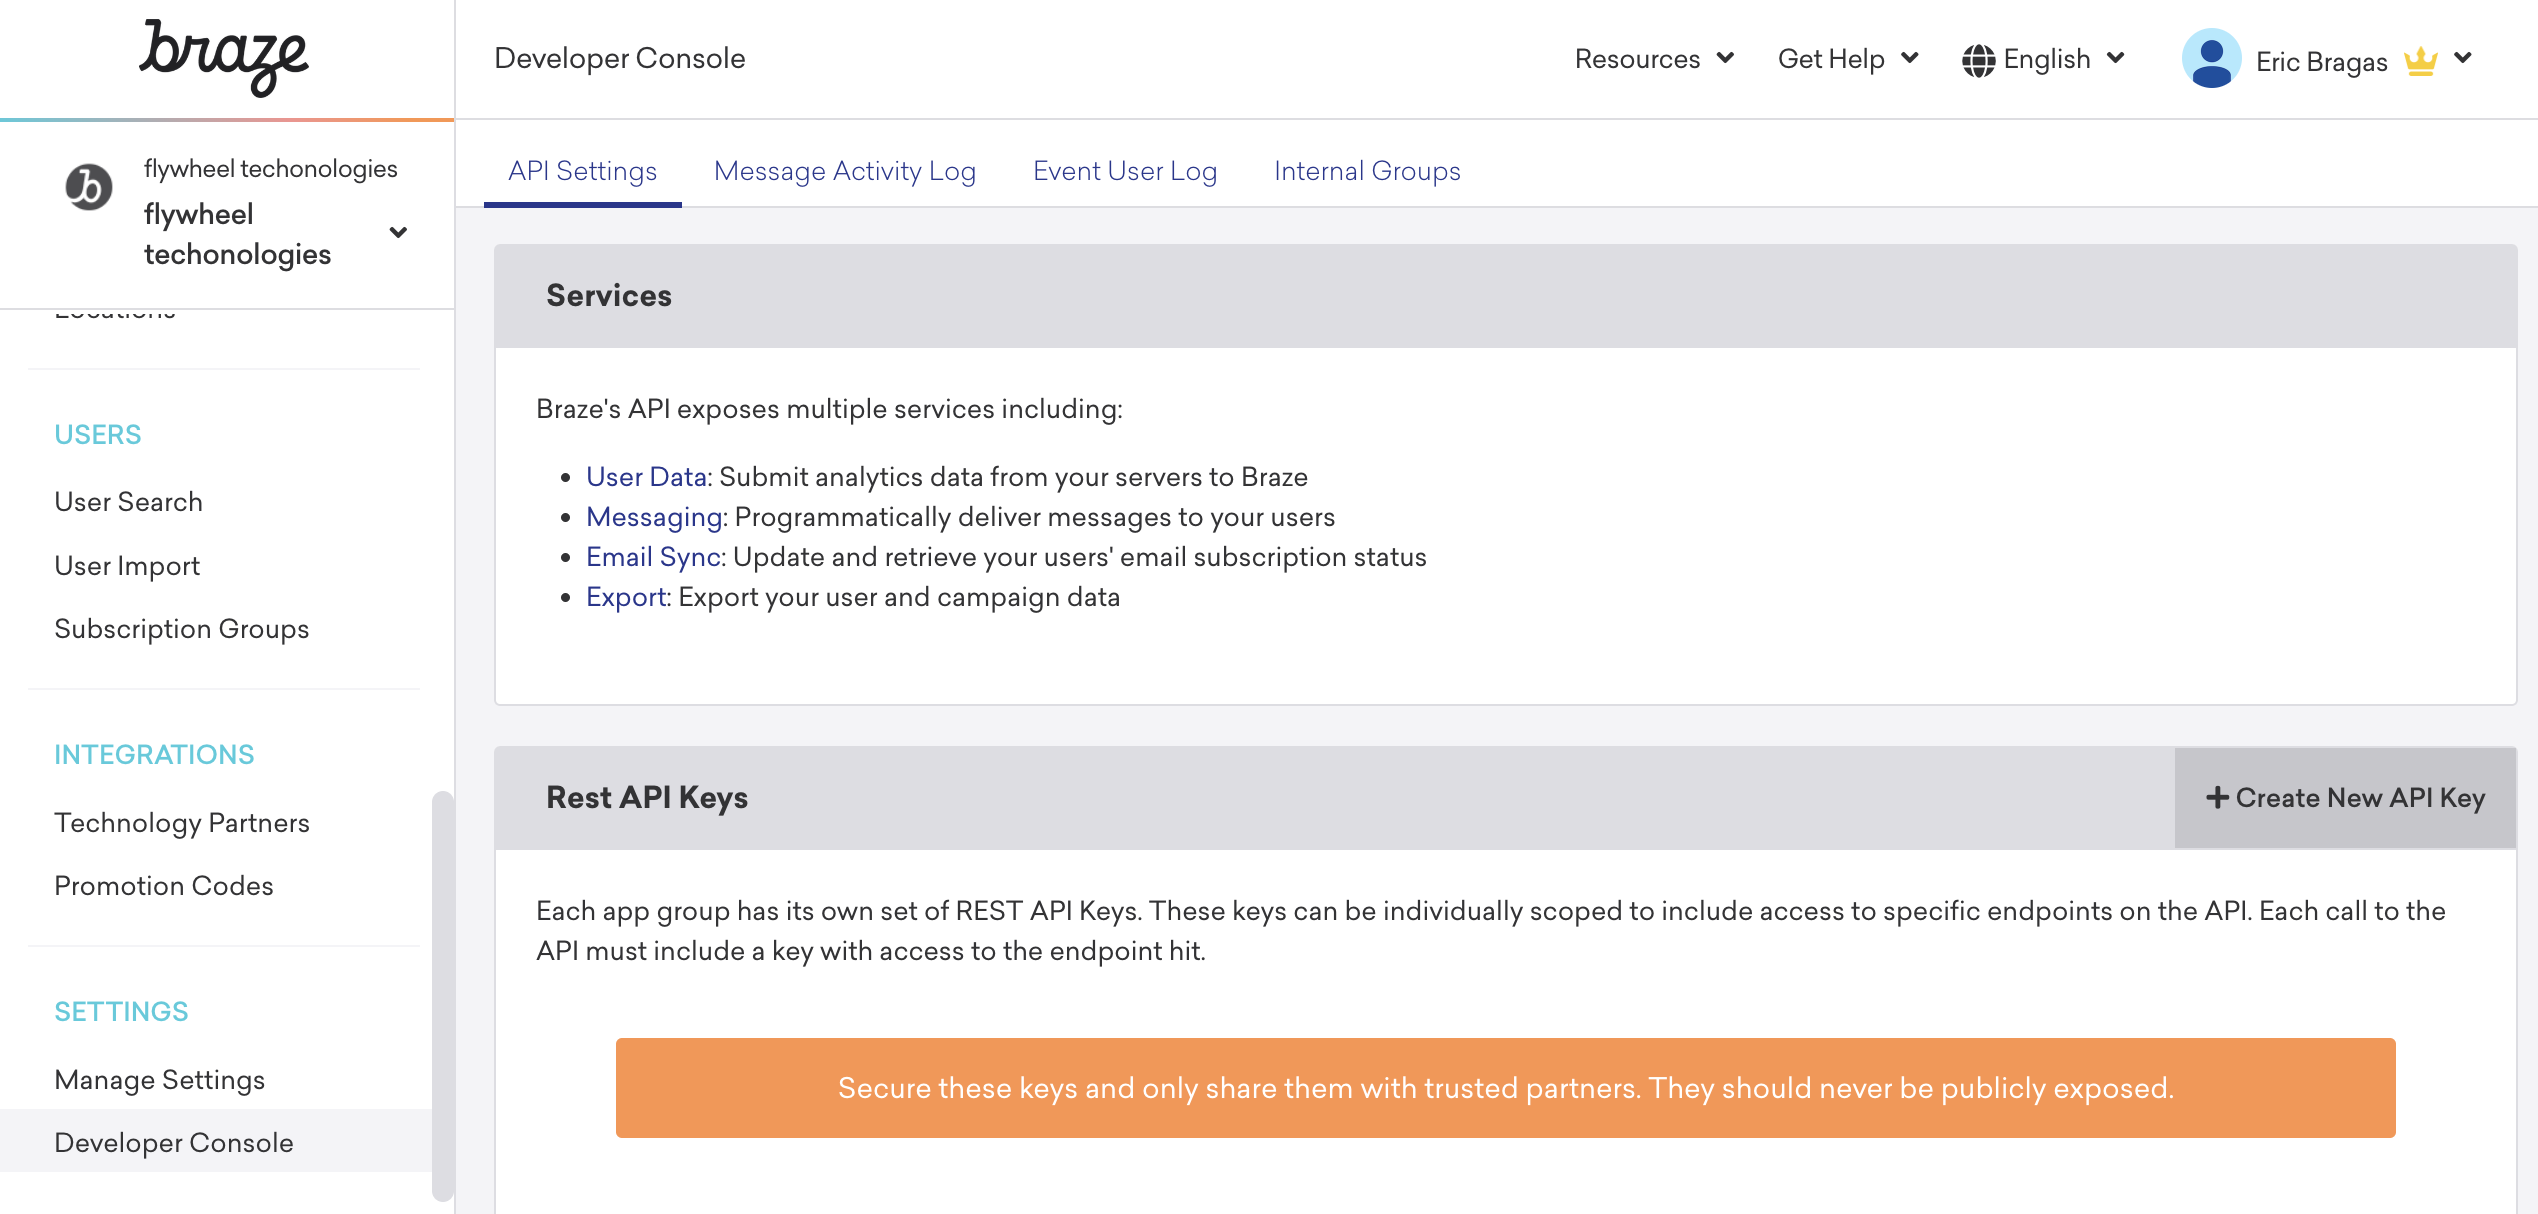
If you have an available REST API key, feel free to use that. However, we recommend creating a new API key by clicking Create New API Key in the Rest API Keys section. ****
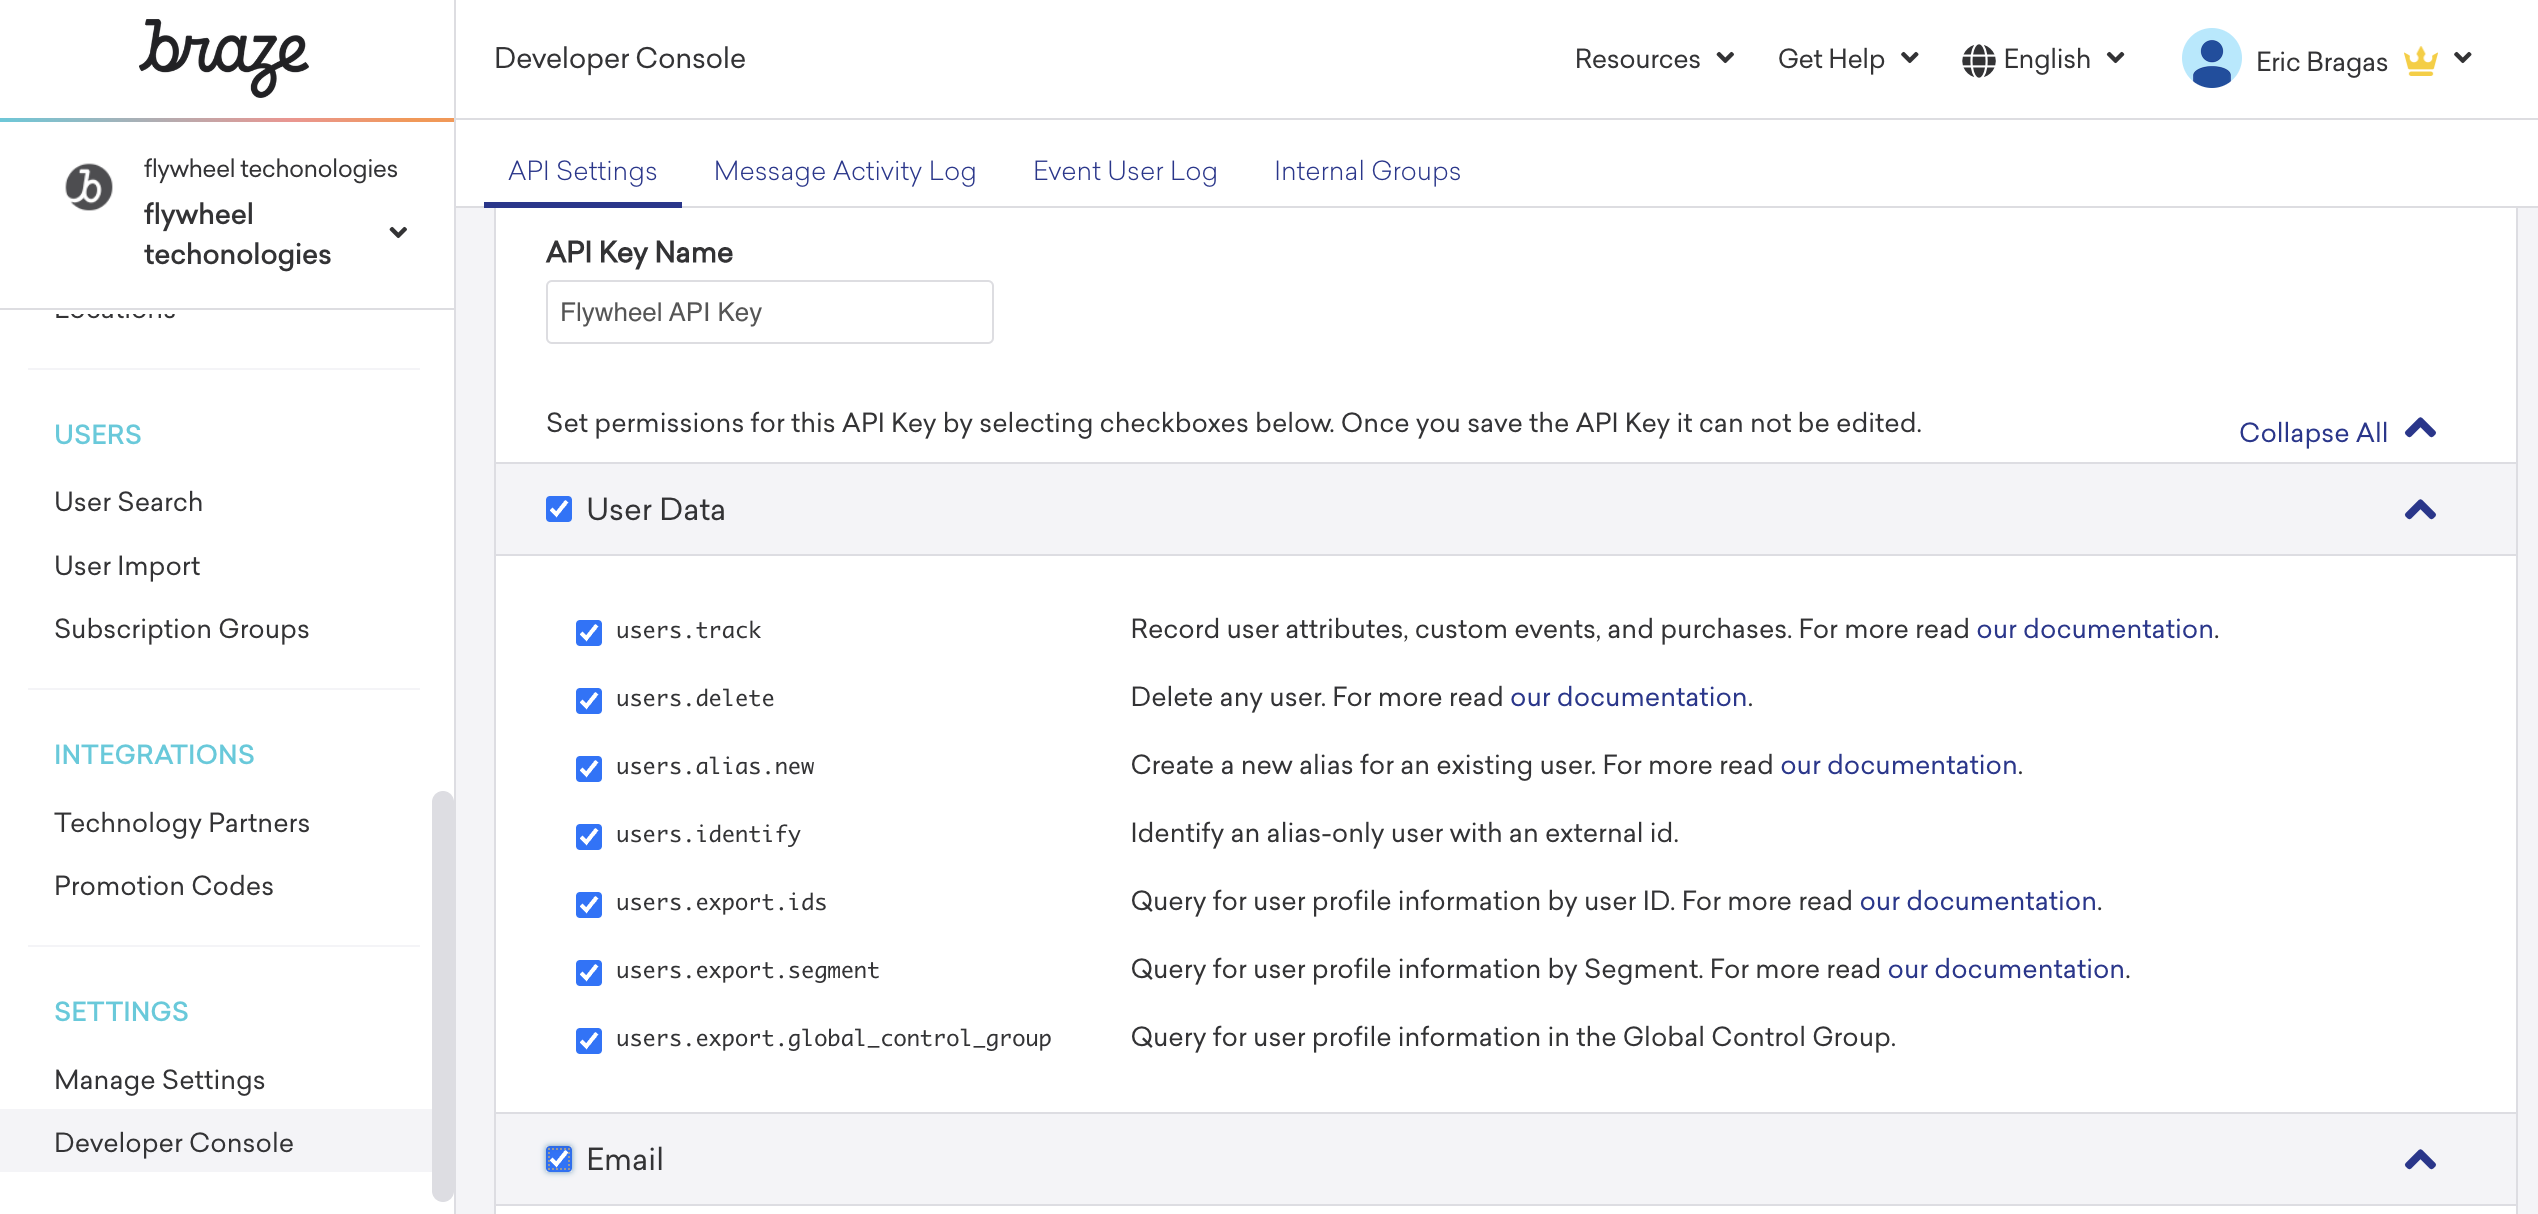
Give your new API key a name, like GrowthLoop API Key, and provide all the permissions offered to the API key. Note: click the checkbox in the grey headers to select all permissions within a section, instead of 1-by-1 manually selecting each. When you reach the bottom, click Save API Key. You don’t need to whitelist the IP.
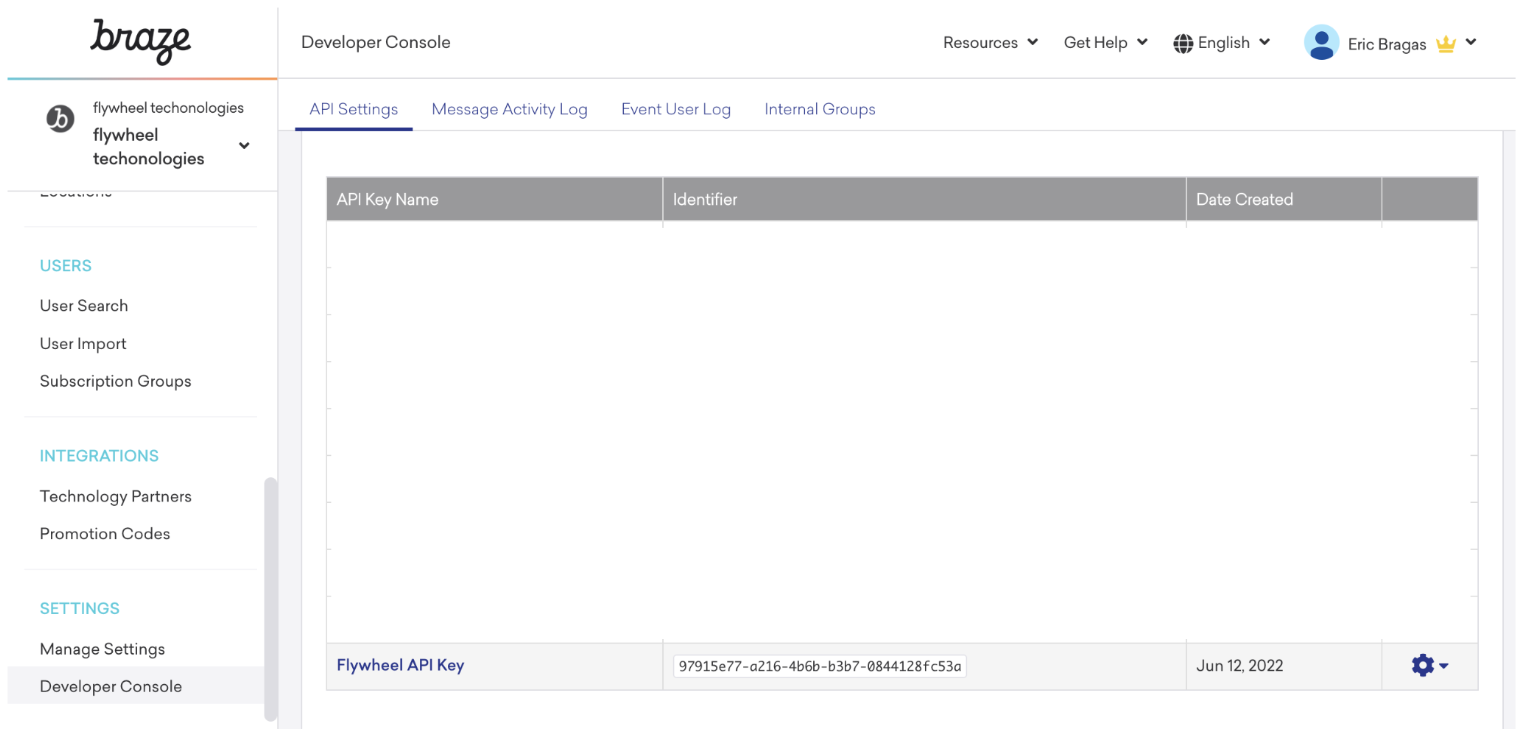
You will return to the API keys section. Scroll down to see the new API key you just generated. Copy and save the “identifier”. This will be needed next to connect the destination to the GrowthLoop application.
Define API URL
To connect to Braze in the GrowthLoop application, you will need to know the API URL. In the Braze UI, scroll down to the bottom of the menus on the left and click on Manage Settings. On the right hand side, see SDK Endpoint. In the example below, you can see sdk.iad-03.braze.com.
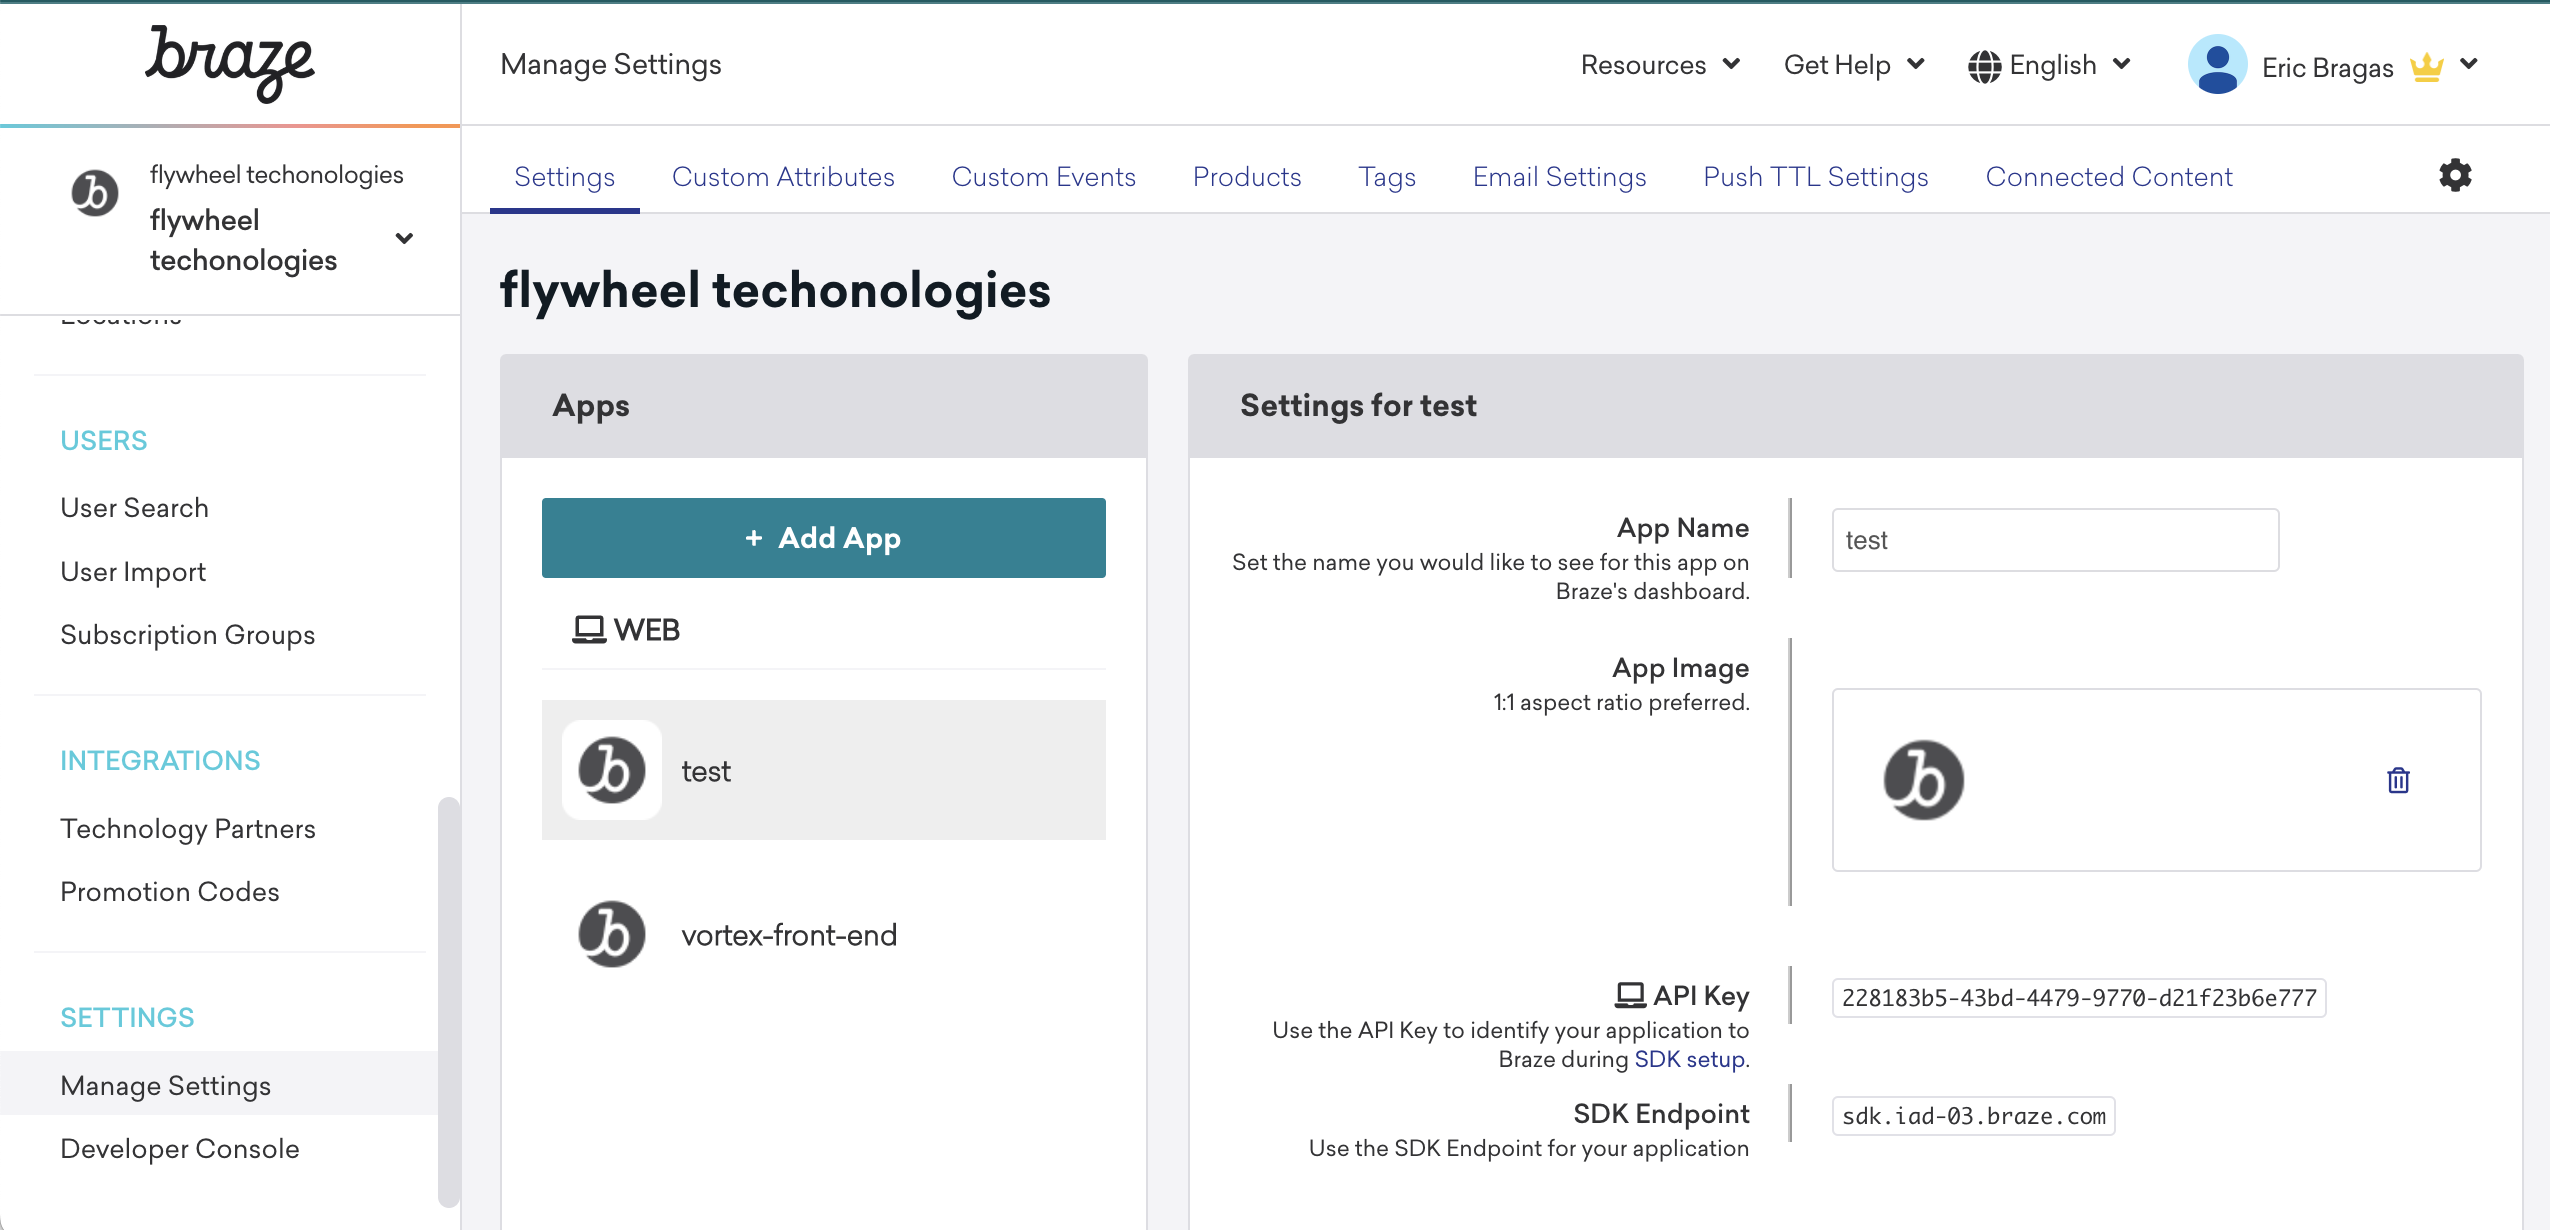
In another tab, visit this Braze API Overview website. Scroll down to the Endpoints section, and find the URL that matches your Braze URL. Copy the Rest Endpoint for your instance and save it somewhere easily accessible. In the example we are using, the SDK Endpoint contains -03, and therefore the instance to be used is US-03. The Rest Endpoint / API URL would then be https://rest.iad-03.braze.com.
Connecting to the App
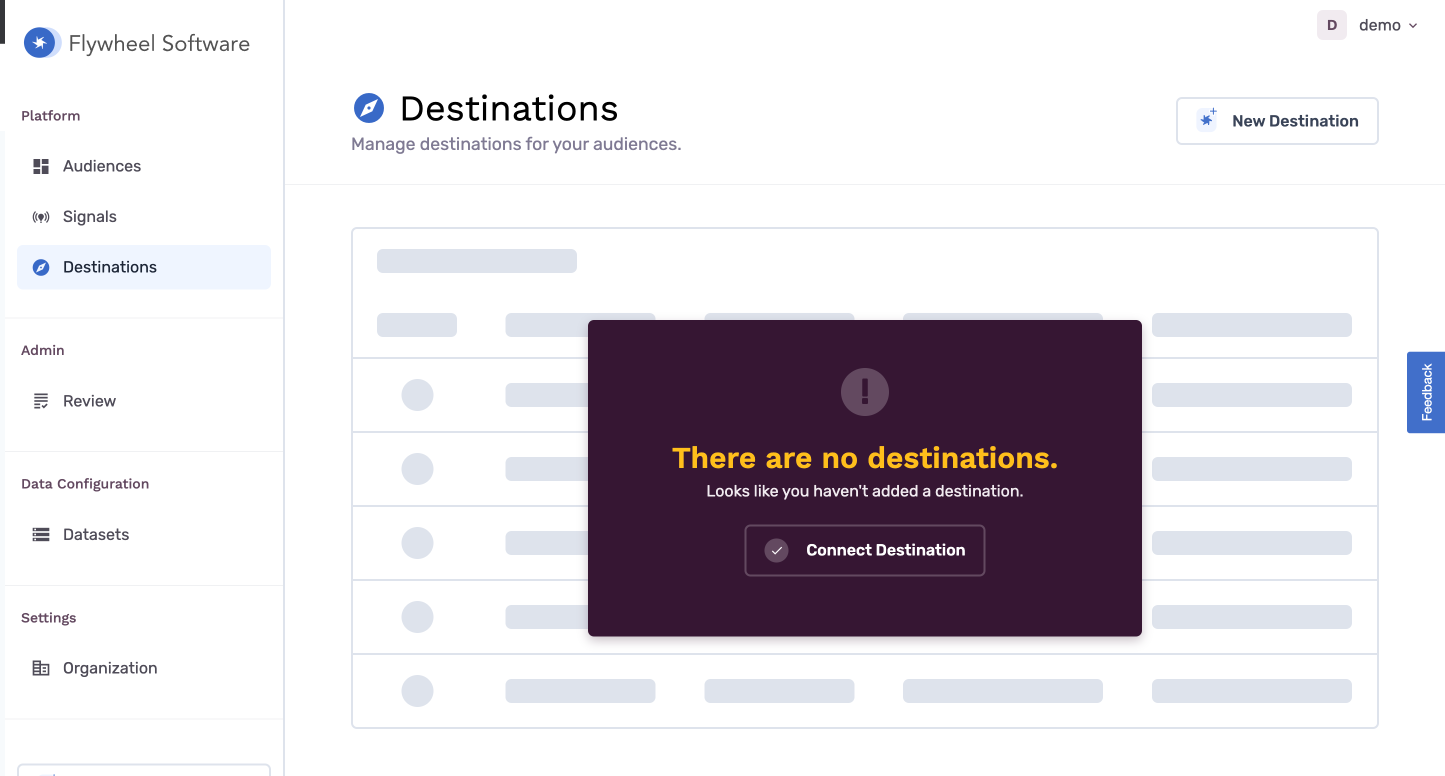
When you sign into the Segmentation Platform, navigate to the Destinations tab on the left sidebar and click New Destination in the top right corner.
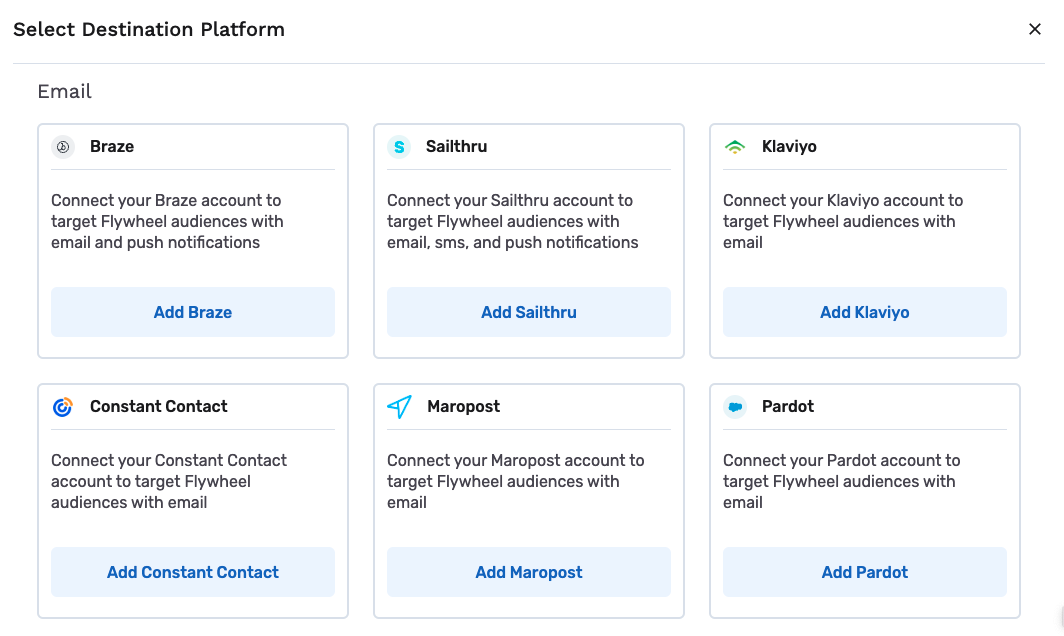
Scroll until you can find Braze, and click Add Braze.
A popup will appear to configure the connection to the destination.
- Destination Name: This is how the destination will be named and referred to in the app going forward.
- Sync Frequency: Select Daily or Hourly, this will control how often GrowthLoop exports audiences to Braze.
- API Key: API key created in the requirements, with the necessary permissions.
- API URL: URL as defined in the requirements. To find the correct API URL, refer to this table to match the URL of the dashboard you use with the corresponding REST Endpoint.
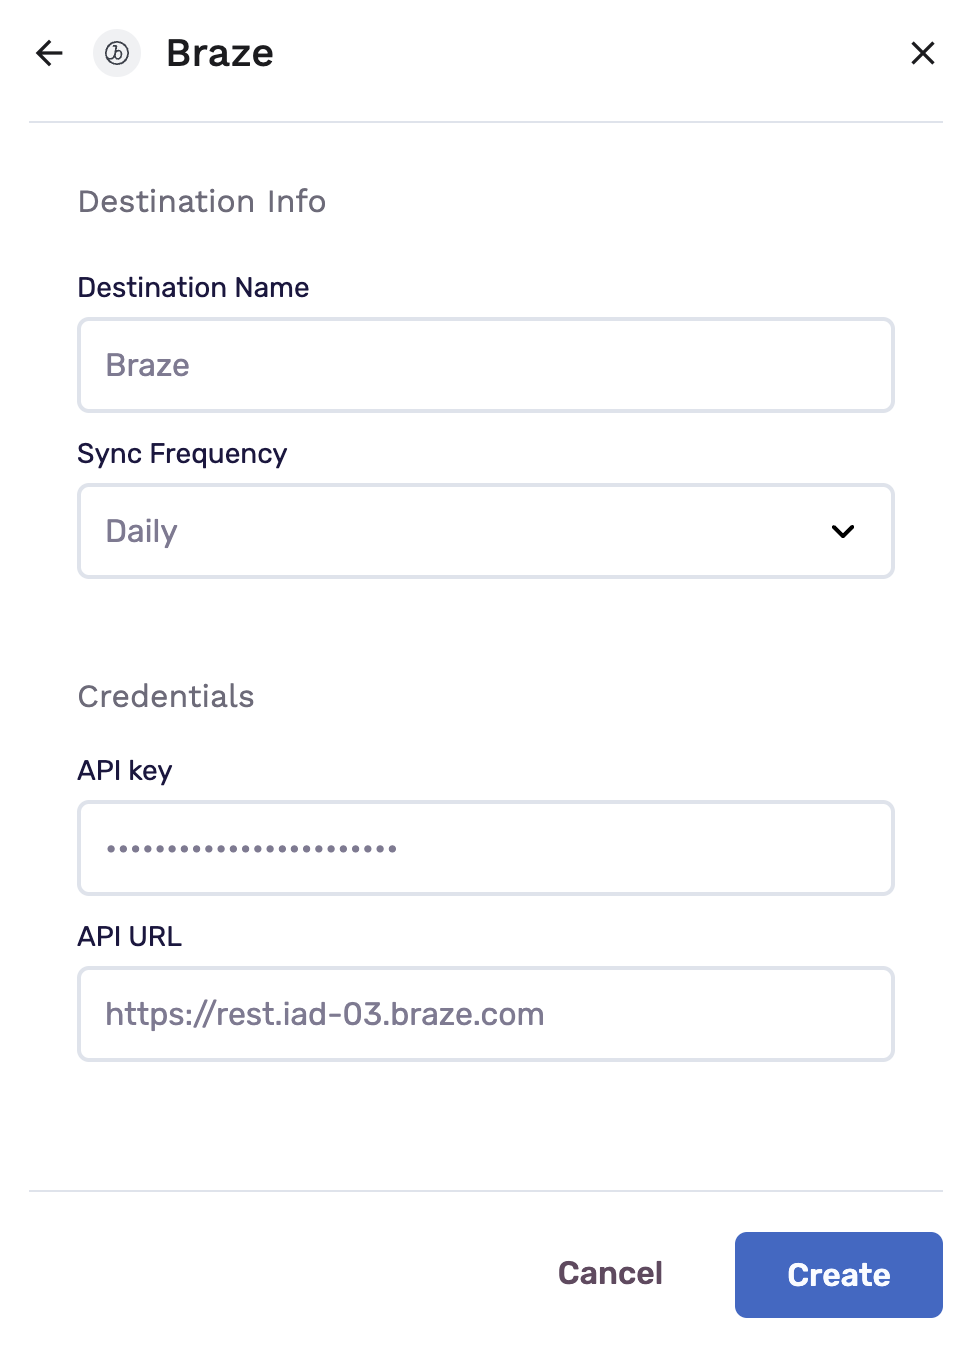
Click Create and you are ready to export your first audience to Braze!
Finding an Exported Audience in Braze
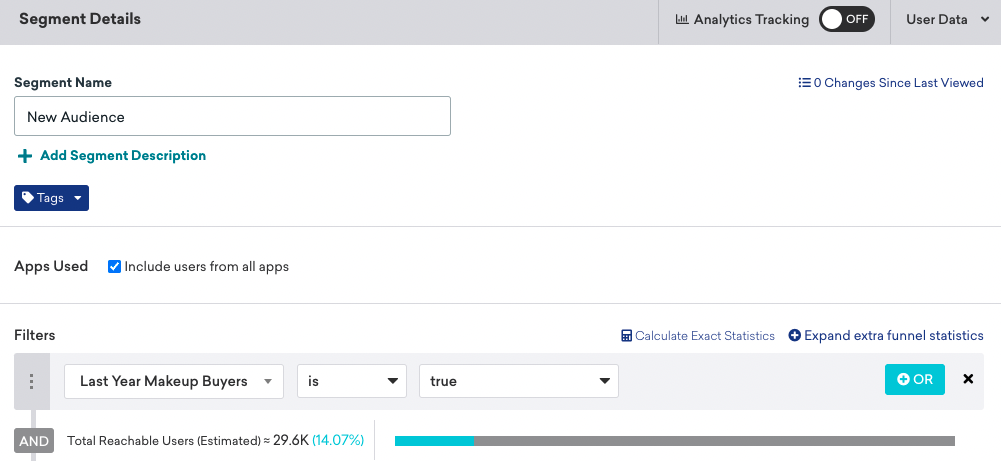
After you have exported an audience to the Braze destination, navigate to the Braze UI. Log in to the account, and under Segments, select Custom Attributes as a filter. Look at the options within Customer Attributes, and you'll find the audience list that you exported.
Updated 9 months ago