
TheTradeDesk
Learn how to connect and send audiences to TheTradeDesk
In this Help Center article, we will walk you through the steps to get TheTradeDesk connected as a destination in the GrowthLoop web application. Once connected, you will be able to send your audience segments to TheTradeDesk for marketing activation!
Note:If you're looking to connect to TheTradeDesk CRM please refer to this doc for details.
Prerequisites
- Make sure you have an account. If not, get in touch with TheTradeDesk here!
- Have your First Party Data Key and Advertiser ID ready. Locate them in the Advertiser Preferences section in your TheTradeDesk account.
Set up destination
- Log into GrowthLoop and click the Destinations tab on the left sidebar.
- Then click New Destinations on the upper right side.
- Next, search for TheTradeDesk in the destination modal and click Add TheTradeDesk.
- Enter the required information in the modal, then click Create.
- Destination Name: This is how the destination will be named and referred to in to the app going forward. It is helpful to make this name “marketer friendly” so everyone on your team knows it’s purpose.
- Sync frequency: This is the default frequency audiences will be synced to a destination. Marketers can always change the frequency of an export to TheTradeDesk, but this sets the default.
- First Party Data Key and Advertiser ID: For these 2 parameters, you can navigate to your account on TheTradeDesk and select the Ads Account you want to add as a destination (as per the screenshot below).

Export to destination
- Navigate to your list of audiences by clicking the Audiences tab on the left sidebar.
- Choose an existing audience or create a new one. Need help creating? Click here to learn how!
- Once created, click the Export button on the upper right side.
- Search for TheTradeDesk in the export modal and then click Add TheTradeDesk.
- Map at least one user identifier. Here's what is currently supported:
- UID2: A 256-bit UID2 represented as a base64-encoded string.
- Trade Desk ID (TDID): A 36-character ID (including dashes) assigned by The Trade Desk for a user.
- Raw Device ID (DAID): The raw device ID for the user, provided in a 36-character GUID format, including dashes. This can be either the iOS IDFA or Android's AAID.
- RampID: A 49-character or 70-character RampID, previously known as IdentityLink. This RampID must be specifically mapped for The Trade Desk through LiveRamp. For mapping instructions, refer to LiveRamp documentation.
- ID5: Data providers holding these IDs should communicate directly with ID5 to obtain the necessary decryption keys. For more information, visit the ID5 website. NOTE: The ID5 ID must be in decrypted form.
- IDL: LiveRamp Identity Link
- UID2Token: An encrypted UID2 token.
NoteMapping more fields leads to a higher match rate!
- Configure your export settings:
- Export Name: Automatically populated with your audience name for easy identification in the destination.
- Campaign Type: Choose between a one-time export or ongoing basis.
- Export Schedule: Set the frequency, start date, end date, and specific days of the week.
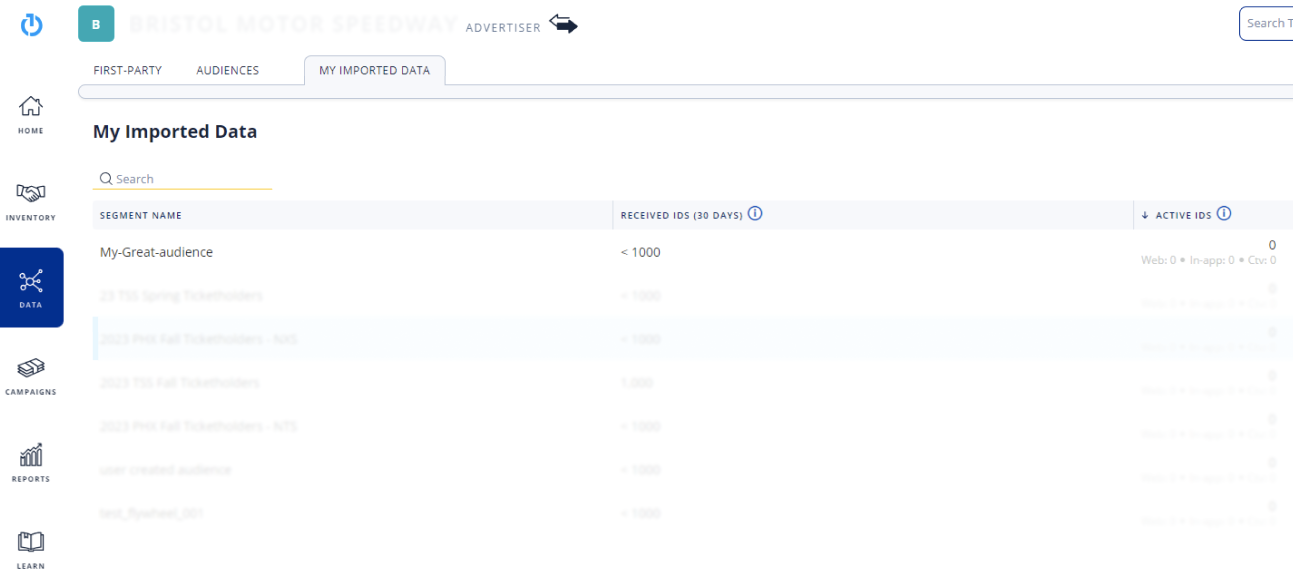
- Lastly, click Export. Congrats on successfully exporting an audience to TheTradeDesk! To view your audience, log in to your account, click the Data tab, and select My Imported Data.
NoteExperiencing any issues when connecting to The Trade Desk? Reach out to us at [email protected] and we’ll be in touch shortly to help resolve the matter!
Updated about 1 year ago
What’s Next
Learn how to maximize your paid media match rates with Match Maximizer.
Did this page help you?