
Sailthru
In this Help Center article, we will walk you through the steps to get Sailthru connected as a destination in the GrowthLoop web application. Once connected, you will be able to send your audience segments to it for marketing activation!
Set up the destination
-
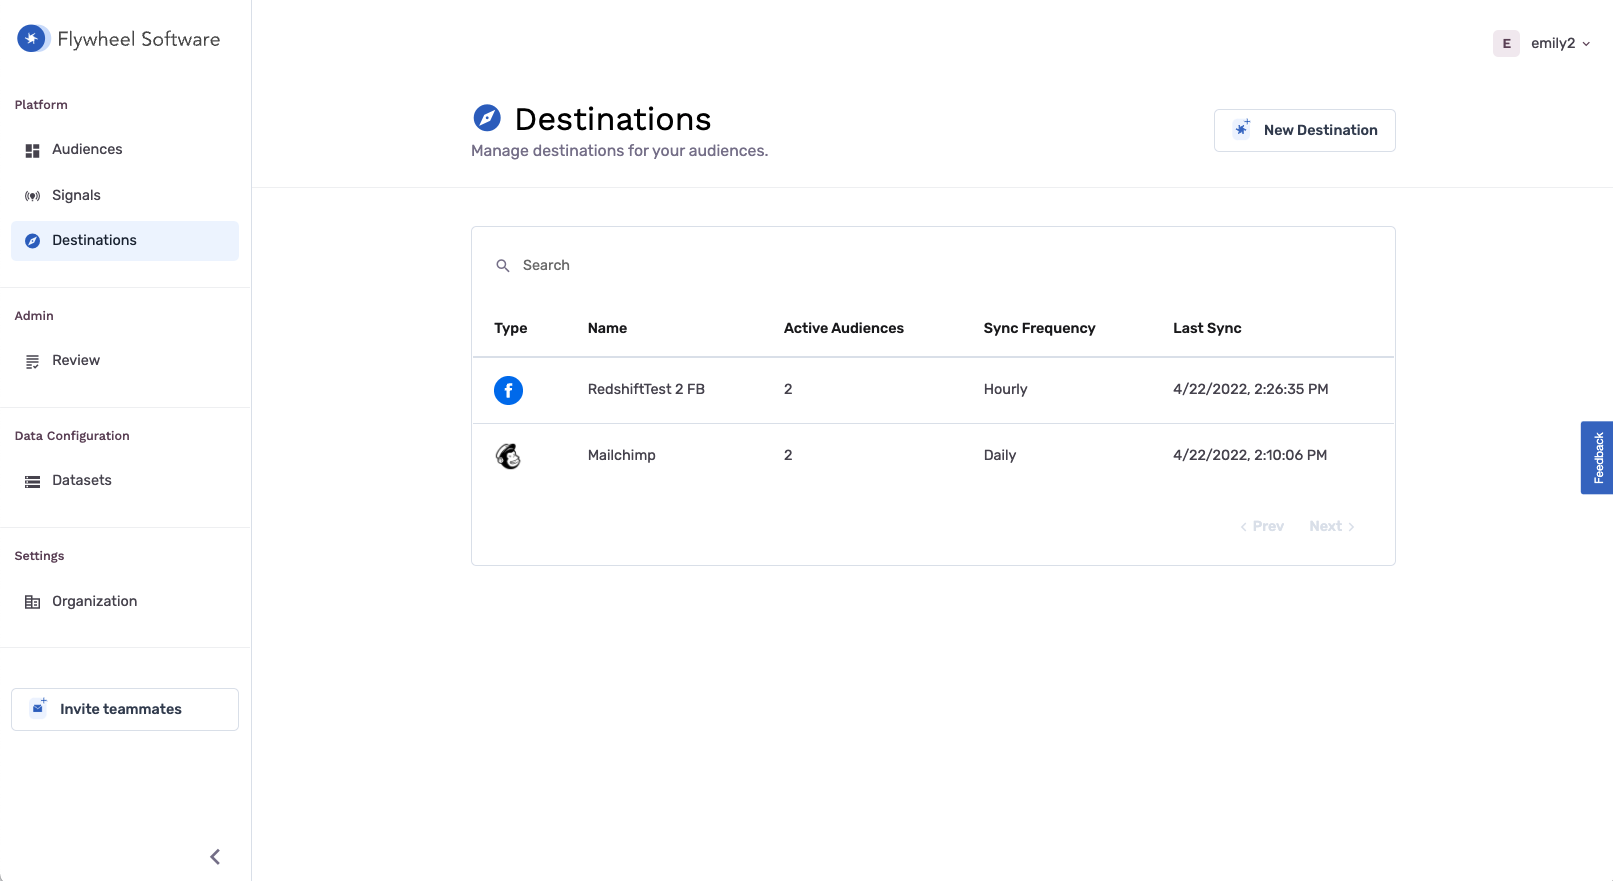
Navigate to the Destinations tab on the left sidebar and click New Destination in the top right corner.
-
When the Select Destination window pops up, type Sailthru into the Search Bar and click Add Sailthru.

-
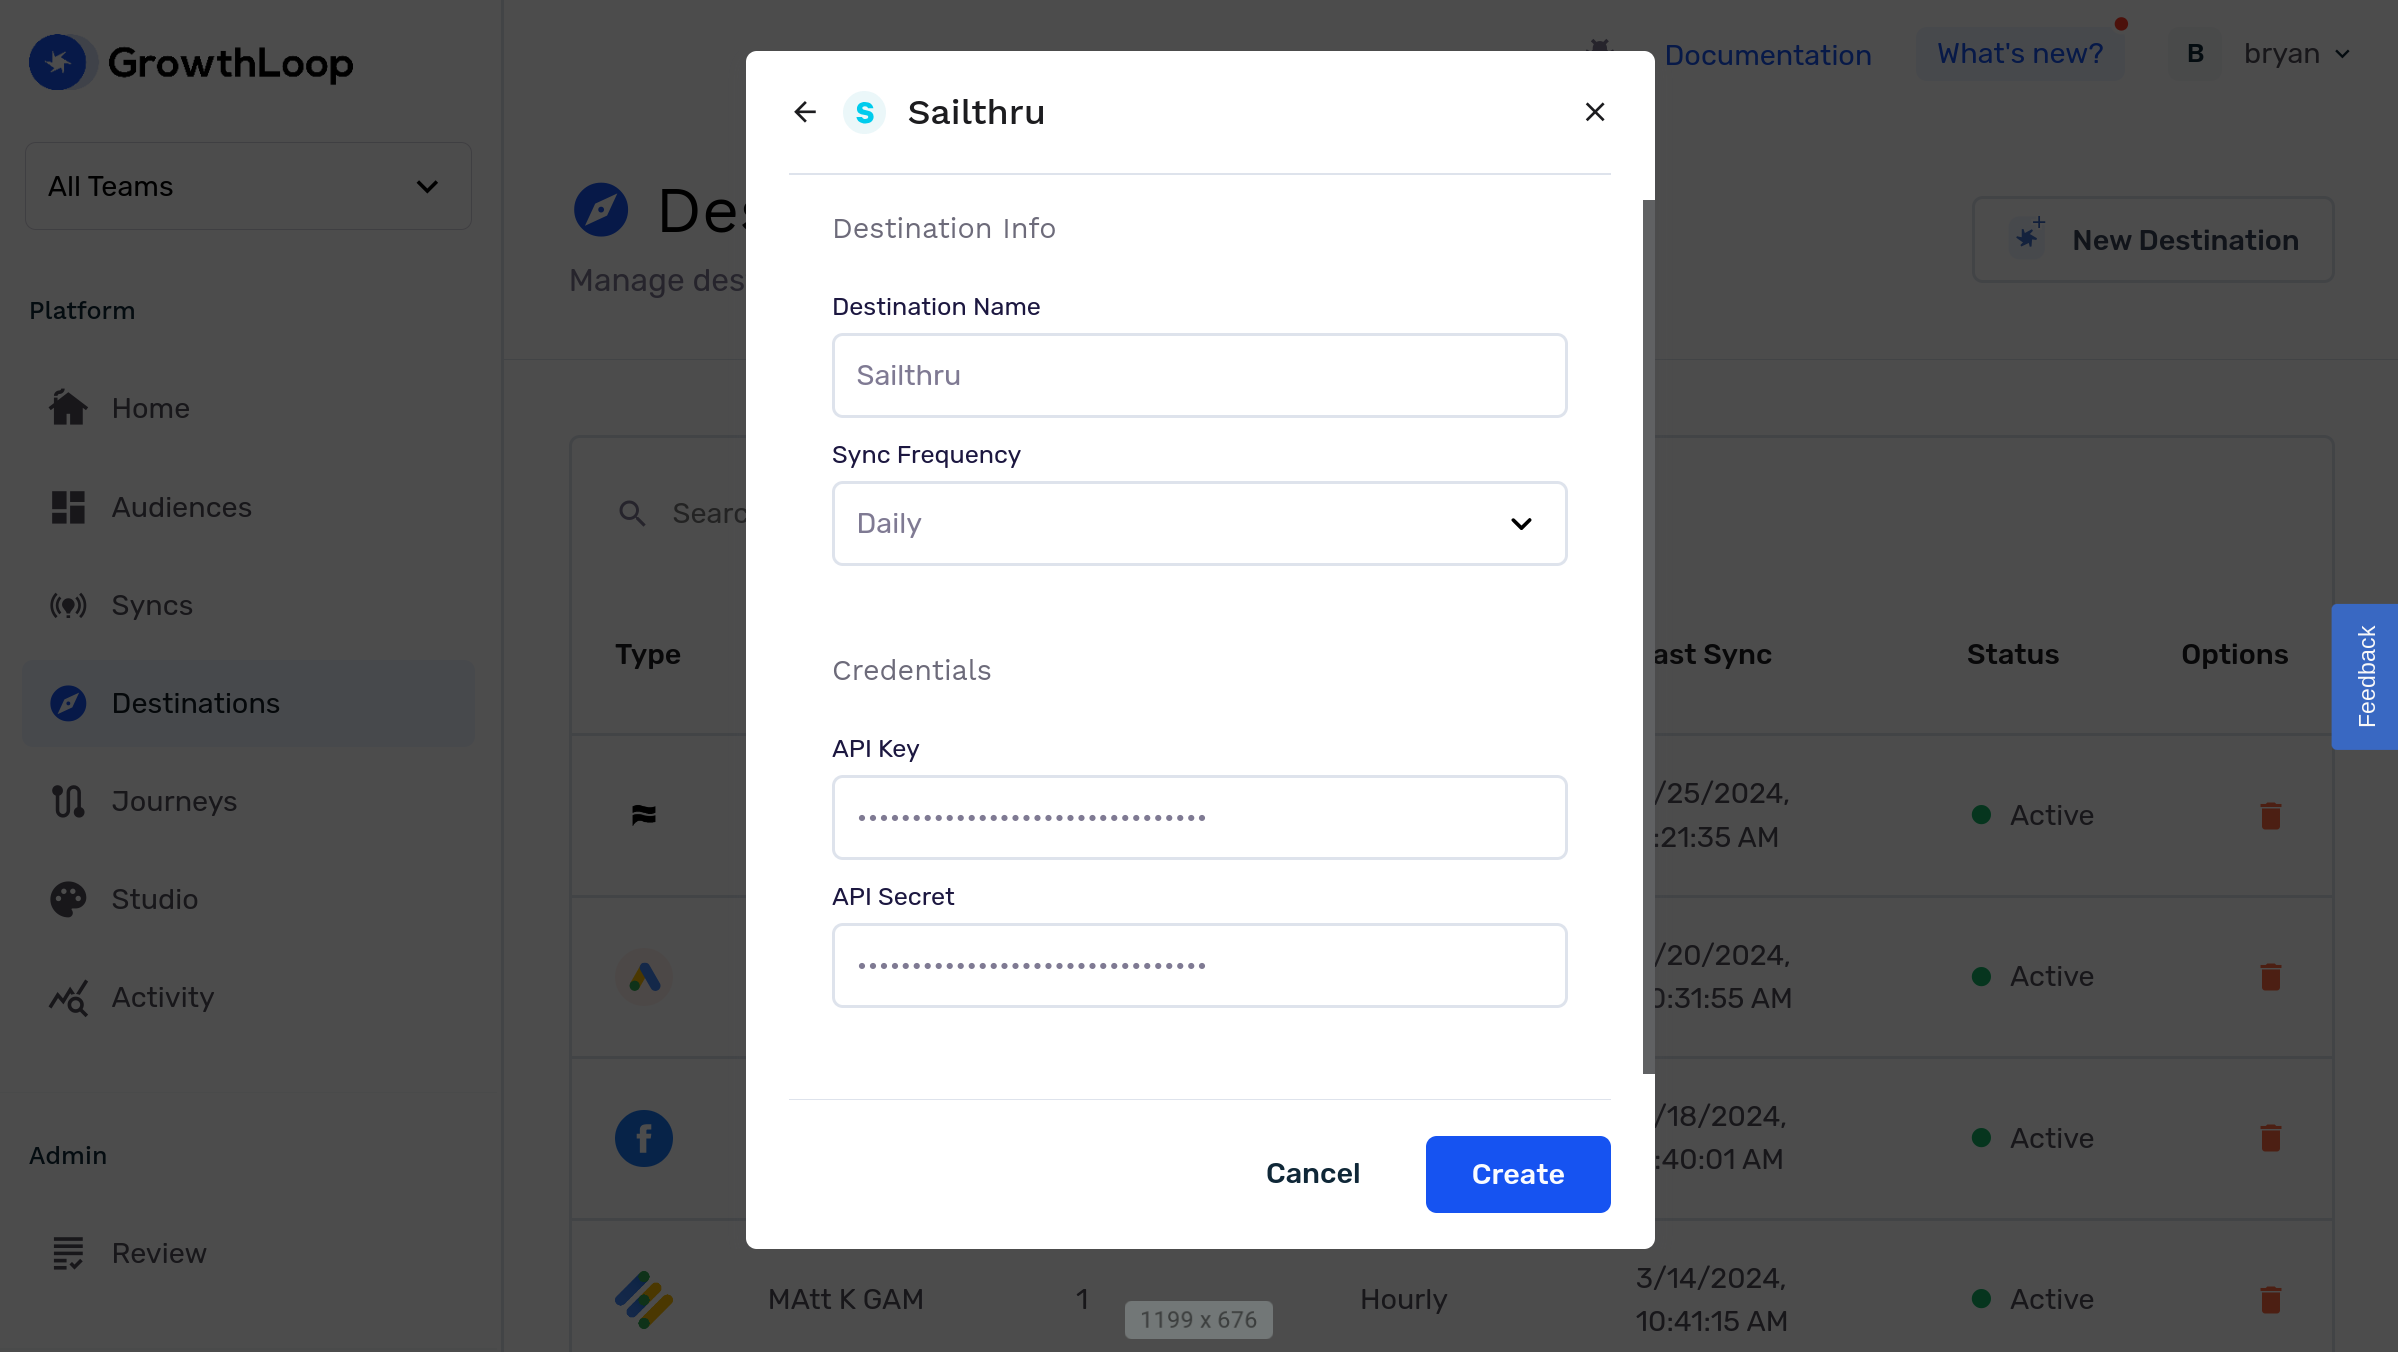
Clicking Sailthru will require you to select/insert the following information:
- Destination Name: This is how the destination will be named and referred to in the app going forward. It is helpful to make this name “marketer friendly” so everyone on your team knows it’s purpose.
- Sync frequency: This is the default frequency your audiences will be synced to a destination. Marketers can always change the frequency of an export, but this sets the default.
- API Key and API Secret: To retrieve these two parameters, login to your Sailthru account, navigate to the API Postbacks page, and click on the lock icon next to "API Key and Secret". Once revealed, copy and paste them into the designated fields.
-
Once all required information is provided, the Create button will turn blue. Click it to finalize the destination.
Export to the destination
-
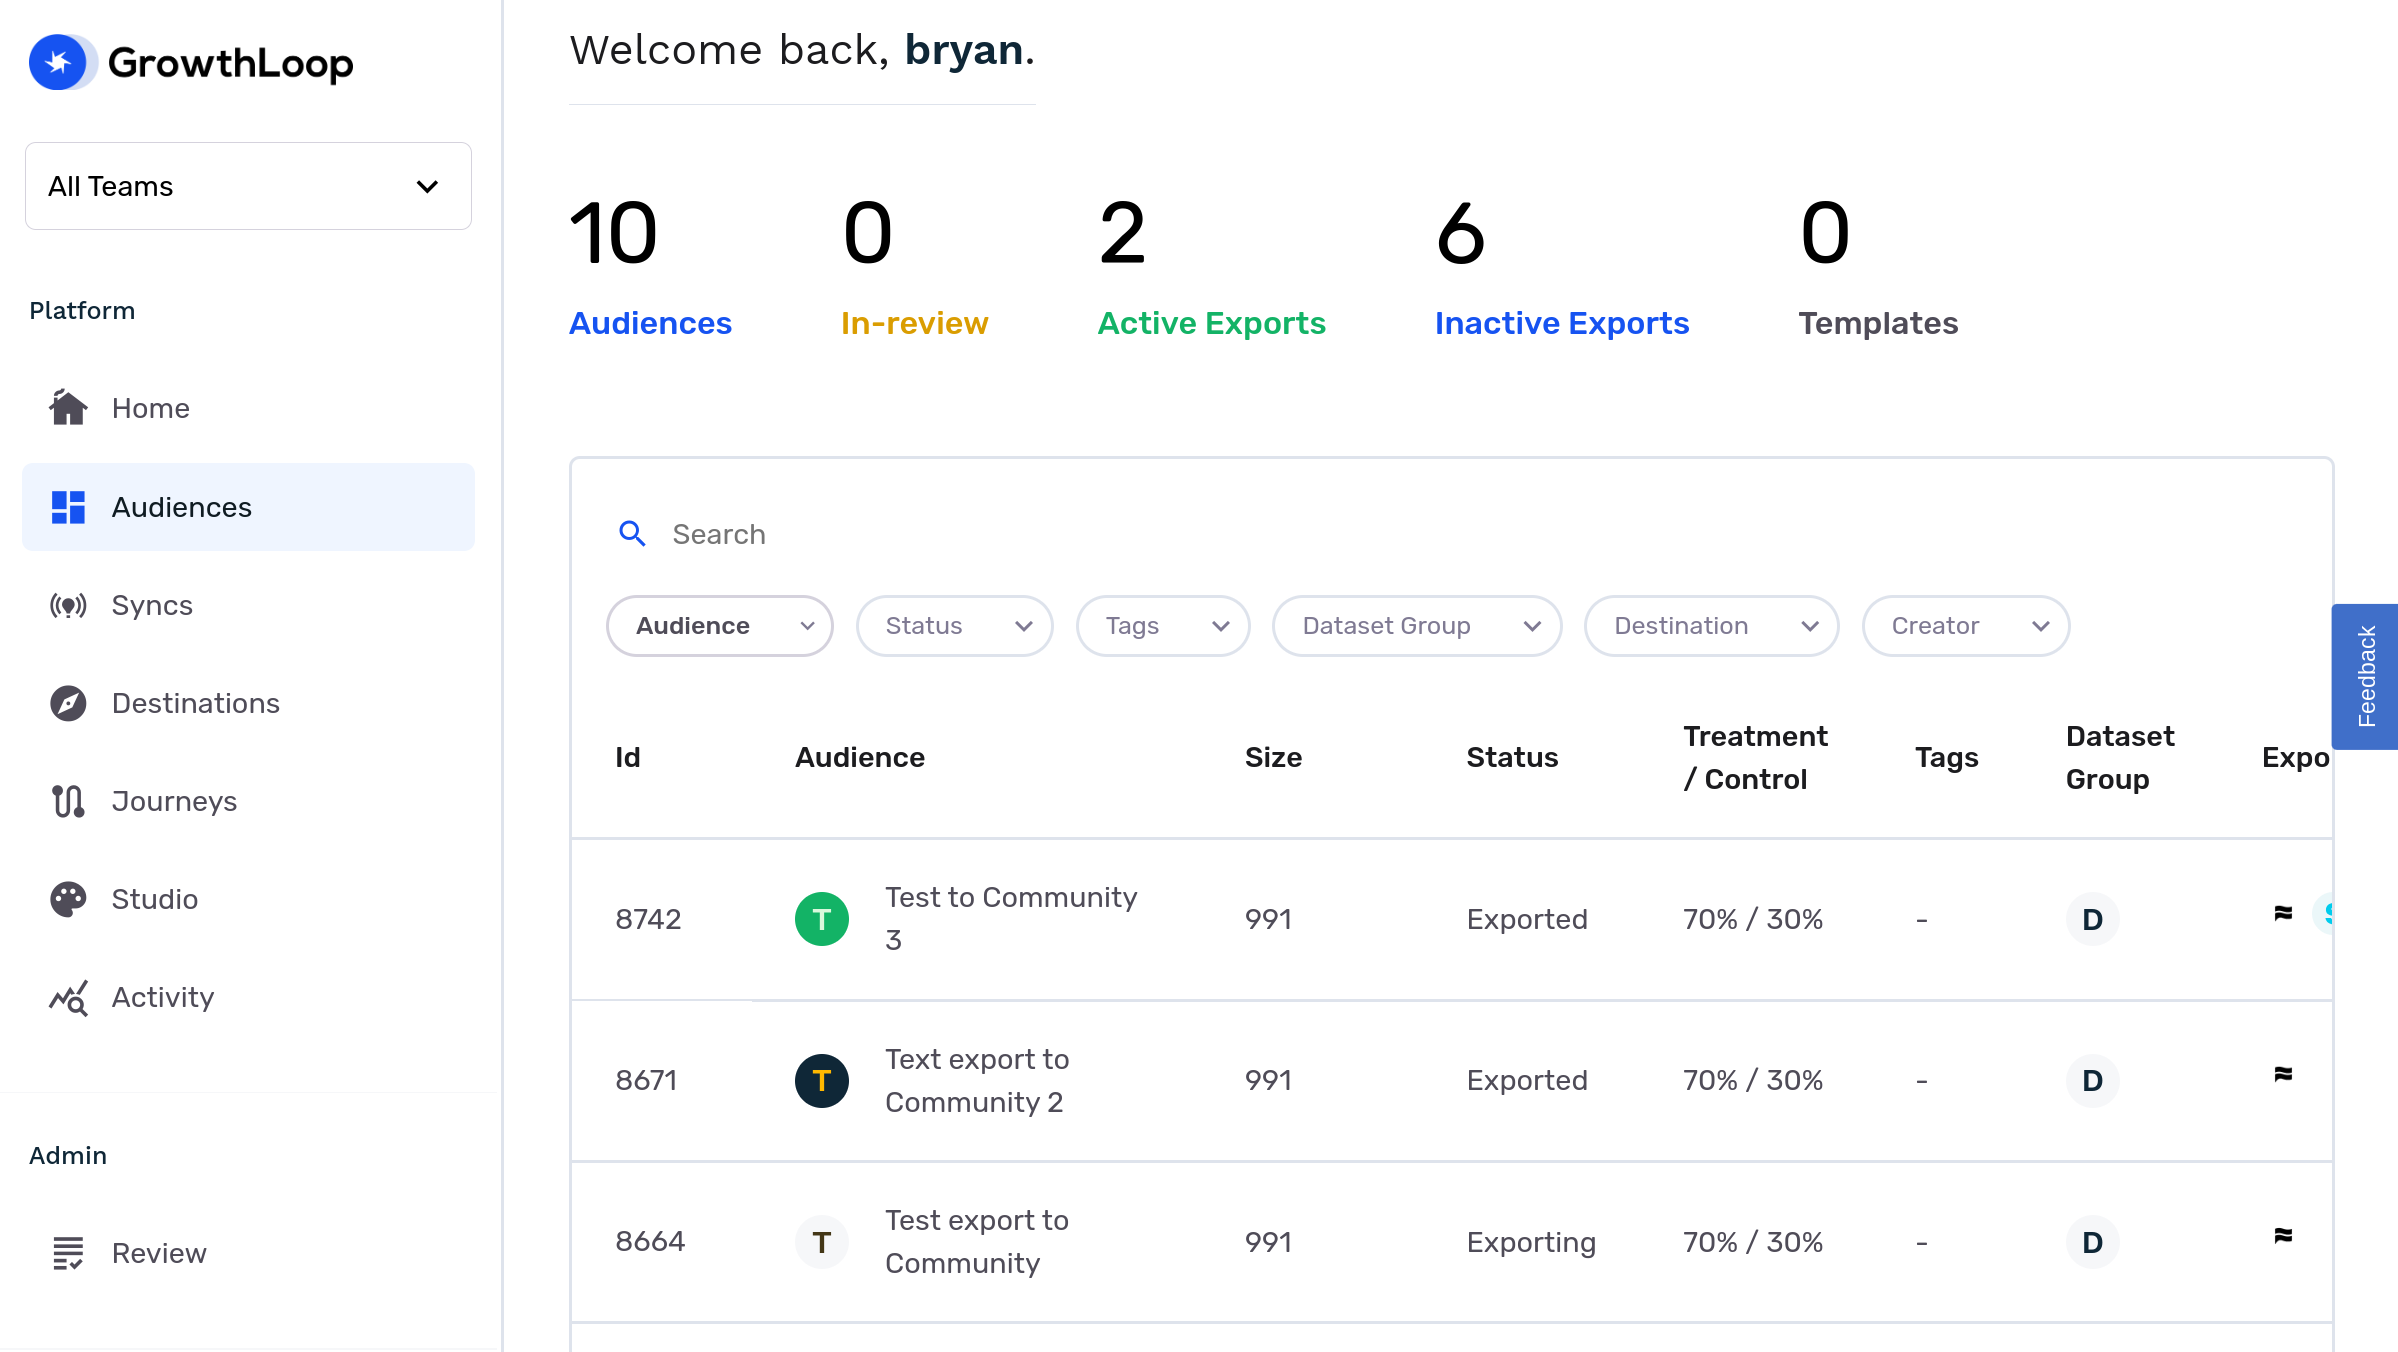
Navigate to the Audiences section in the left sidebar. From there, you can either select an existing audience or create a new one. (Click here to learn how!)
-
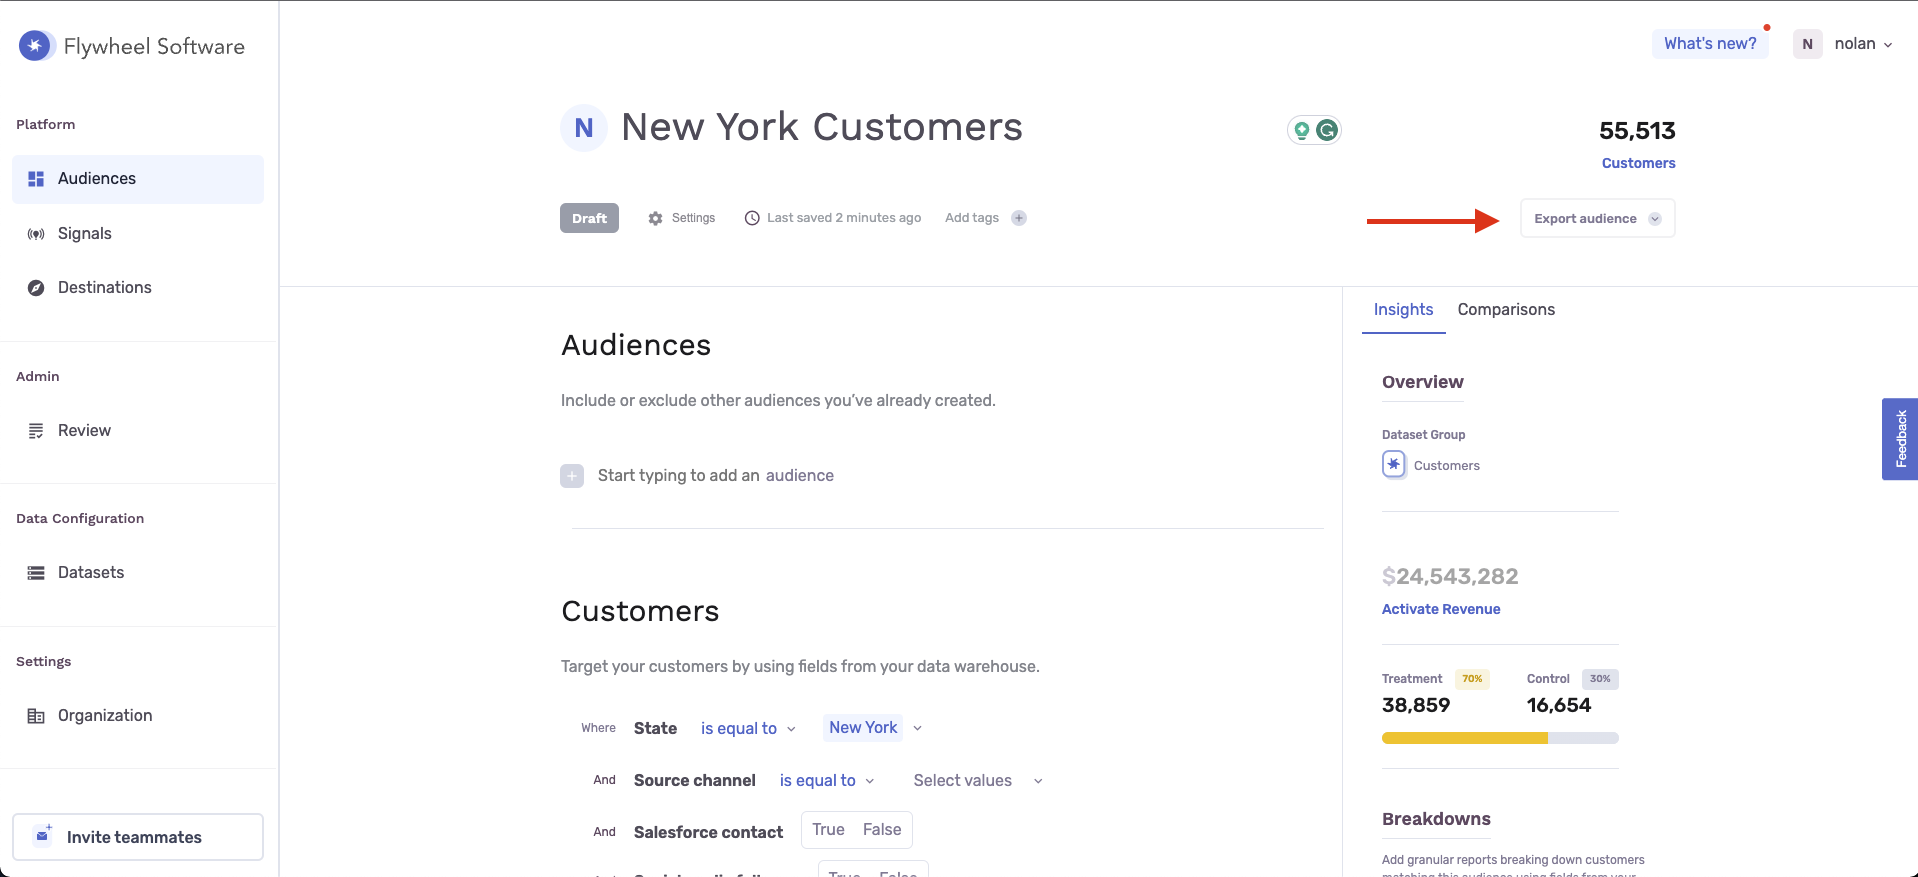
After selecting or creating your audience, click Export Audience.
-
In the Create Export view, search for your Sailthru Destination and click Select.
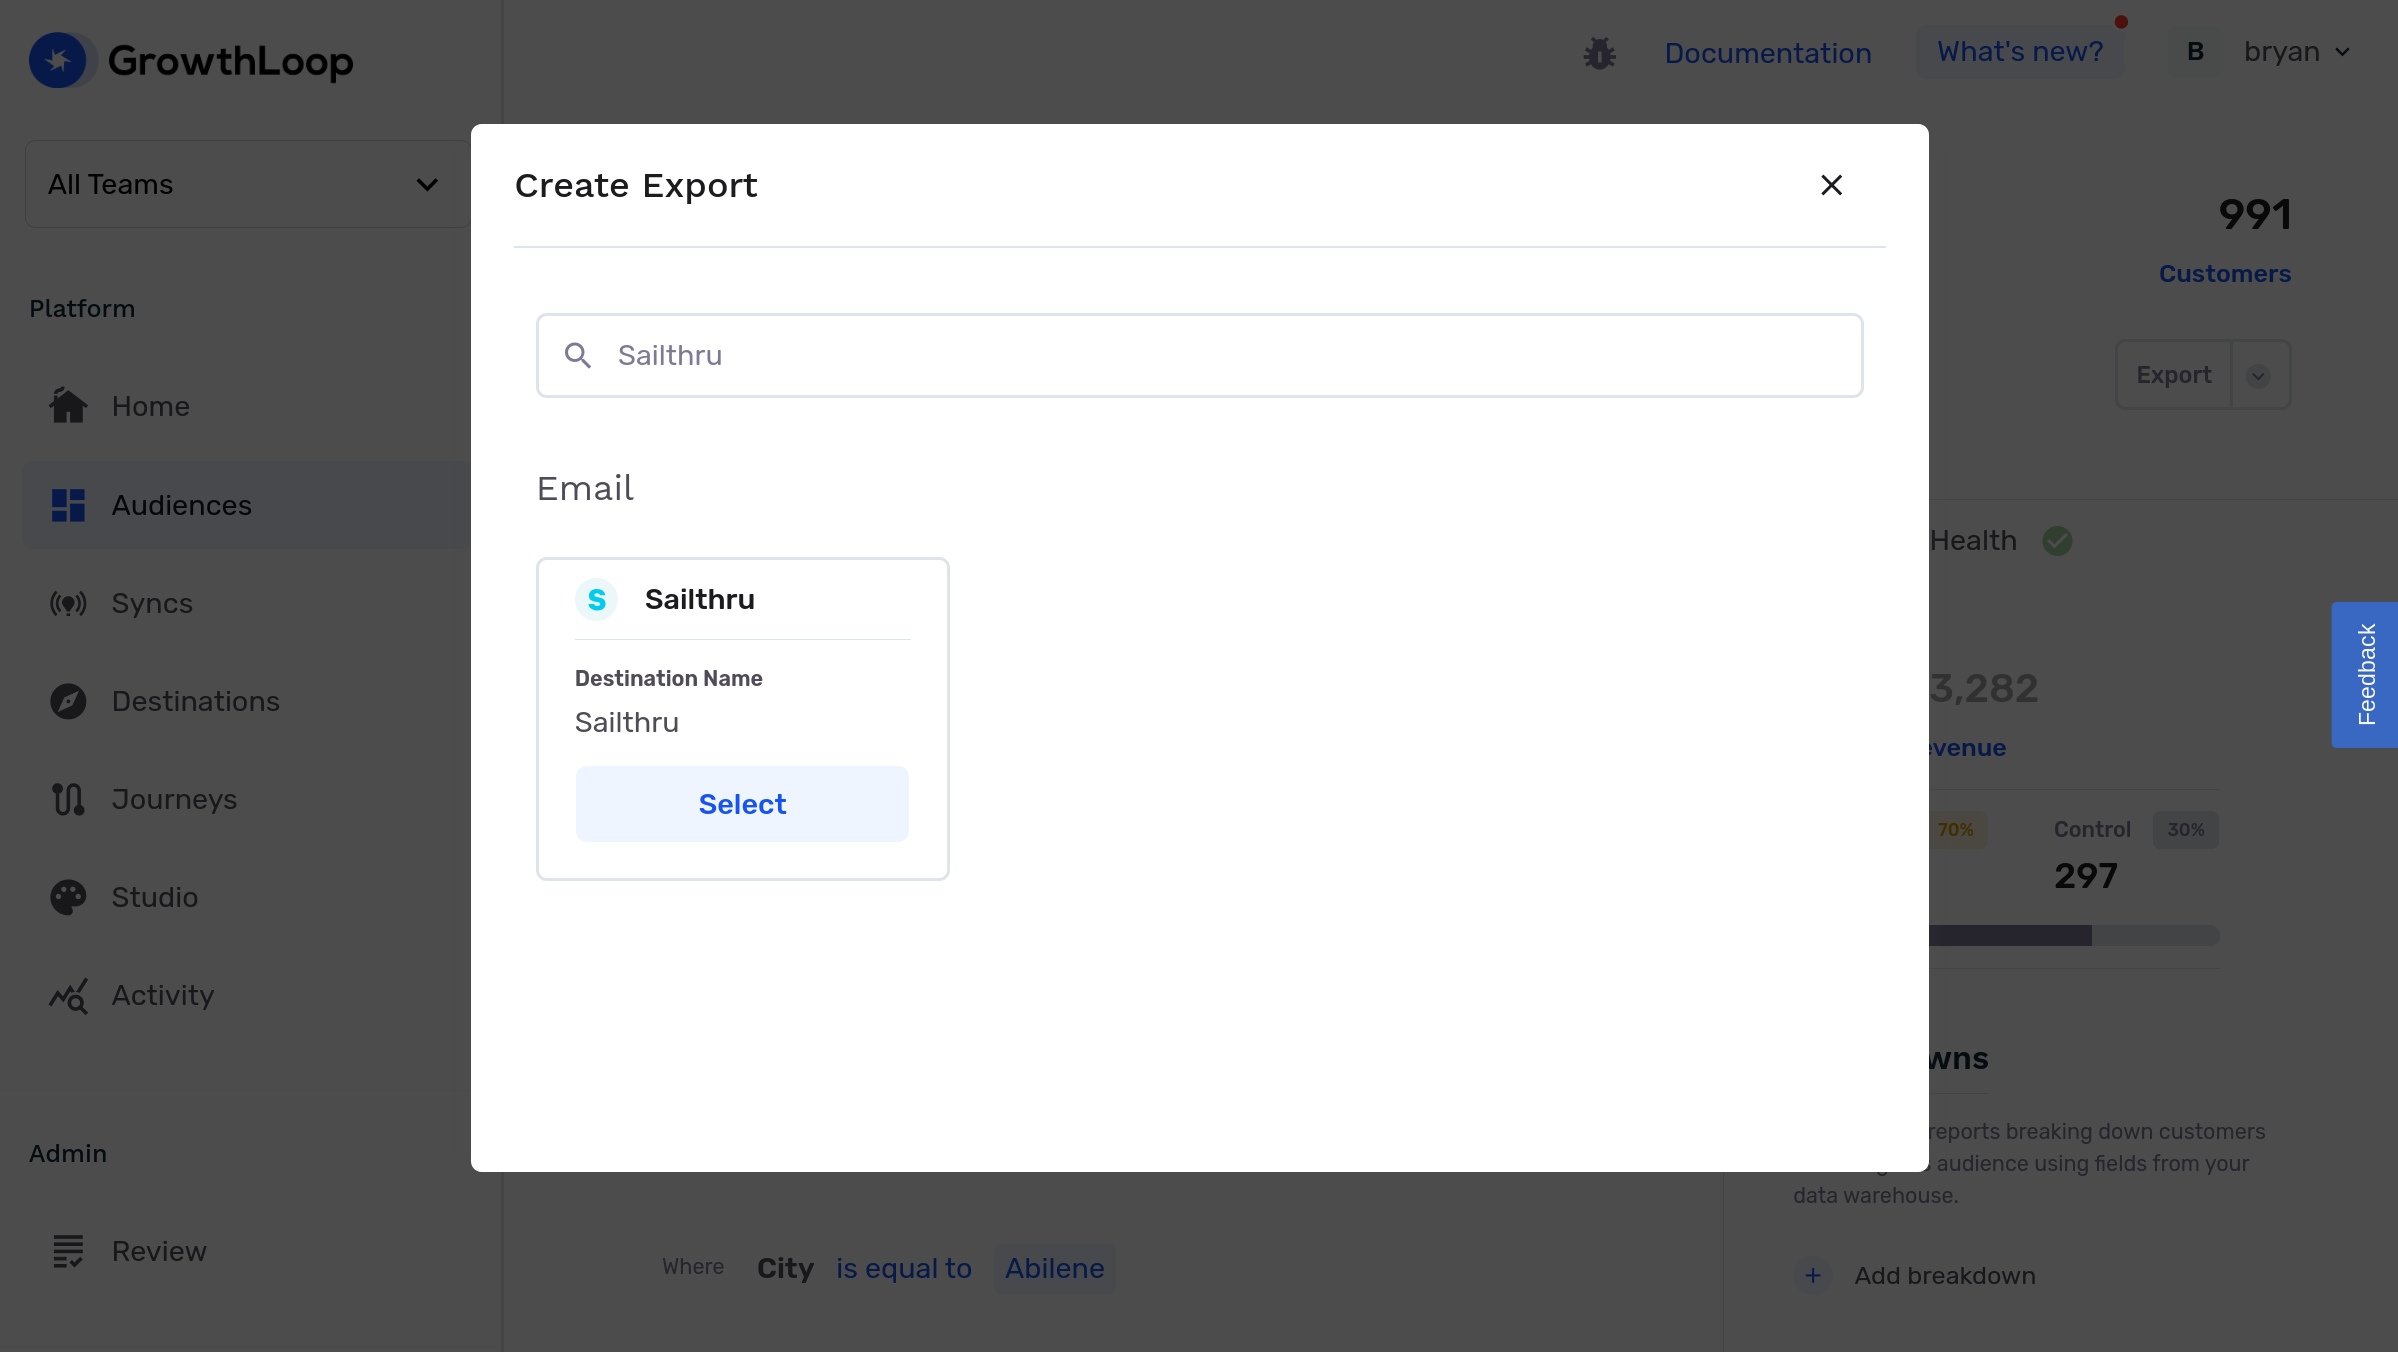
-
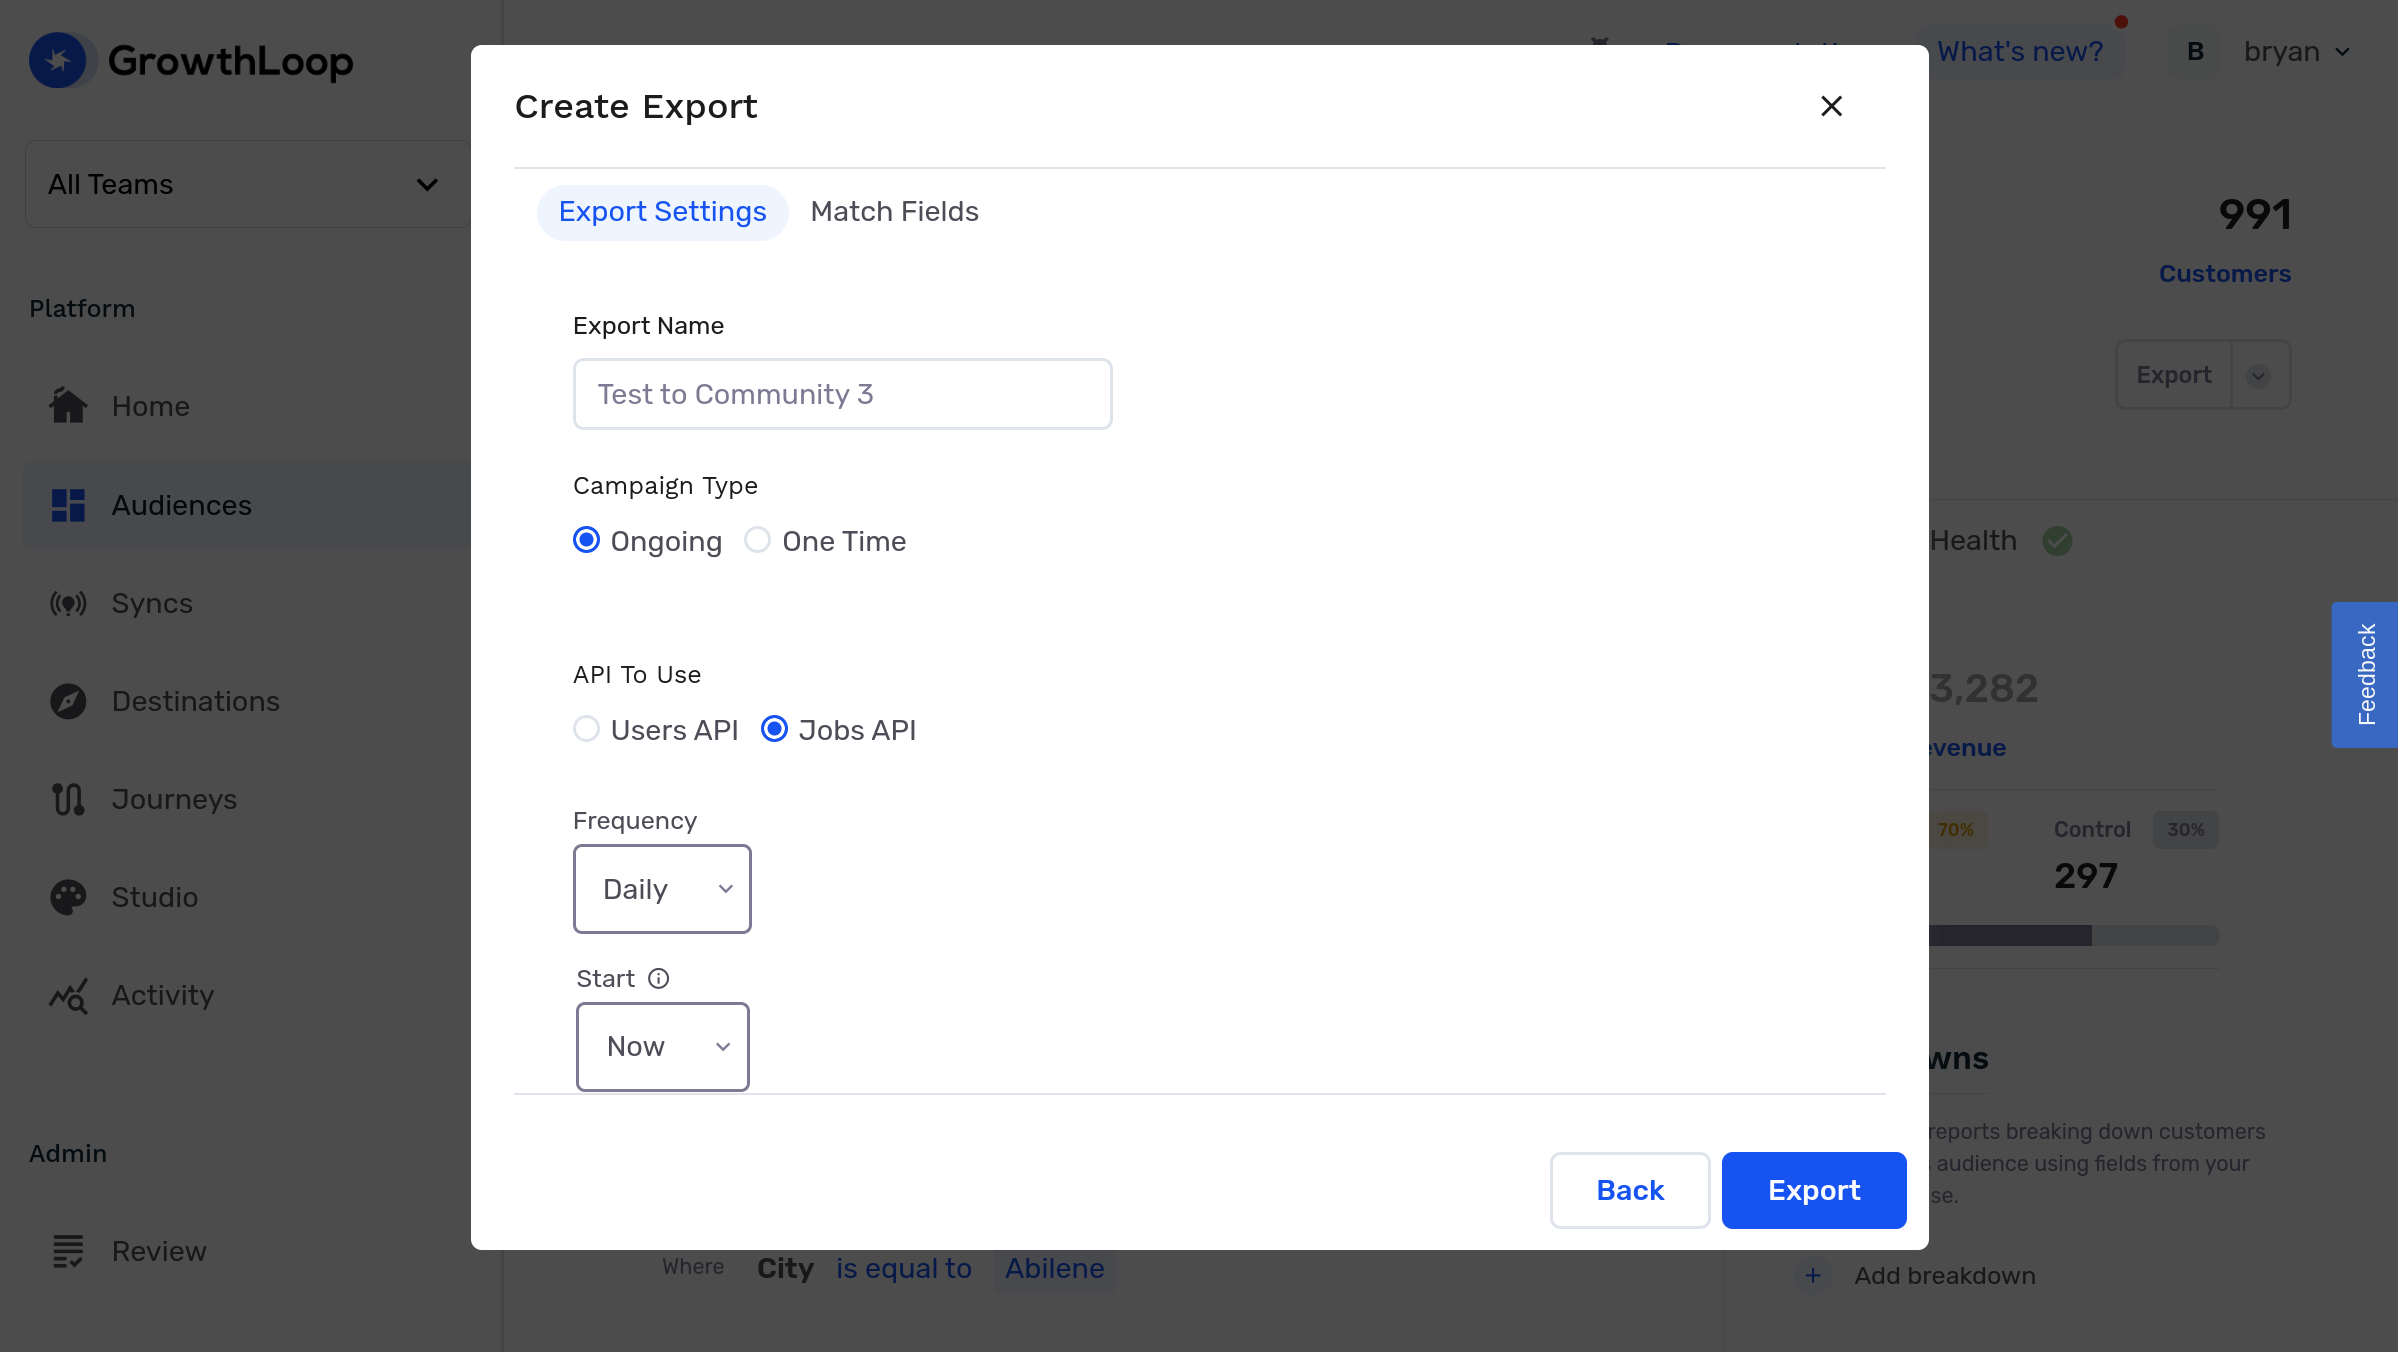
Next, navigate to the Export Settings tab and configure your preferred Campaign Type, API to Use, and Export Schedule. Please note: We recommend using the Jobs API for exporting audiences. However, if you intend to use triggered messages in Sailthru, please select the Users API instead.
-
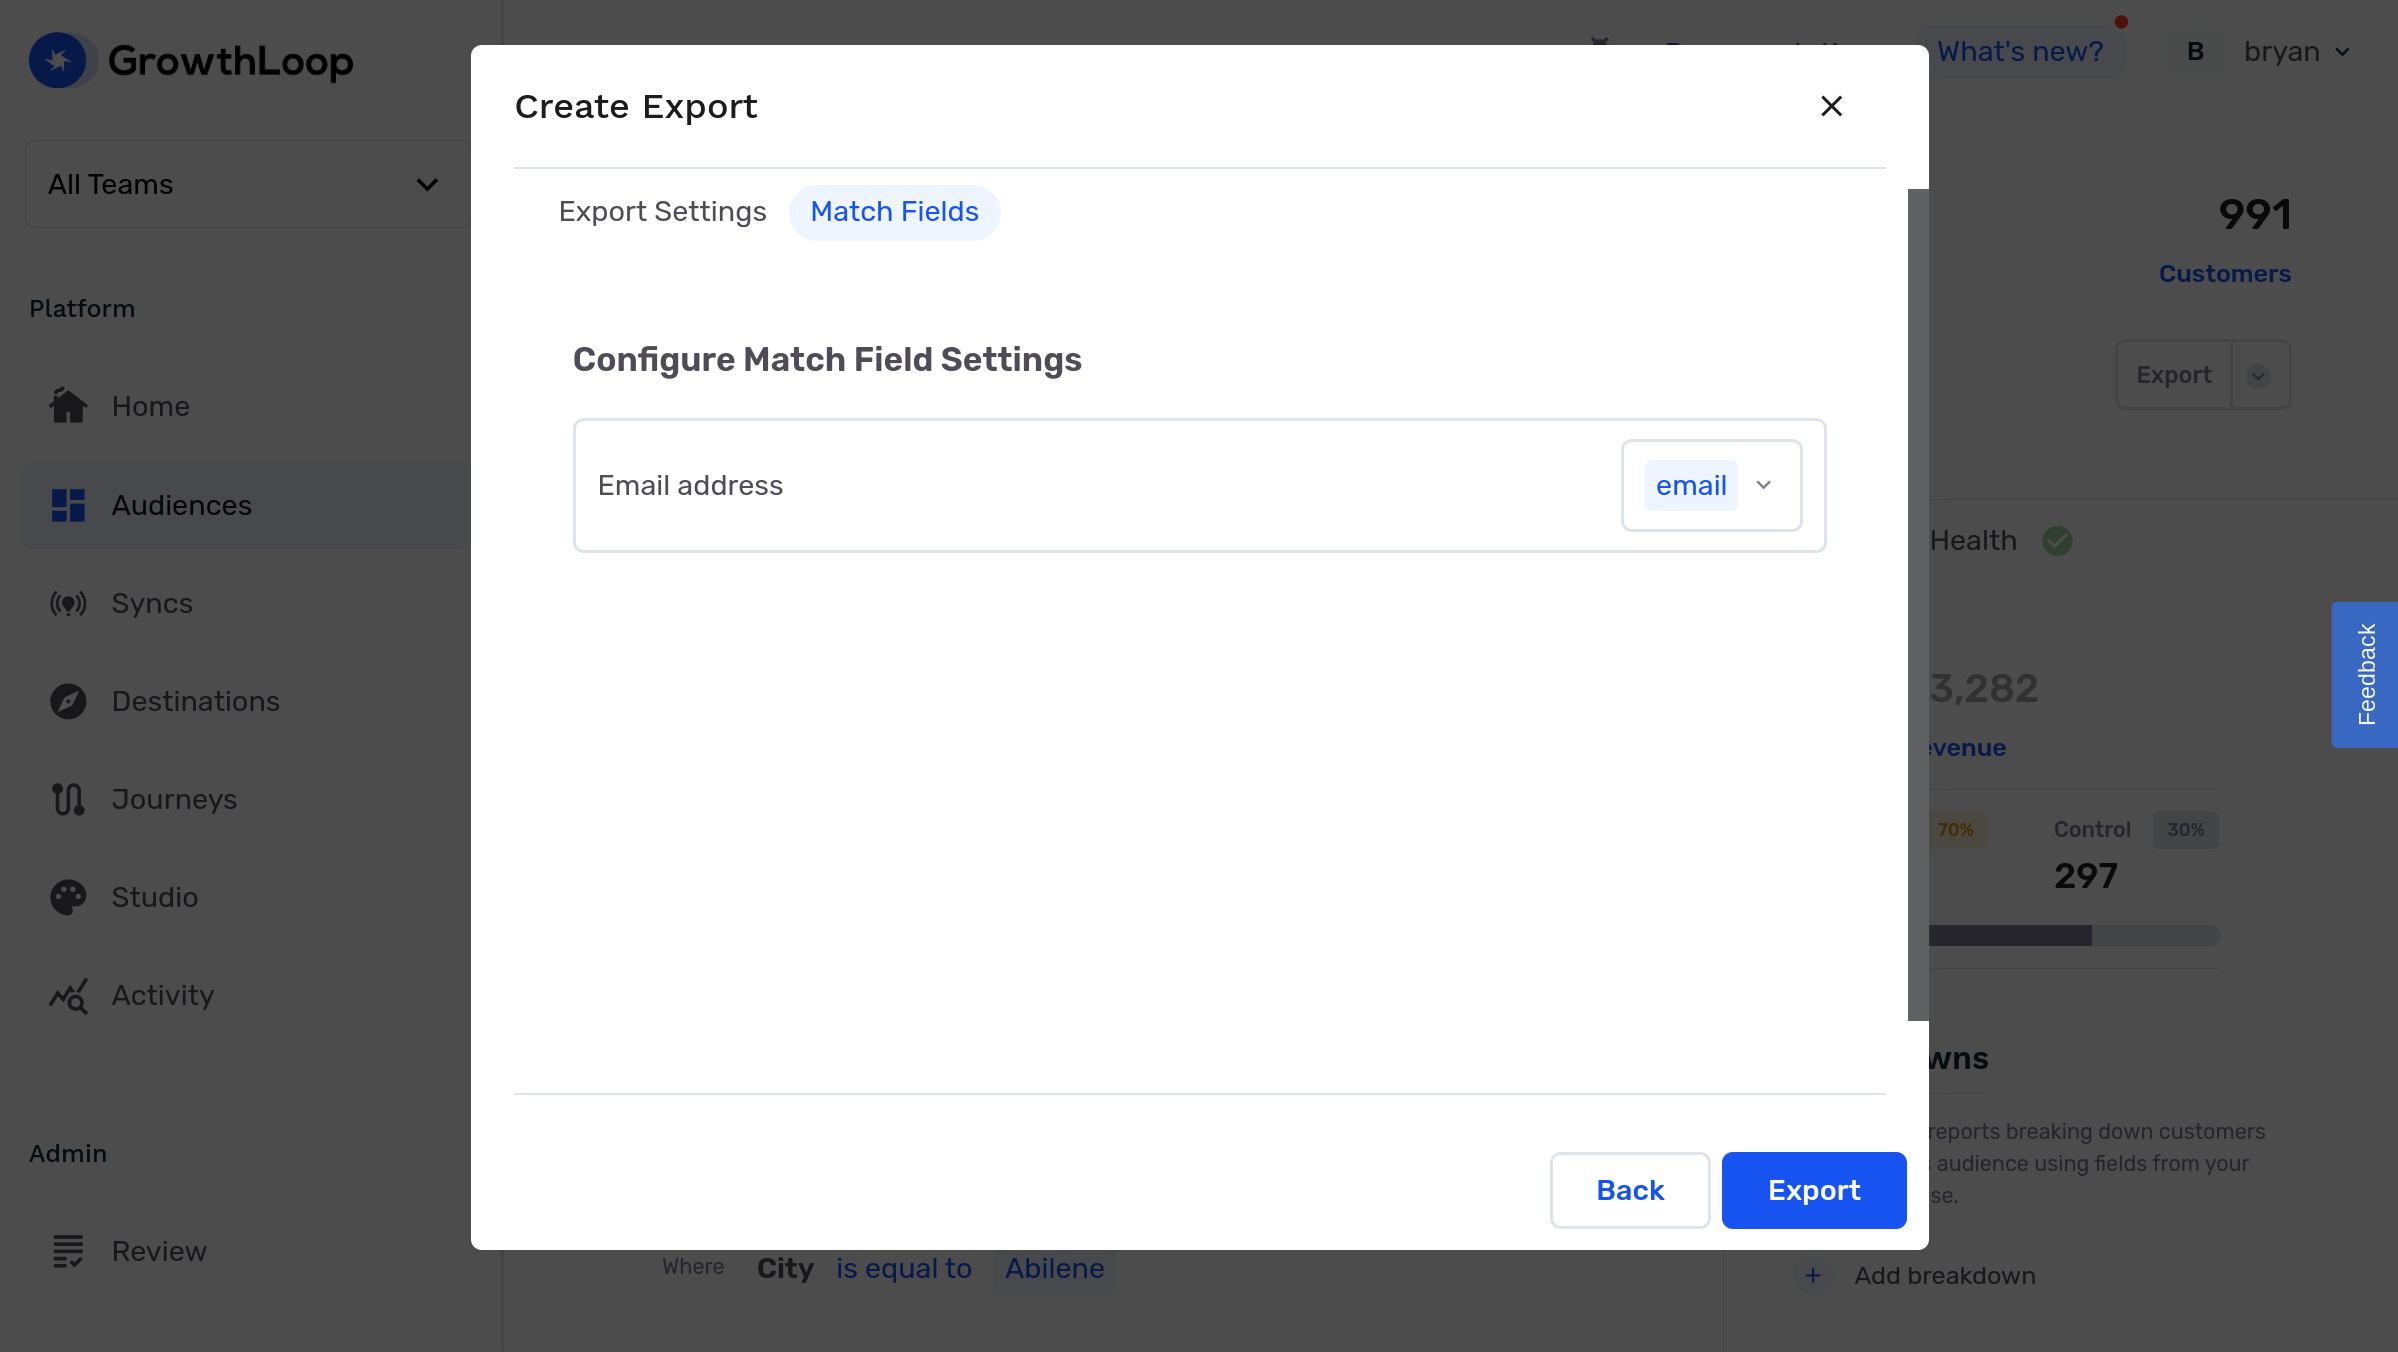
Next, configure your match fields in the Match Fields tab. Currently, only Email Address is supported, with potential for more options in the future!
-
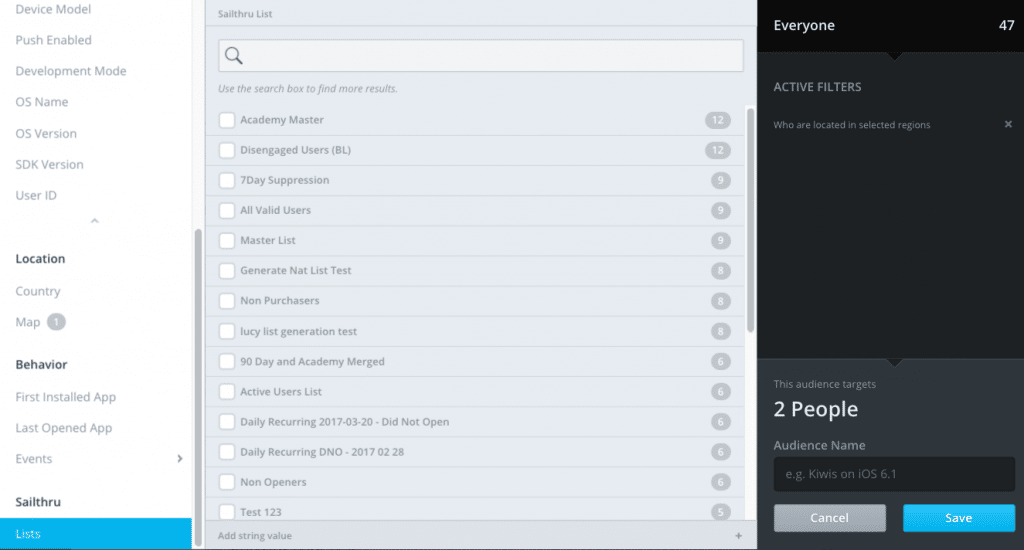
Finally, click Export, and you're all set! Congratulations on successfully exporting your audience to Sailthru. Please note: Your audience will appear in Sailthru as a "Primary List," which is crucial for organizing subscriber data and sending campaigns. Sailthru restricts you to a maximum of 100 Primary Lists. If you exceed this limit, your audience won't export. To manage your lists, log in to Sailthru, navigate to the Lists section, and either toggle off the Primary status or click the trash icon to delete unused lists.
-
To view your audience in Sailthru, login to your account and navigate to the Lists page.
Experiencing any issues connecting to Sailthru as a destination? Reach out to us at [email protected] and we’ll be in touch shortly!
Updated about 1 year ago