TikTok Conversions
Learn how to create Syncs for TikTok conversions
In this guide, we’ll walk you through syncing web event data from your data warehouse into TikTok to supercharge your marketing efforts. Let's get started!
Supported Objects
GrowthLoop enables syncing to the following TikTok object:
Object | Description | Sync Modes | Field Mappings (Required) | Field Mappings (Optional) |
|---|---|---|---|---|
| Sync and track actions users take on your website, like purchases, form submissions, or adding items to a cart | Insert (adds new events) |
| See full list of parameters here |
Prerequisites
- Make sure you have a TikTok Ads Manager account. You can create one here!
- Connected TikTok as a destination to your GrowthLoop account. Click here for detailed instructions.
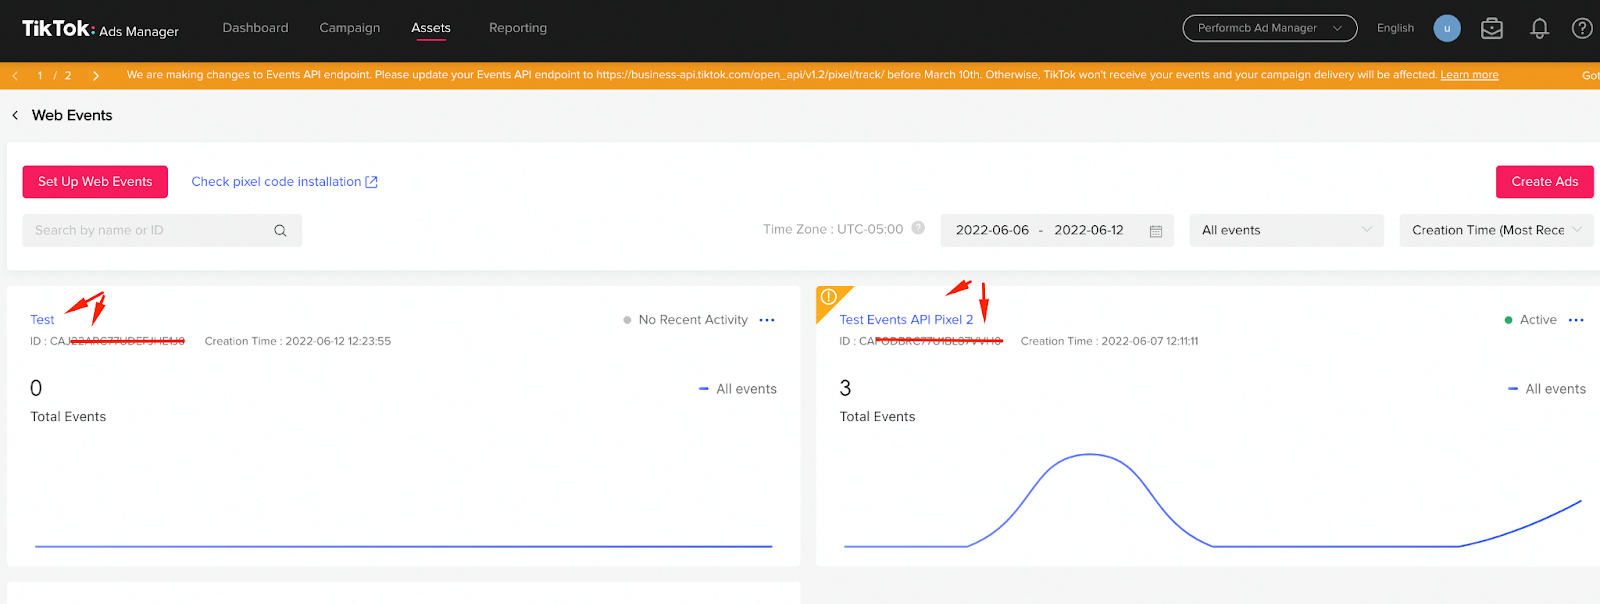
- Created a Pixel Code. Access it by logging into your TikTok Ads Manager account and navigating to Tools > Events > Web Events. If you haven’t created one yet, click here to learn how.
Set up a sync
- Click Destinations on the left sidebar.
- Select TikTok in your list of connected destinations.
- Input your Pixel Code in the designated field under Credentials and click Save.
- Now, let's create a Sync. Begin by selecting Syncs from the options listed on the left sidebar.
- Then click Create Sync on the upper right side.
- Next, configure your sync by filling out the following fields:
- Route Name:
- Name: A friendly name for the sync.
- Sync Frequency: The default frequency for syncing data to the destination. The options are: 15 minutes, 30 minutes, hourly, and daily.
- Update Rule: The default operation for syncing data to the destination. TikTok supports only the Insert rule, which means new data is added to the destination without updating or overwriting existing data.
- Source:
- Dataset/Table: The table that holds the data you want to sync to TikTok. Usually, it's organized within an events table.
- Dataset Unique Field(s): The unique field(s) on the table. They will populate automatically after selecting the Dataset/Table.
- Match Field: The column in your source table that is used to match data to TikTok. Please select your email field.
- Destination:
- Connection: The destination you will sync data to. Please select TikTok.
- Object Type: Select the type of object you want to send data to. Currently, only Web Events are supported, but Offline, App, and CRM options will be available in the near future. Please choose Web Events.
- Match Field: Choose the column in TikTok that corresponds to the email field in your source dataset.
- Route Name:
- Once you finish selecting/inserting the required fields, click Save Route.
- Next, set up the field mappings to start your sync. TikTok Web Events needs at least four of the following fields mapped: Event Name, Event Time, Event ID, and Page URL.
- Let's begin with Event Name. Choose the field from your table that contains the name of your conversion event.
Note: TikTok supports both Standard Events and Custom Events. See a list of standard event names here. - Then, under the Destination section, choose Event Name from the drop-down menu, unless it has been automatically selected for you.
- Next up, let’s map Event Time. Pick the field from your table that holds the time when the event occurred.
- Then, under the Destination section, choose Event Time from the drop-down menu, unless it has been automatically selected for you.
- Now, let’s map Event ID. Pick the field from your table that holds the ID that is used to identify a unique event.The data type of the field should be a
STRINGand it should be in Unix timestamp format. - Then, under the Destination section, choose Event ID from the drop-down menu, unless it has been automatically selected for you.
- Lastly, choose the field in your source table that contains the Page URL of where the event occurred, and map it to the destination. TikTok recommends to use the full URL, including all URL parameters.
- After clicking Update Route, return to your sync and enable it by clicking the toggle at the top of the page!
SuccessYou've successfully created a web sync to TikTok! You should now be able to see it in your Syncs table.
To confirm that your web event data has been received, log in to your Ads Manager account, navigate to the Tools tab, select Events, and click the Manage button under Web Events.

NoteIf you experience any issues when connecting to or creating syncs to TikTok, please reach out to us at [email protected], and we’ll be in touch shortly to help resolve the matter!
Updated 9 months ago