
Snowflake
Learn how to setup Snowflake source connection
In this article, we'll walk you through how to connect your Snowflake account to GrowthLoop, so you can easily use the customer data in your cloud warehouse to build and activate audiences.
Snowflake is a cloud-based data platform that allows organizations to store, manage, and analyze large volumes of data with high performance and flexibility. It supports a wide range of data workloads - including data warehousing, data lakes, and machine learning - enabling teams to easily share and collaborate on data across business units.
Prerequisites
Before connecting Snowflake to GrowthLoop, make sure to complete the following steps:
- Generate a public/private key pair to authenticate your Snowflake user.
- Create a Snowflake user and role with the appropriate permissions for data access.
- Set up a dedicated Snowflake schema and storage integration named
FLYWHEEL_APP_GCPfor audience exports.
ImportantThe storage integration must be named
FLYWHEEL_APP_GCP. If it is named anything else, the connection will not work.
Create Public/Private Key Pair
- Open your local machine's command prompt or terminal and run the following command:
openssl genrsa 2048 | openssl pkcs8 -topk8 -inform PEM -out fw_private_key.p8- After running this command, you will be prompted for an encryption password. Please enter any secure password and keep record of this for later use. Then run the following command:
openssl rsa -in fw_private_key.p8 -pubout -out fw_pub_key.pub- After running this command, you will be prompted for the encryption password set above. Please enter the encryption password and take note of where your public and private key are stored for later use.
Create the Snowflake User and Role for connecting with GrowthLoop
- Login to your Snowflake account with a user who is assigned administrative privileges to manage users and roles. A common admin role with the necessary privileges is
ACCOUNTADMINorSECURITYADMIN. - Then, open a worksheet and run the following commands:
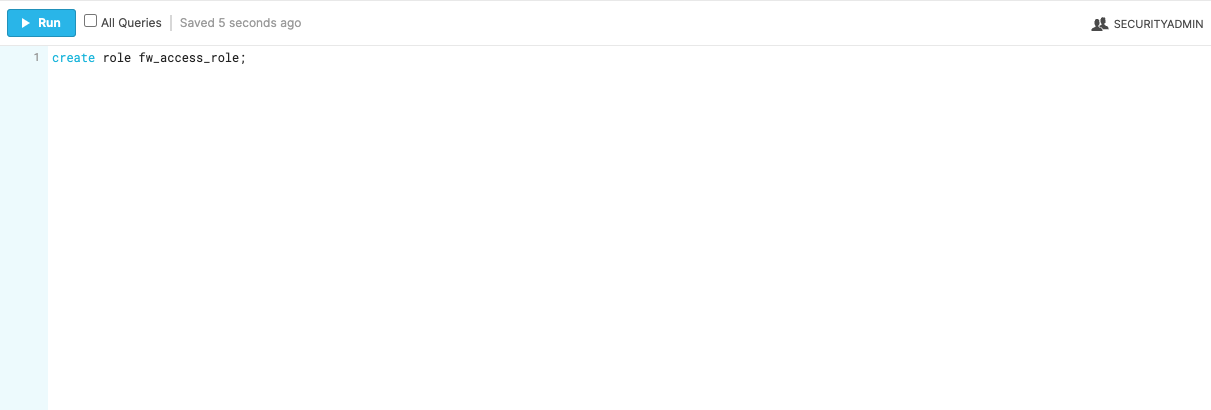
Create a Role
use role <*INPUT_ROLE>*;

create role <*fw_access_role_name*>;
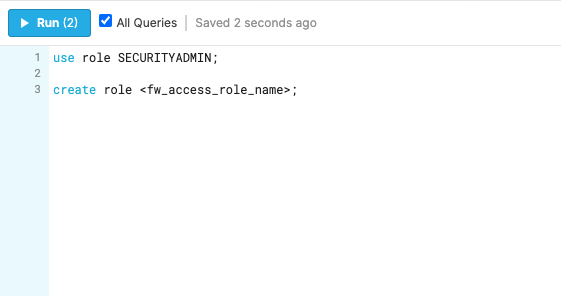
NoteIf you encounter any permission errors, ensure that you have a properly permissioned role selected in your Snowflake worksheet (pictured in the top right corner of the image below).
ImportantIf running multiple commands ensure the "All Queries" box is checked.
- Next, Assign Privileges to the Role.
use role <*INPUT_ROLE>*;

grant usage on warehouse COMPUTE_WH to role <*fw_access_role_name*>;

grant usage on database CUSTOMER_DATA_MODEL to role <*fw_access_role_name*>;

grant usage on all schemas in database CUSTOMER_DATA_MODEL to role <*fw_access_role_name*>;

grant select on all tables in database CUSTOMER_DATA_MODEL to role <*fw_access_role_name*>;

grant select on all views in database CUSTOMER_DATA_MODEL to role <*fw_access_role_name*>;

grant usage on future schemas in database CUSTOMER_DATA_MODEL to role <*fw_access_role_name*>;

grant select on future tables in database CUSTOMER_DATA_MODEL to role <*fw_access_role_name*>;

grant select on future views in database CUSTOMER_DATA_MODEL to role <*fw_access_role_name*>;

//Replace COMPUTE_WH with the name of your data warehouse
//Replace fw_access_role with the name of the role created in the 'Create a Role' step above
//Replace CUSTOMER_DATA_MODEL with the name of the database to be connected to GrowthLoop - Then, Create a User and Assign a Role.
use role <*INPUT_ROLE*>;

create user flywheel_service_user password='abc123' default_role = <*fw_access_role_name*> default_warehouse = COMPUTE_WH default_namespace = CUSTOMER_DATA_MODEL;

grant role <*fw_access_role_name*> to user flywheel_service_user;- Lastly, Assign Public Key to
flywheel_service_user.
use role <*INPUT_ROLE*>;

alter user flywheel_service_user set rsa_public_key='MIIBIjANBgkqh...';

//the rsa_public_key value can be found in the fw_pub_key.pub file created above. Exclude the '------BEGIN PUBLIC KEY------' and '-----END PUBLIC KEY-----' header and footer in this value.
Create the Snowflake Schema and Storage Integration for Exports
Before exporting audiences, a schema must be established for GrowthLoop to write snapshotting tables. Snapshotting tables will store changes in audience, and sync membership over time. These tables are necessary to maintain ongoing syncs to your destinations.
- In the same database where you connected your customer data, create the
FLYWHEEL_SYSTEMschema.
NoteYou may choose any alternative name that you prefer for this schema.
- Create a New Schema.
create schema FLYWHEEL_SYSTEM;- Grant Privileges to
FLYWHEEL_SYSTEMschema.
grant all on schema FLYWHEEL_SYSTEM to role fw_access_role;
//Replace fw_access_role with the name of the role created in the 'Create a Role' step- Create Storage Integration.
NoteSnowflake storage integration allows GrowthLoop to export data to your marketing platforms. This data is exported and deleted after it's been exported and not stored on the GrowthLoop system. To utilize a GrowthLoop managed bucket, please follow the steps below. To configure your own cloud storage bucket for exports please check out Setup External Storage in GrowthLoop
For SaaS
- Create a new storage integration in your Snowflake instance to allow writing to a temporary bucket to enable exporting.
create storage integration flywheel_app_gcp
  type = external_stage
  storage_provider = gcs
  enabled = true
  storage_allowed_locations = ('gcs://flywheel-prod-328213-outgoing/exports/', 'gcs://flywheel-prod-328213-outgoing/data/');
ImportantBoth the
exports/anddata/paths are required. Thedata/path is used for current exports, while theexports/path must be kept to support legacy unloads. If you have an existing integration with onlyexports/, update it with:alter storage integration flywheel_app_gcp set storage_allowed_locations = ('gcs://flywheel-prod-328213-outgoing/exports/', 'gcs://flywheel-prod-328213-outgoing/data/');
- You'll need to provide GrowthLoop with the
STORAGE_GCP_SERVICE_ACCOUNTproperty. To access this property, run theDESC STORAGE INTEGRATIONcommand in Snowflake.
DESC STORAGE INTEGRATION flywheel_app_gcp;

+-----------------------------+---------------+-----------------------------------------------------------------------------+------------------+
| property                    | property_type | property_value                                                              | property_default |
+-----------------------------+---------------+-----------------------------------------------------------------------------+------------------|
| ENABLED                     | Boolean       | true                                                                        | false            |
| STORAGE_ALLOWED_LOCATIONS   | List          | gcs://mybucket1/path1/,gcs://mybucket2/path2/                               | []               |
| STORAGE_BLOCKED_LOCATIONS   | List          | gcs://mybucket1/path1/sensitivedata/,gcs://mybucket2/path2/sensitivedata/   | []               |
| STORAGE_GCP_SERVICE_ACCOUNT | String        | [email protected]                  |                  |
+-----------------------------+---------------+-----------------------------------------------------------------------------+------------------+- Grant
USAGEon theFLYWHEEL_APP_GCPstorage integration to the role that the GrowthLoop application will use. - Finally, an external stage will also need to be defined for the storage integration.
CREATE OR REPLACE STAGE flywheel_external_stage
  URL='gcs://outgoing_bucket_name/exports/organization_identifier'
  STORAGE_INTEGRATION = flywheel_app_gcp
  ENCRYPTION = ( TYPE = 'GCS_SSE_KMS');
NoteReach out to GrowthLoop to confirm the correct URL string to input in this command!
NoteThe Snowflake user role also needs to have sufficient permissions to load and unload data from this external stage
grant read, write, usage ON STAGE CUSTOMER_DATA_MODEL.FLYWHEEL_SYSTEM.flywheel_external_stage to role fw_access_role;
Connect to Snowflake in GrowthLoop
Establish Connection
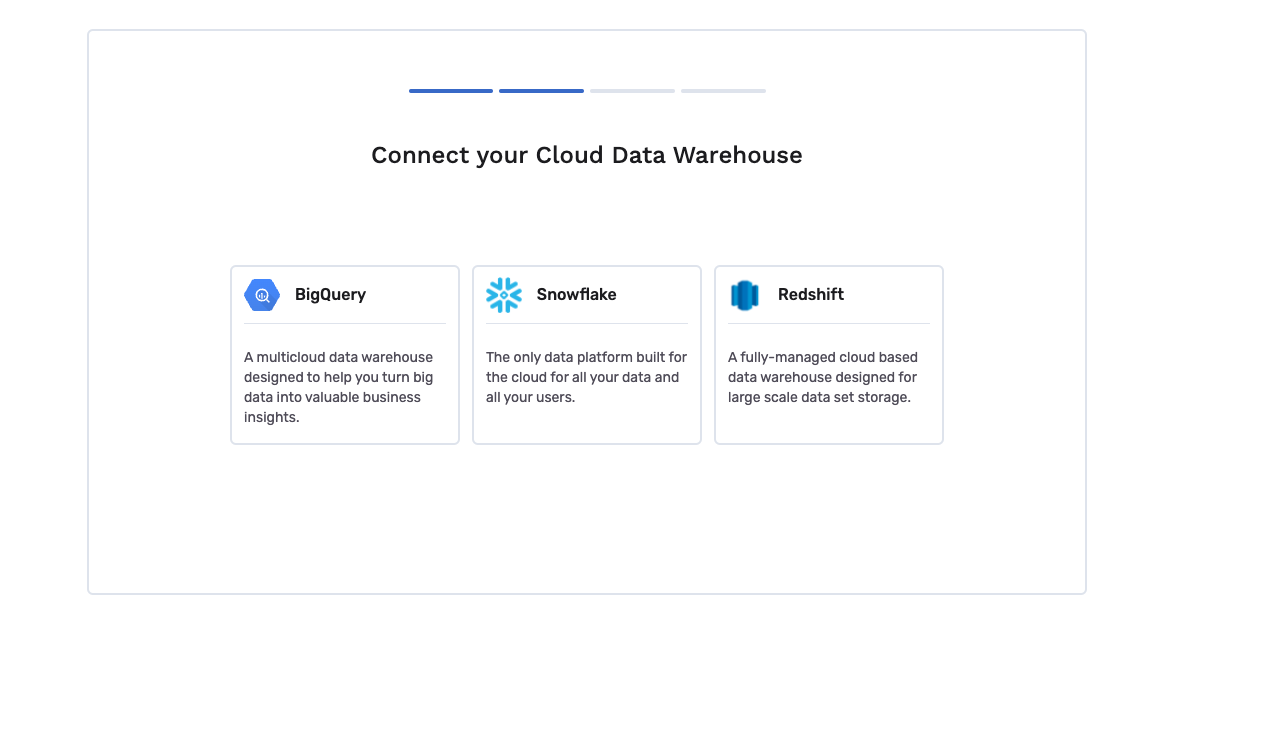
- During onboarding, you will see the options pictured below, choose Snowflake.
- After selecting Snowflake, you'll be prompted to enter information for the following fields:
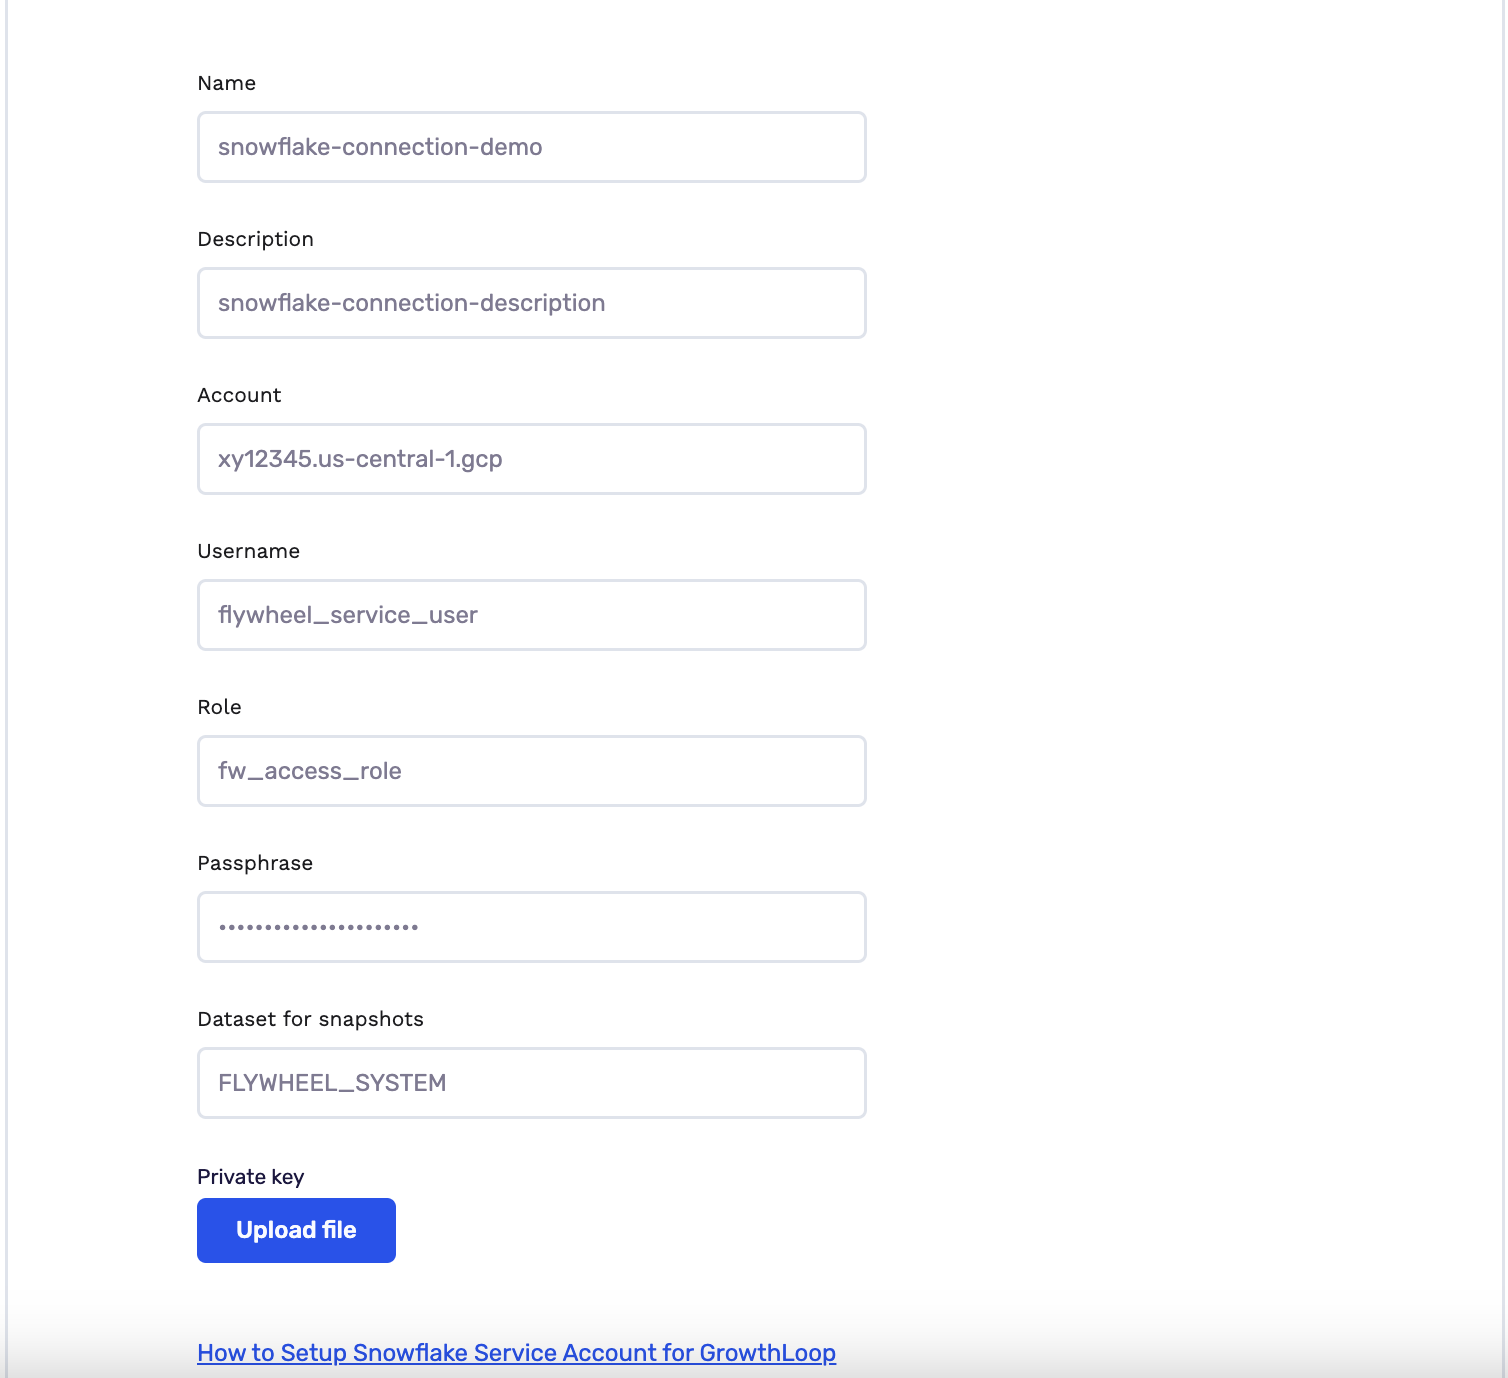
- Name: This will be the name used to refer to your Snowflake DWH in the GrowthLoop Application going forward. This can be any name you choose
- Description: This will be the description associated with your Snowflake DWH in the GrowthLoop Application going forward, should you want to provide one. This is optional and can be any description string you choose.
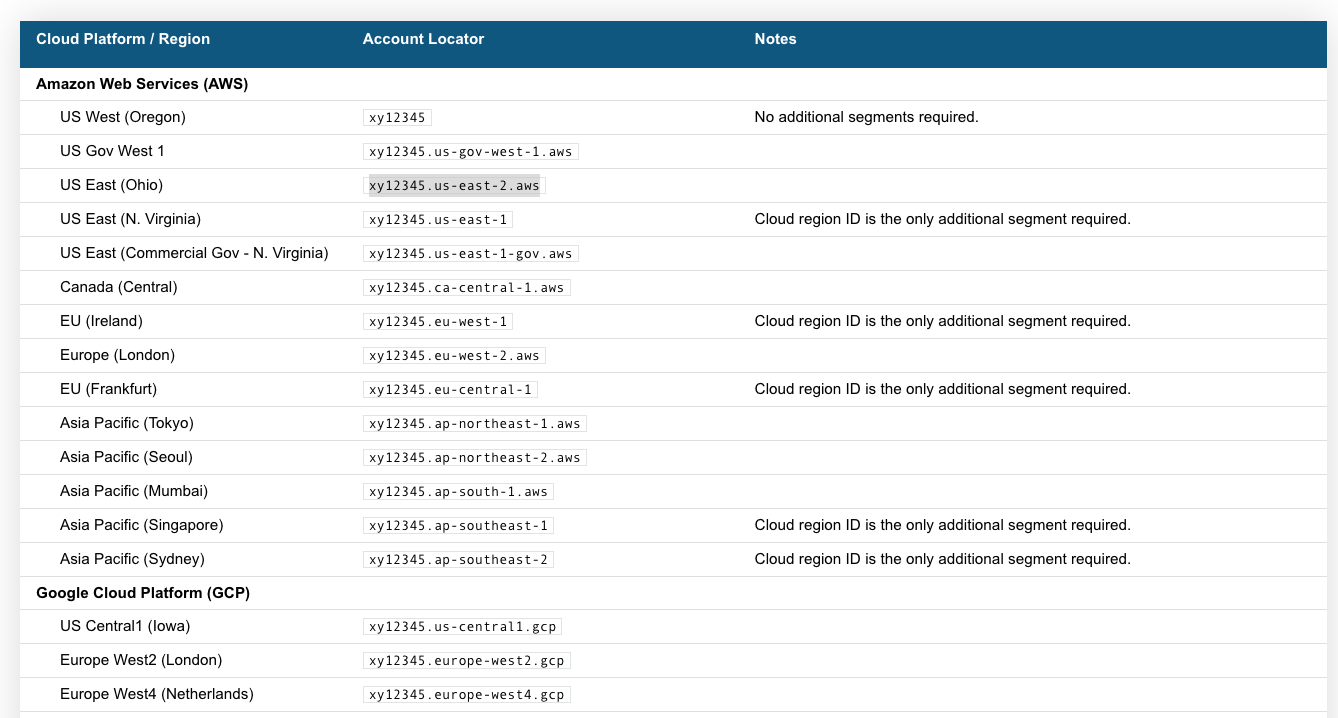
- Account: This can be pulled from the Snowflake account URL, which is available from the profile menu on the bottom left (see screenshot). The format to input should be
account-identifier.region.cloud-platformfor example:xy12345.us-central-1.gcp
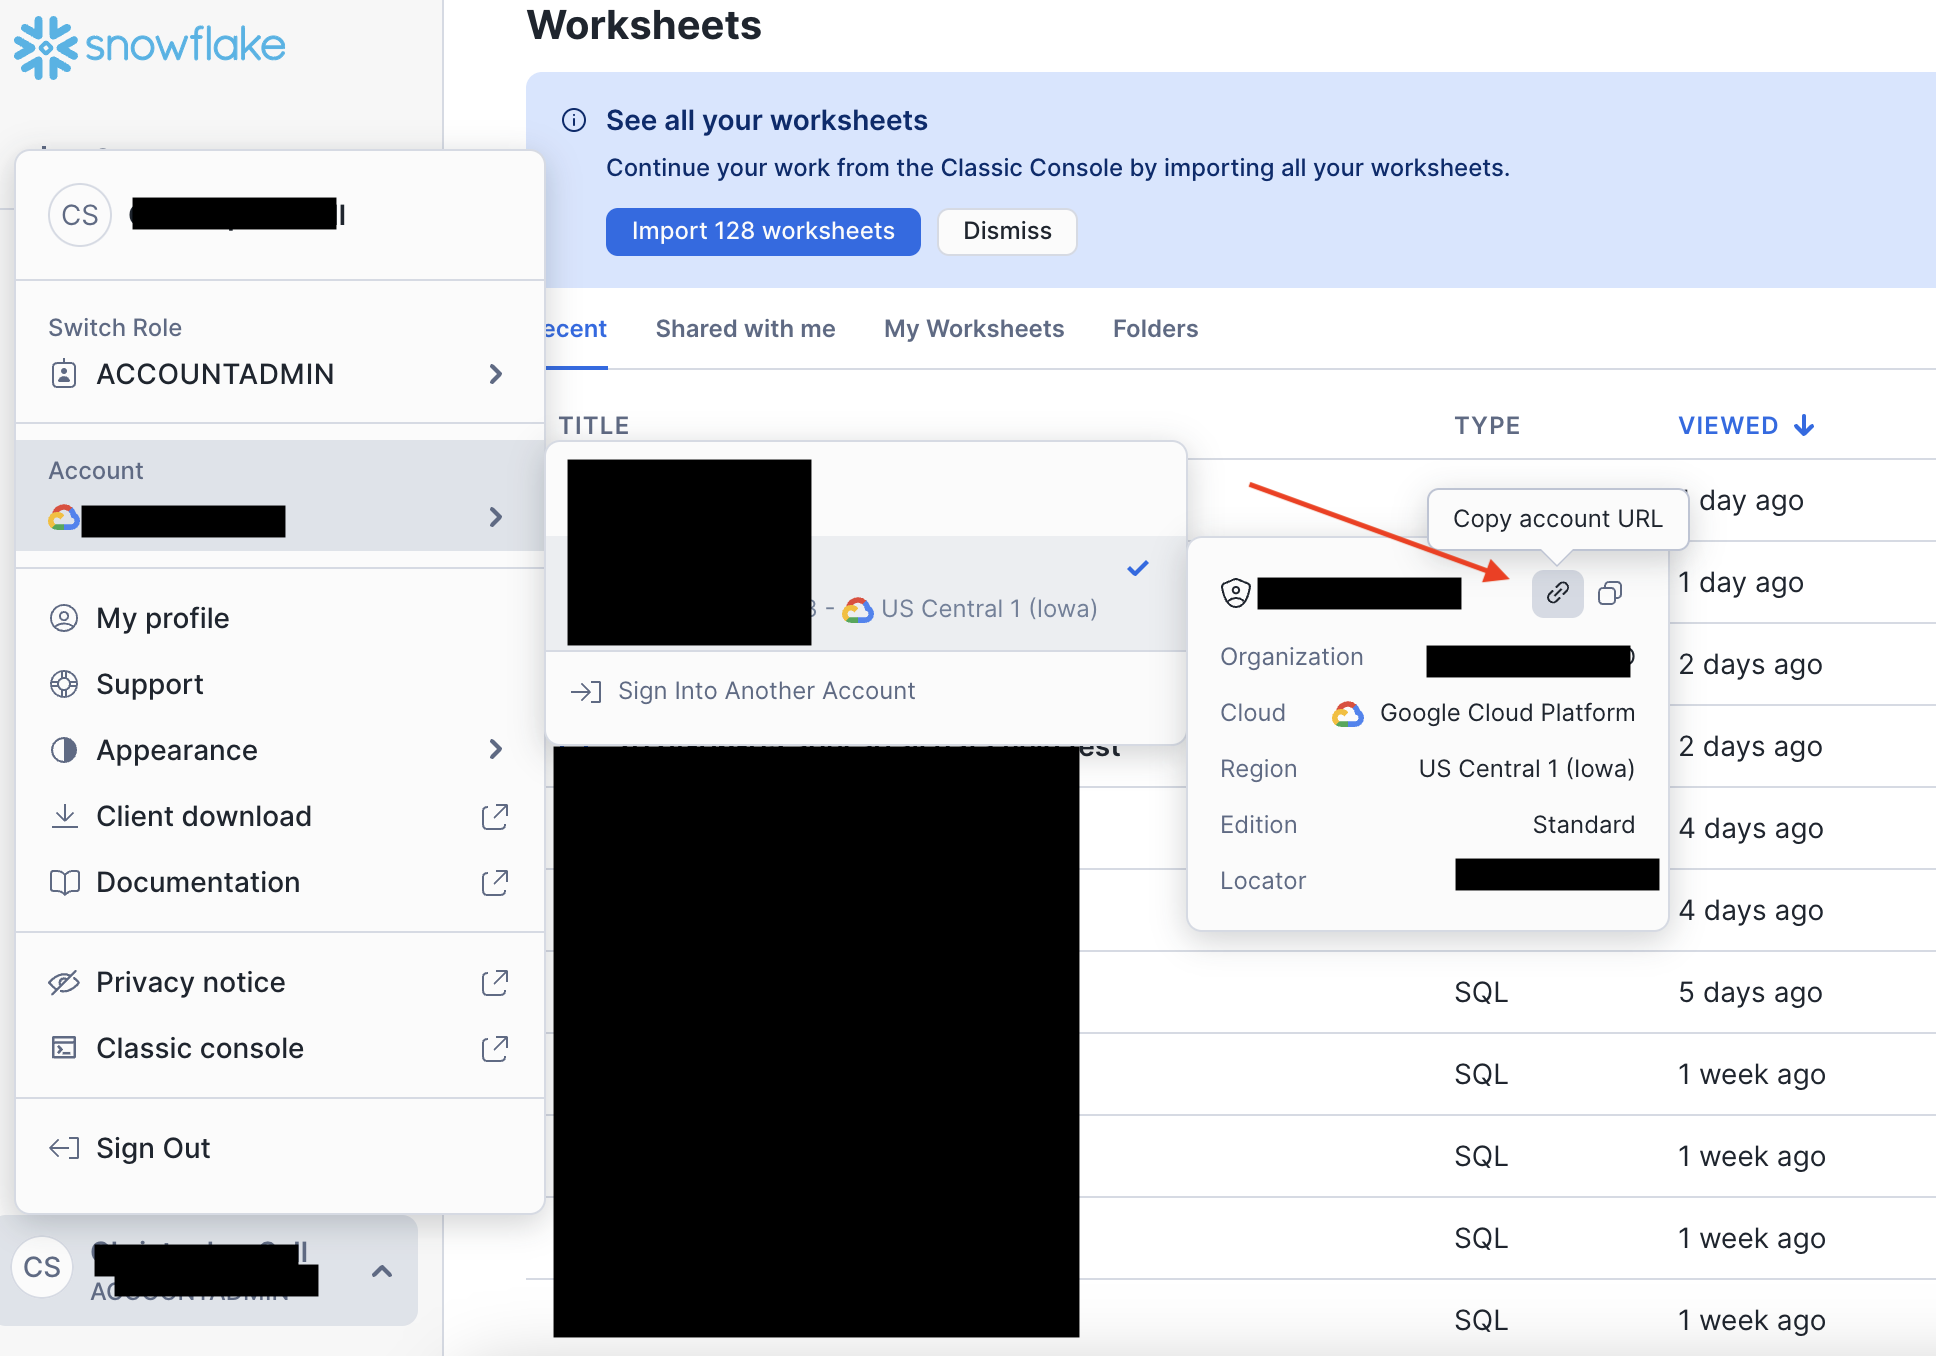
NoteThe Account string required will change slightly depending on the cloud provider in which your Snowflake account is hosted. Please refer to the Snowflake documentation below for specifics for your cloud provider (AWS, GCP, Azure, etc.). See details here.
- Username: This will be the
USERcreated in the "Create Snowflake User and Role" Section of this documentation. - Role: This will be the
ROLEcreated in the "Create Snowflake User and Role" Section of this documentation. - Passphrase: This will be the encryption password used when creating the private key in the "Create Public/Private Key Pair" section of this documentation.
- Dataset for snapshots: The schema name created for storing GrowthLoop audience export snapshots. Note that this is case sensitive.
Connect Your Customer Data
- After your connection has been established, click continue and you will see the following page:
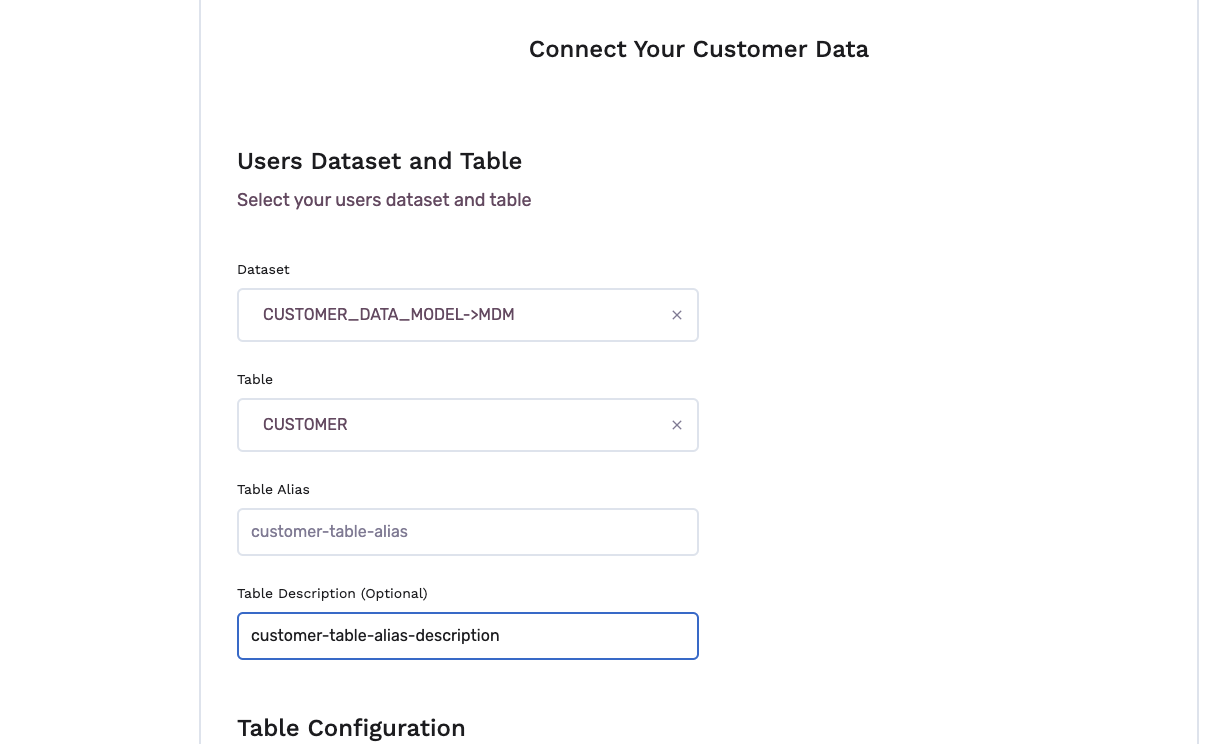
- In this section, choose the specific dataset and table in your data warehouse that you will be activating in GrowthLoop.
- Next, select your unique key and the fields you wish to show in the criteria builder by default.
- Finally, click Finish to complete the setup.
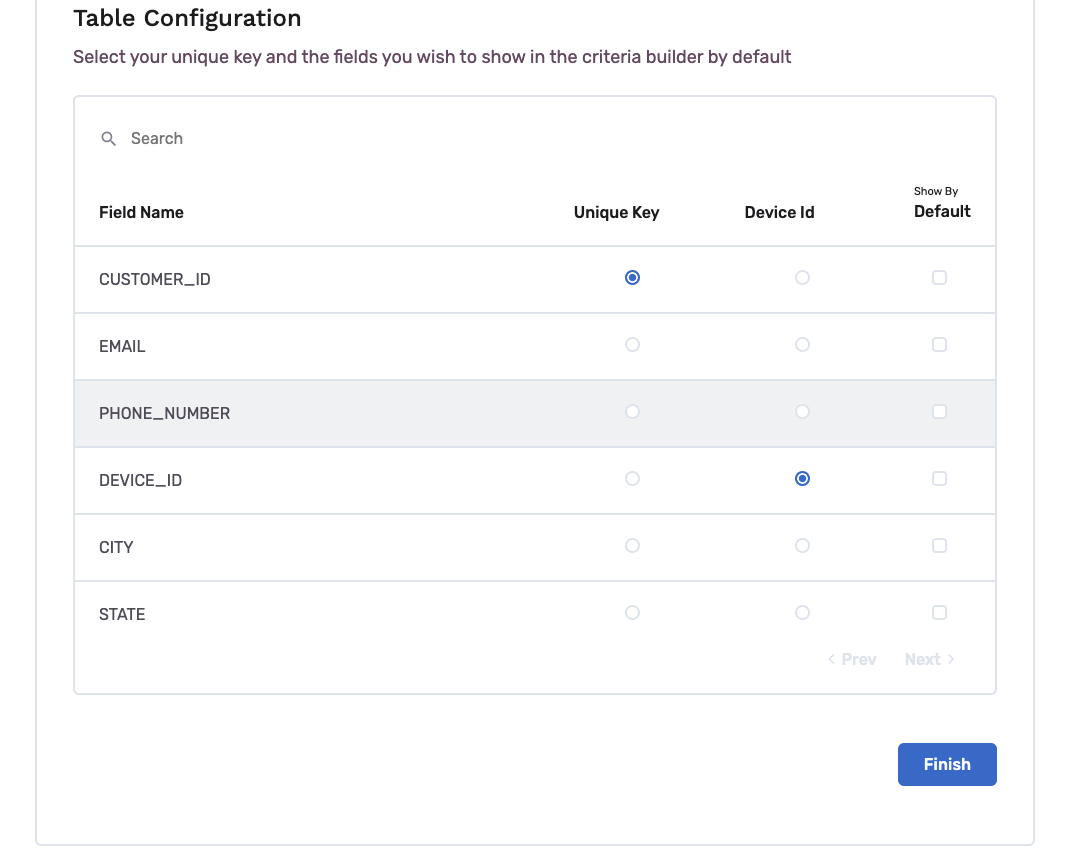
SuccessYou've connected your Snowflake account to GrowthLoop!
NoteHaving trouble connecting to Snowflake? Reach out to us at [email protected], and we'll be in touch shortly to help resolve the issue!