Braze
Enhance your Braze campaigns with powerful customer data from your data warehouse.
In this guide, we’ll walk you through syncing customer data from your data warehouse into Braze to supercharge your marketing efforts. Let's get started!
Supported Objects
GrowthLoop enables syncing to these Braze objects:
| Object | Description | Sync Modes | Field Mappings (Required) | Field Mappings (Optional) |
|---|---|---|---|---|
Event | Sync and track in-app behaviors, such as clicks, page views, or interactions | Insert (adds new events) | Event name: The event’s nameTimestamp: When the event occurred | |
Profile Attribute | Update user preferences and attributes for personalized campaigns | Insert (adds new profiles) Update (modifies existing profiles) Upsert (combines insert and update) | At least one attribute, e.g., Country | |
Purchase | Sync transaction data for targeting users with offers or promotions | Insert (adds new purchase records) | Product ID: Identifier, e.g., Product NamePrice: Amount paidTime: When the purchase occurred,Currency: e.g., USD | Quantity: Purchased amount |
Prerequisites
- Create a Braze API Key.
- Log in to Braze and go to Settings > APIs and Identifiers.
- Click Create API Key, name it "GrowthLoop," and select the
User Data,Purchases, andEventspermissions. - Click Create API Key again to save your configuration. Make sure to copy the Identifier, as you'll need it for the next step.
- Locate your Braze API URL. Visit Braze endpoint documentation to locate the API URL for your Braze instance. Be sure to copy the full API URL (i.e., REST Endpoint).
Note
If your Braze URL is https://dashboard-06.braze.com, your API URL (i.e. REST Endpoint) will be https://rest.iad-06.braze.com.
Add and configure destination
- To begin, sign into the GrowthLoop Platform and navigate to the Destinations tab on the left sidebar. Click New Destination in the top right corner.
- In the Select Destination window that pops up, type Braze into the search bar to find Braze. Click Add Braze.
- Clicking Add Braze will require you to select/insert the following information:
- Destination Name: The name that will be used for this destination in the app.
- Sync Frequency: Choose either
DailyorHourly,which will determine how often GrowthLoop exports audiences to Braze. - API Key: Enter the "Identifier" of your API Key from Braze.
- API URL: Enter the full API URL (i.e., REST Endpoint).
- Click Create. We’ll validate your permissions to ensure we can load your customer data to Braze. If successful, Braze will appear in your list of connected destinations!
Create and configure sync
- Navigate to the Syncs tab on the left sidebar and click Create Sync in the top right corner.
- Set up your Sync with the following details:
- Sync Name: A clear, friendly name for your sync.
- Sync Frequency: How often data should sync to the destination.
- Update Rule: The default method for syncing data to the destination.
- Dataset / Table: The table containing your events, purchases, or user data.
- Match Field: The column used to identify users in your source table for the destination system.
- Dataset Unique Field: The column with unique values for each user in the table.
- Connection: Choose the destination for syncing data. Select Braze.
- Object Type: Choose the data object to sync:
Event,Purchase, orUser Attribute. - Match Field: The column used to match and identify users in the destination system based on your source data.
- Once you finish selecting/inserting the required fields, click Save Sync.
- Next, you'll need to add field mappings based on the object you're syncing to. In this case, we're syncing to the
Eventobject, which requires the following:Event Name: The name of the event. See best practices on naming conventions here.Event Time: Indicates when the event occurred. Make sure it is in ISO 8601 or in yyyy-MM-dd'T'HH:mm:ss:SSSZ format.
- To map the fields, select the column that represents the
Event Namefrom the drop-down under Source. - Under the Destination section, select Event Name from the drop-down.
- Click Add Mapping to include a new Source -> Destination row underneath.
- Repeat steps 5 through 7 to map the remaining required destination field:
Event Time - After mapping all the fields, clicking Update Sync will prompt you with the following two options:
- Updates Only: We recommend you go with the this option, especially if you’re setting up the sync for the first time.
- Back-fill: This option is when you are updating an existing Sync with newly mapped fields and you’d like all your already synced events to have those fields backfilled for them. This operation can be very expensive and time consuming on your underlying Data Warehouse, so please choose that option if you’re absolutely sure.
- Finally, click the toggle at the top of the page to enable!
- To view your event data in Braze, navigate to the Audience section, select Search Users, search for a specific user, and scroll down to the Custom Events section.
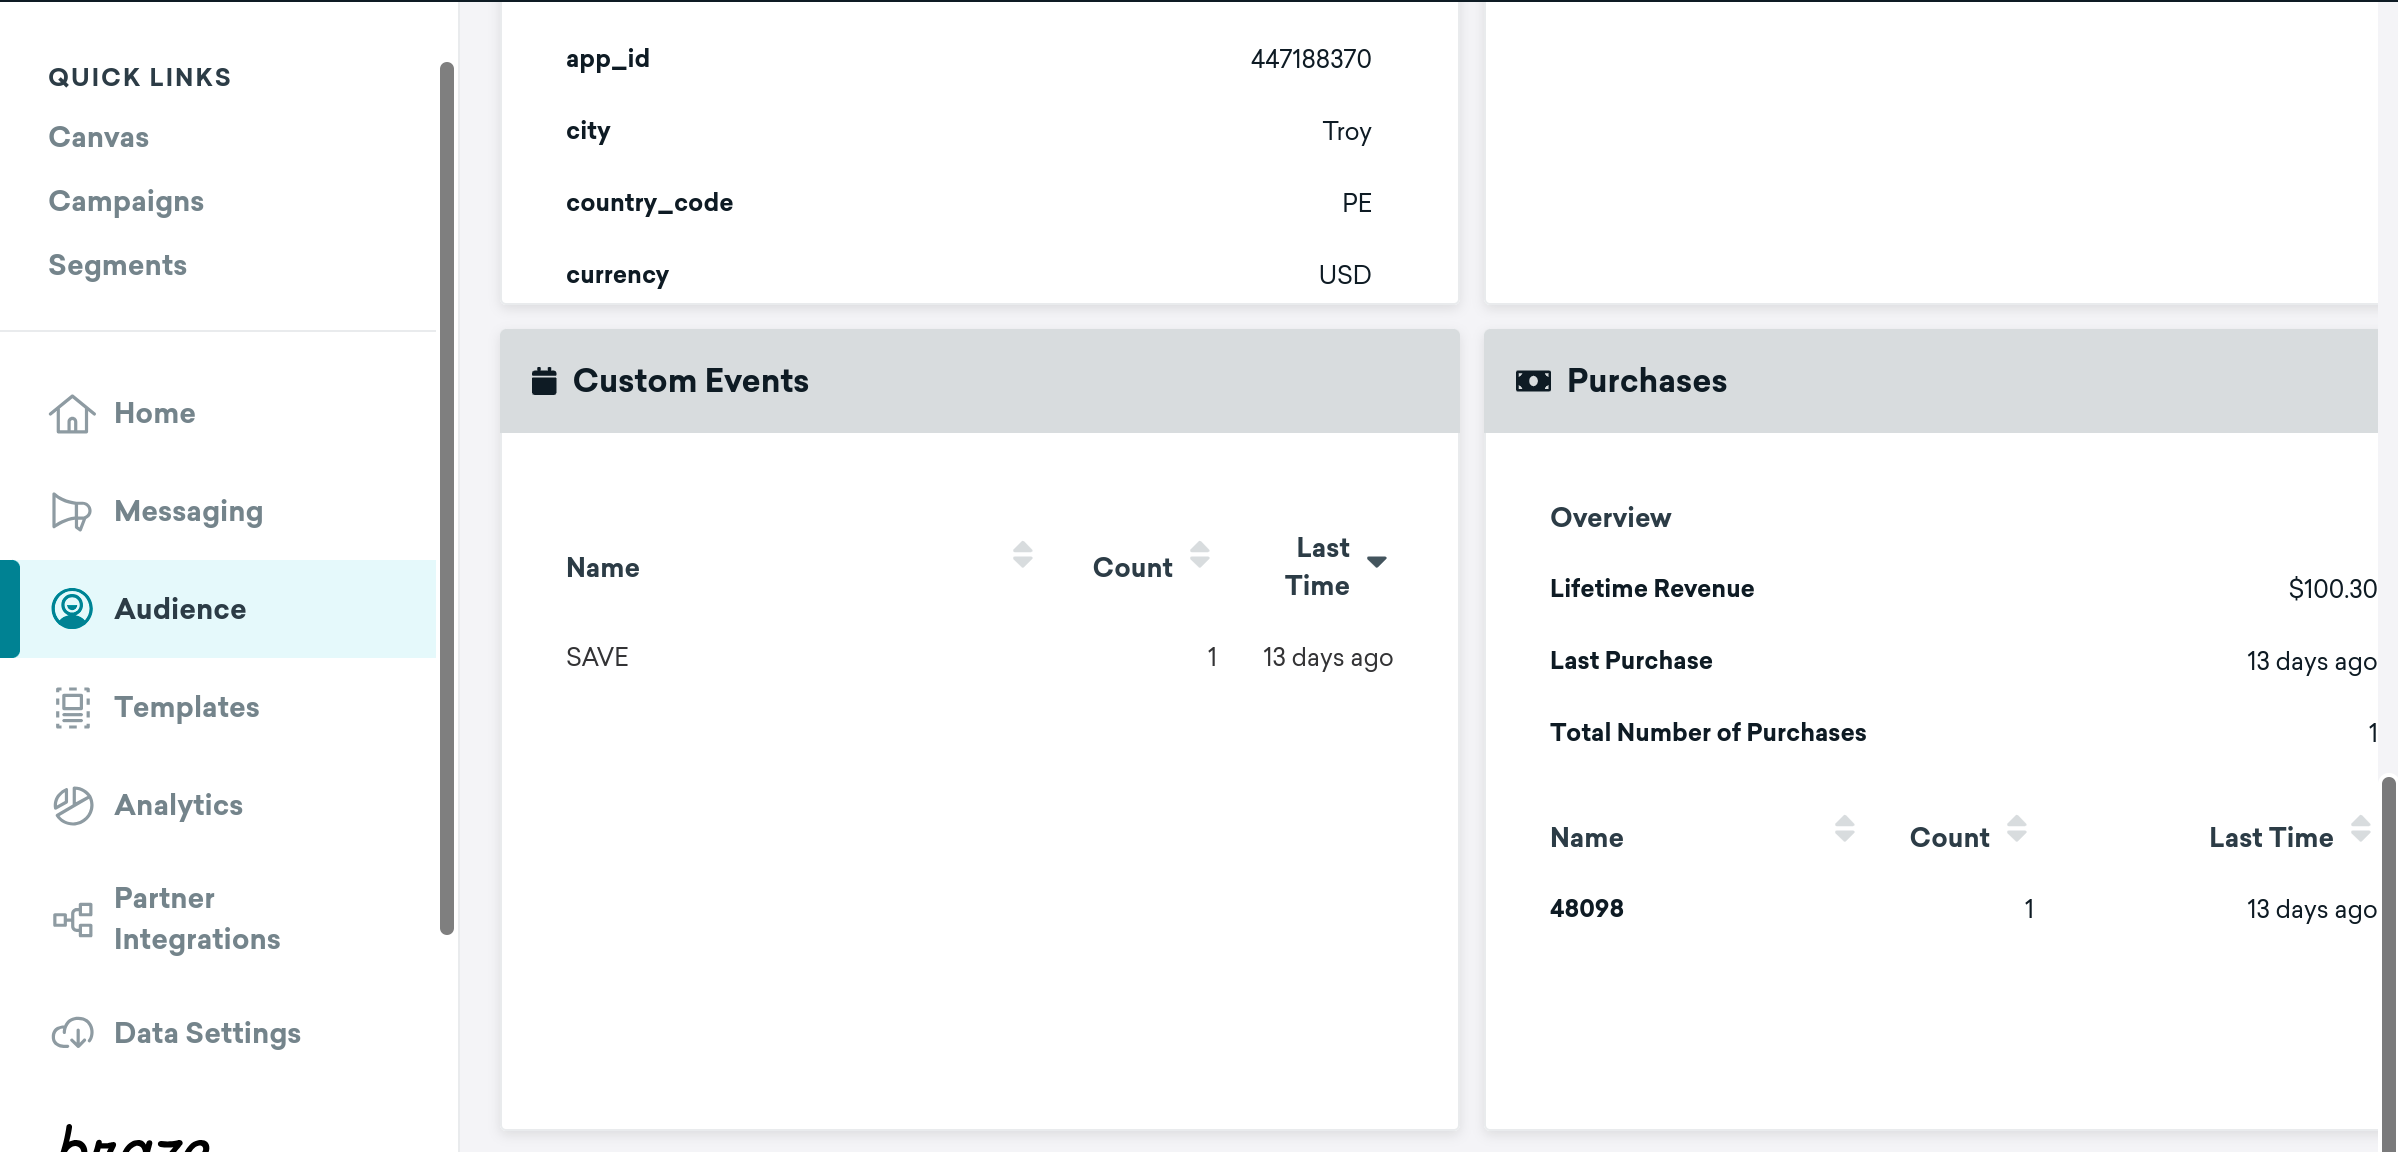
Success
You have successfully created an
Eventsync to Braze!
Note
Experiencing any issues configuring Syncs to Braze? Reach out to us at [email protected] and we’ll be in touch shortly!
Updated 4 months ago
What’s Next
Want to discover more ways to combine GrowthLoop and Braze? Click below for a full list of use cases!