
Klaviyo
Learn how to create Syncs for Klaviyo
Learn how to send the latest user info from your data warehouse to Klaviyo. This will enable you to build more accurate customer profiles for precise targeting. Let's get started!
Connecting to Klaviyo
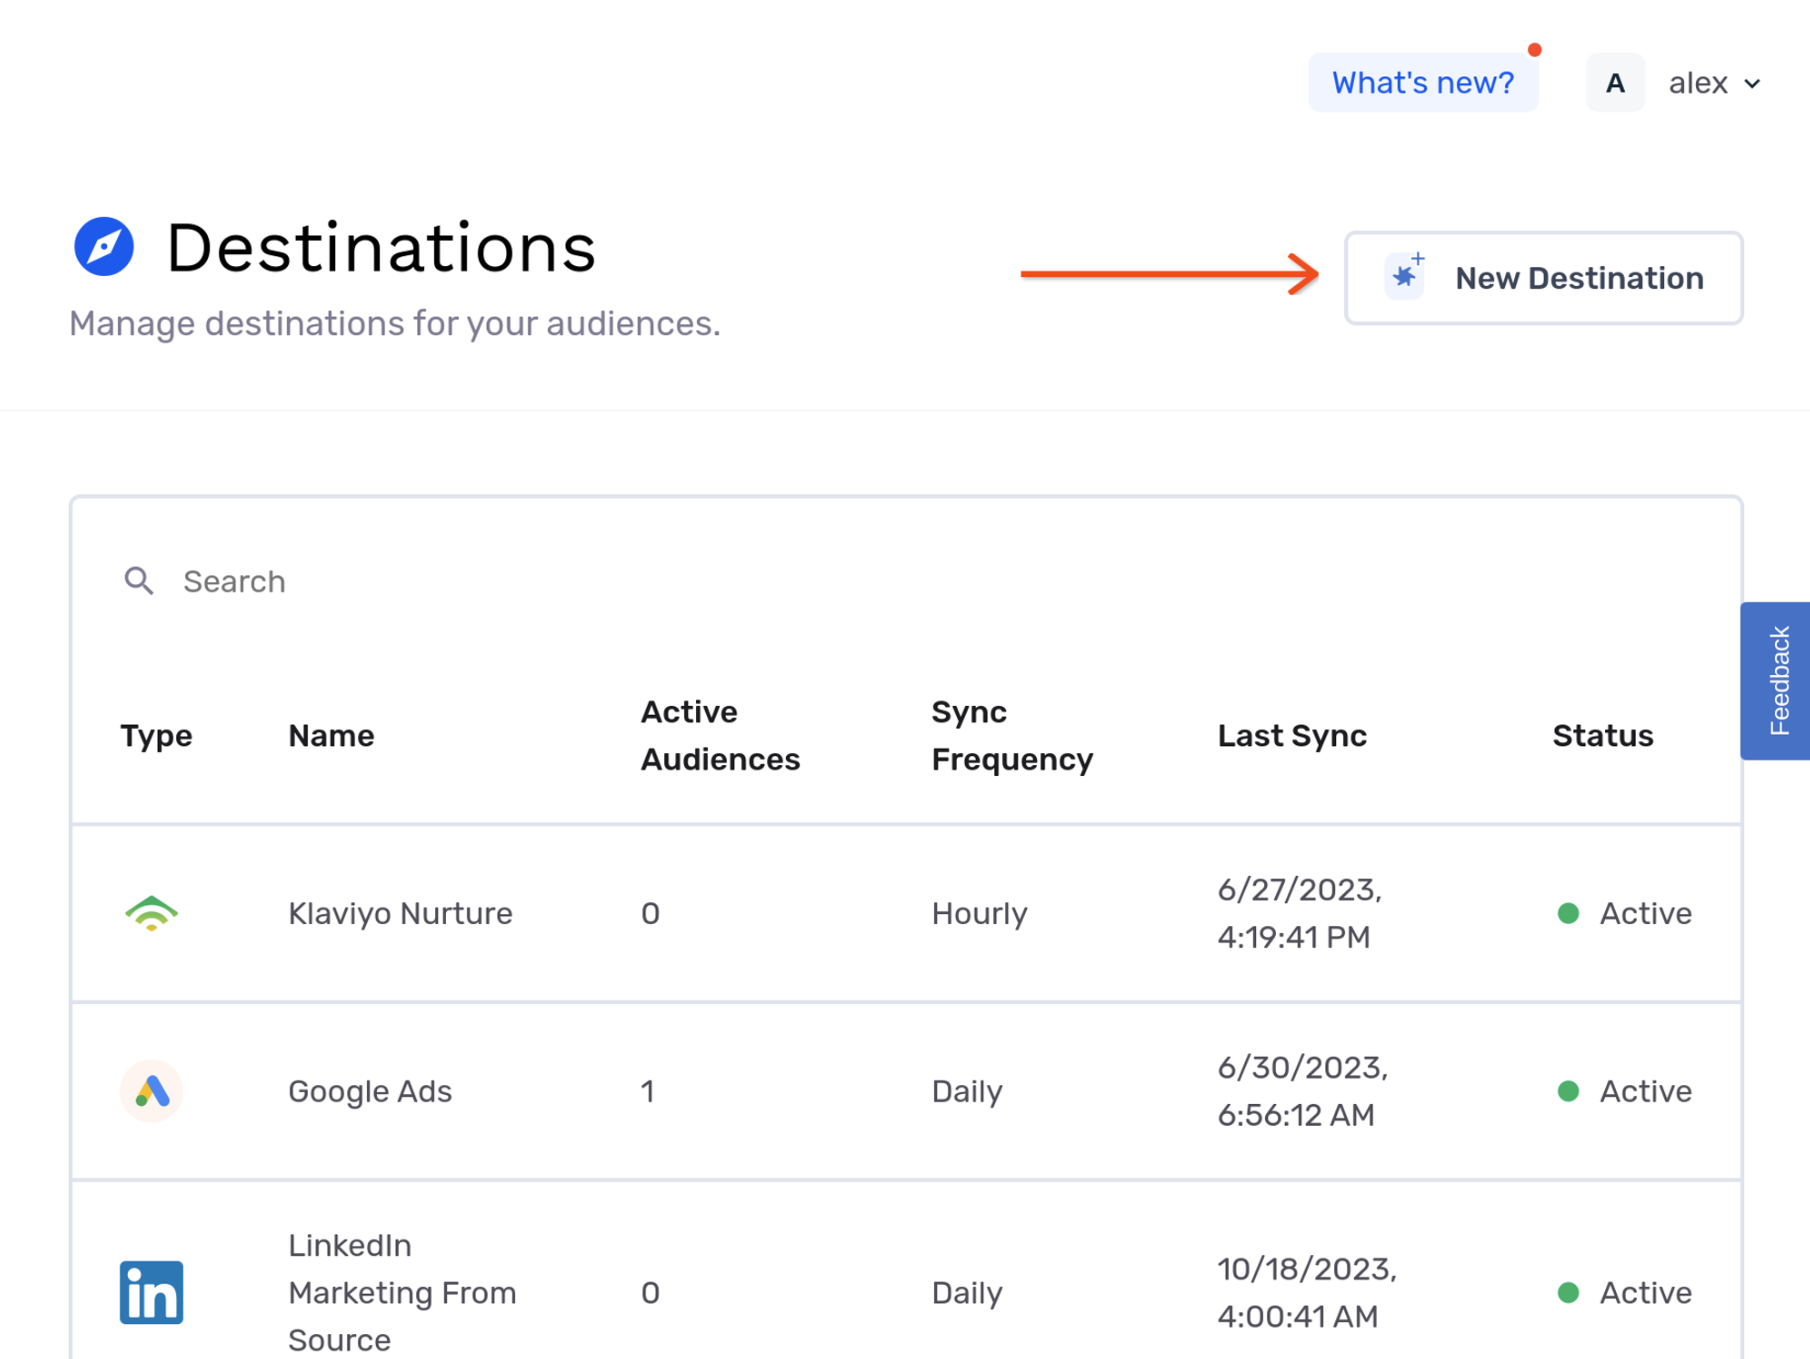
- To begin, sign into the GrowthLoop Platform and navigate to the Destinations tab on the left sidebar. Click New Destination in the top right corner.
- In the Select Destination window that appears, just type Klaviyo into the search bar. Then, click Add Klaviyo.

- In the window, please enter the following information to set up the connection to the destination.
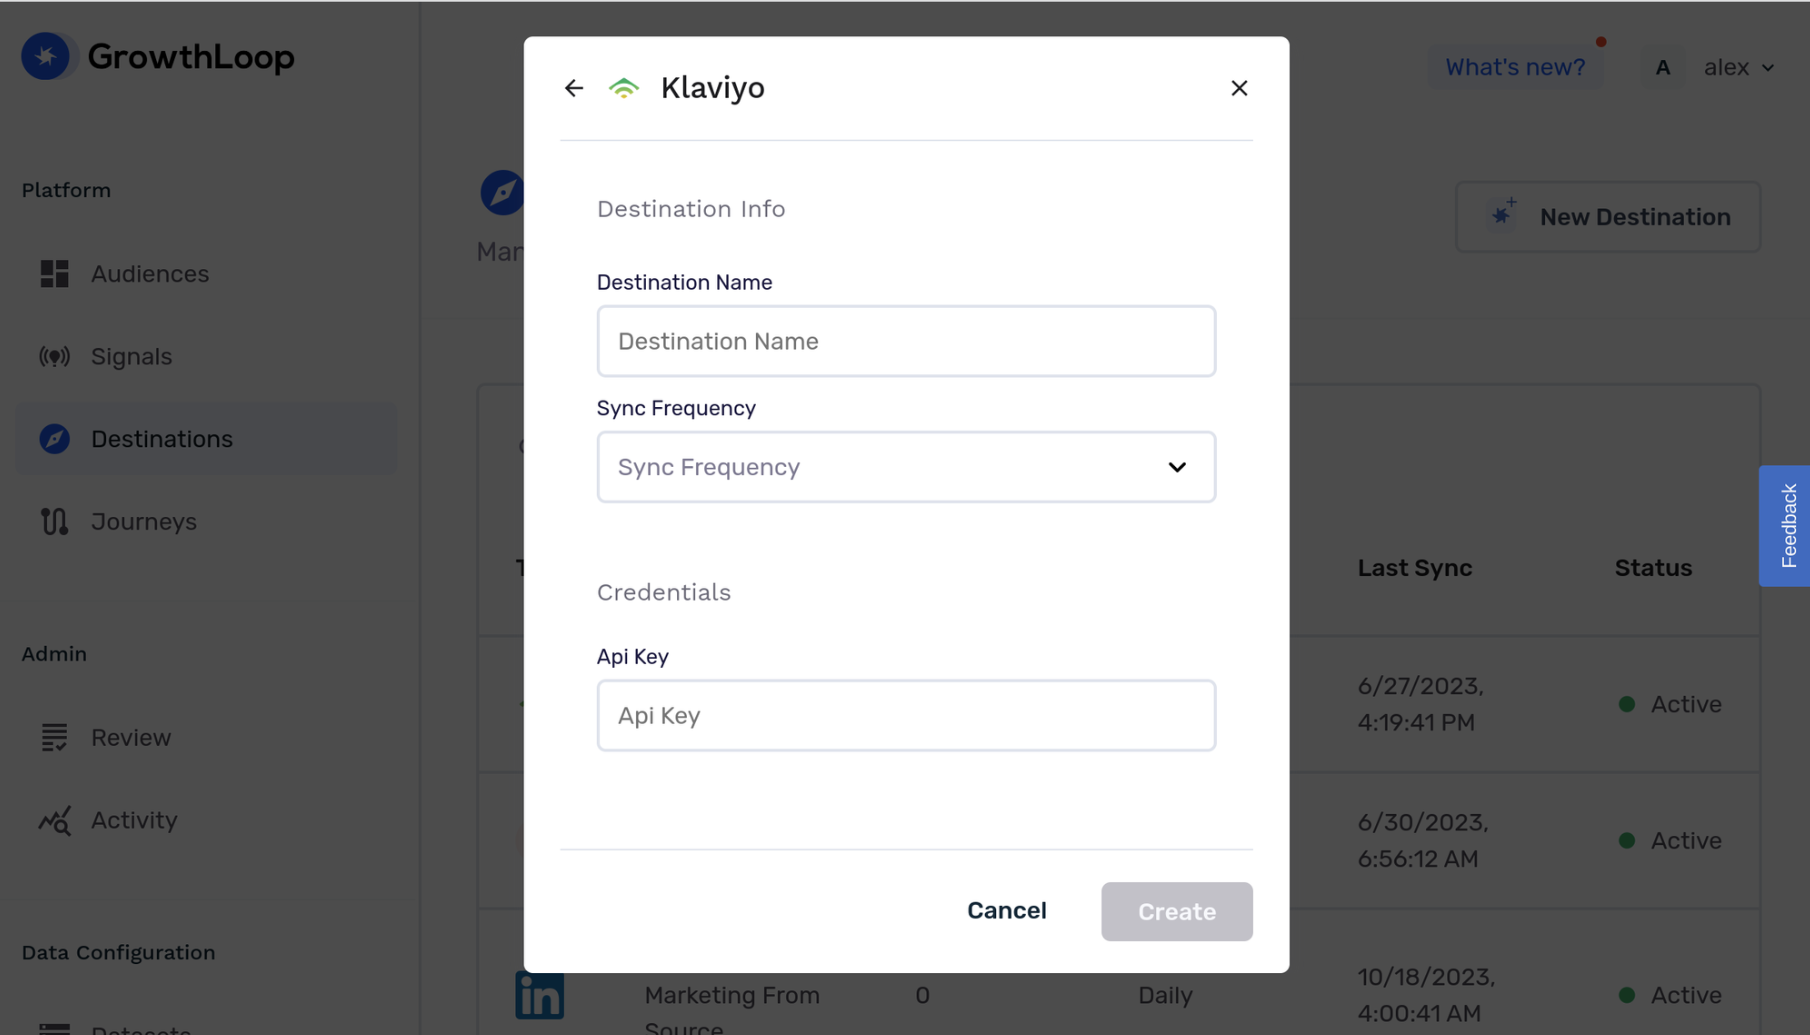
- Destination Name: This is how the destination will be named and referred to in the app going forward.
- Sync Frequency: Choose between Hourly or Daily to determine how frequently GrowthLoop exports audiences to Klaviyo.
- API Key: Locate your API key in account settings or create one using Create API KEY if it doesn't exist. Remember that only users with roles such as Owner, Admin, or Manager can view and create API keys.
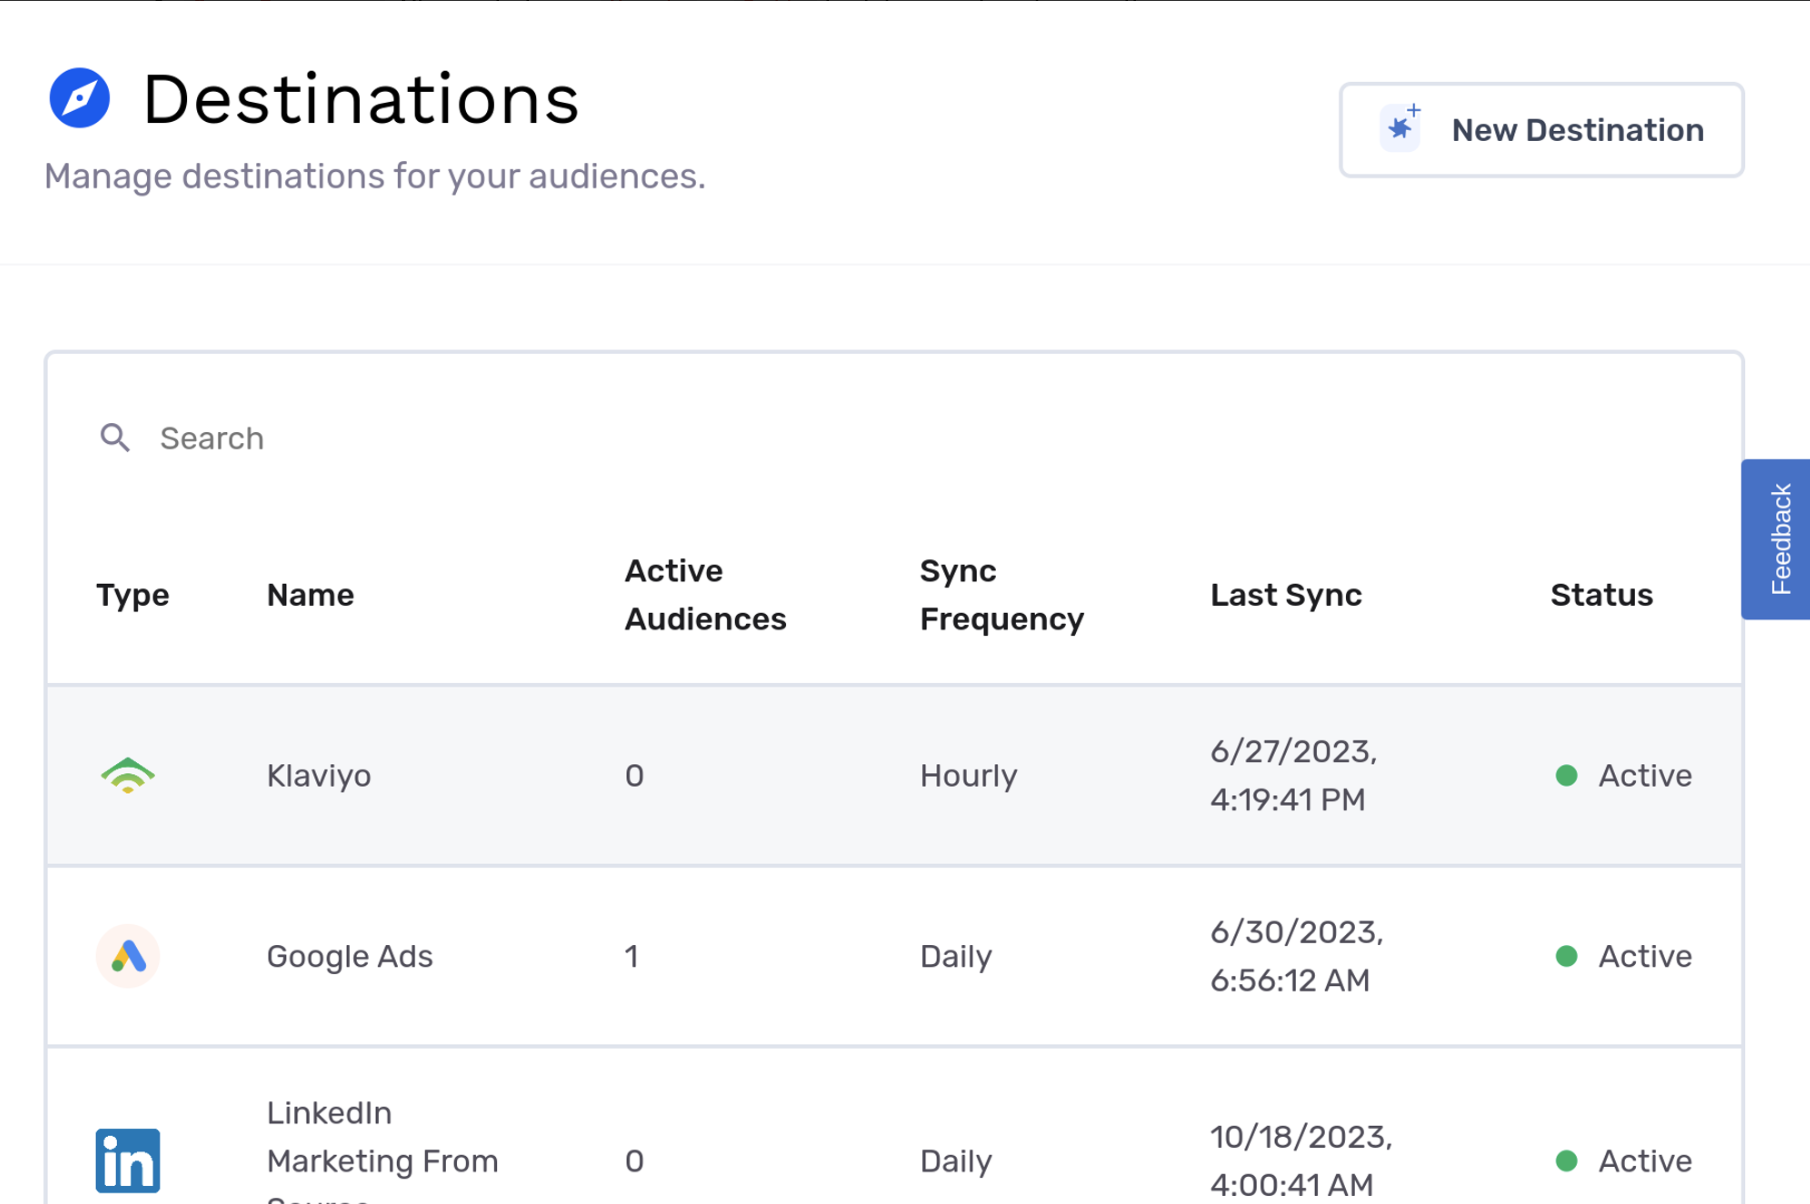
- Once you've entered the information, click on Create. We'll check to make sure we have all the necessary permissions to send audience data to Klaviyo. If everything is in order, you'll now find the new Klaviyo Destination in your list of connected destinations.
Routing user signals to Klaviyo
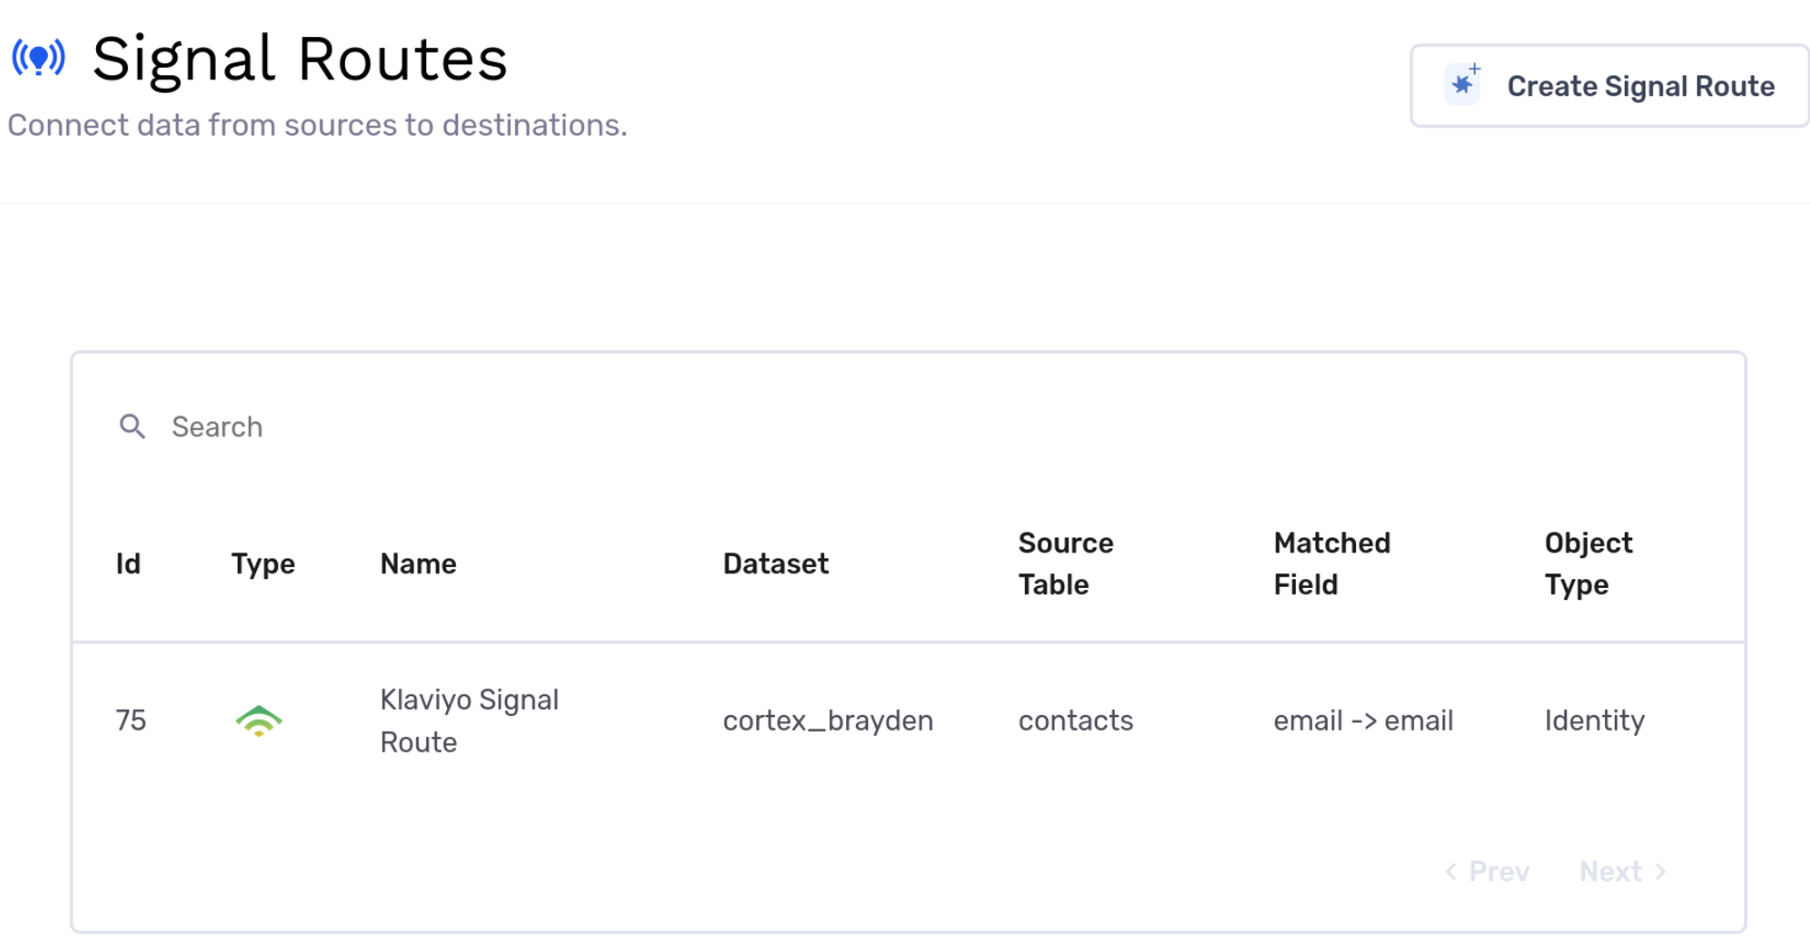
- To route the latest user info (e.g., email, phone, city) to Klaviyo, go to the Signals tab on the left sidebar and click New Signal Route in the top right corner.

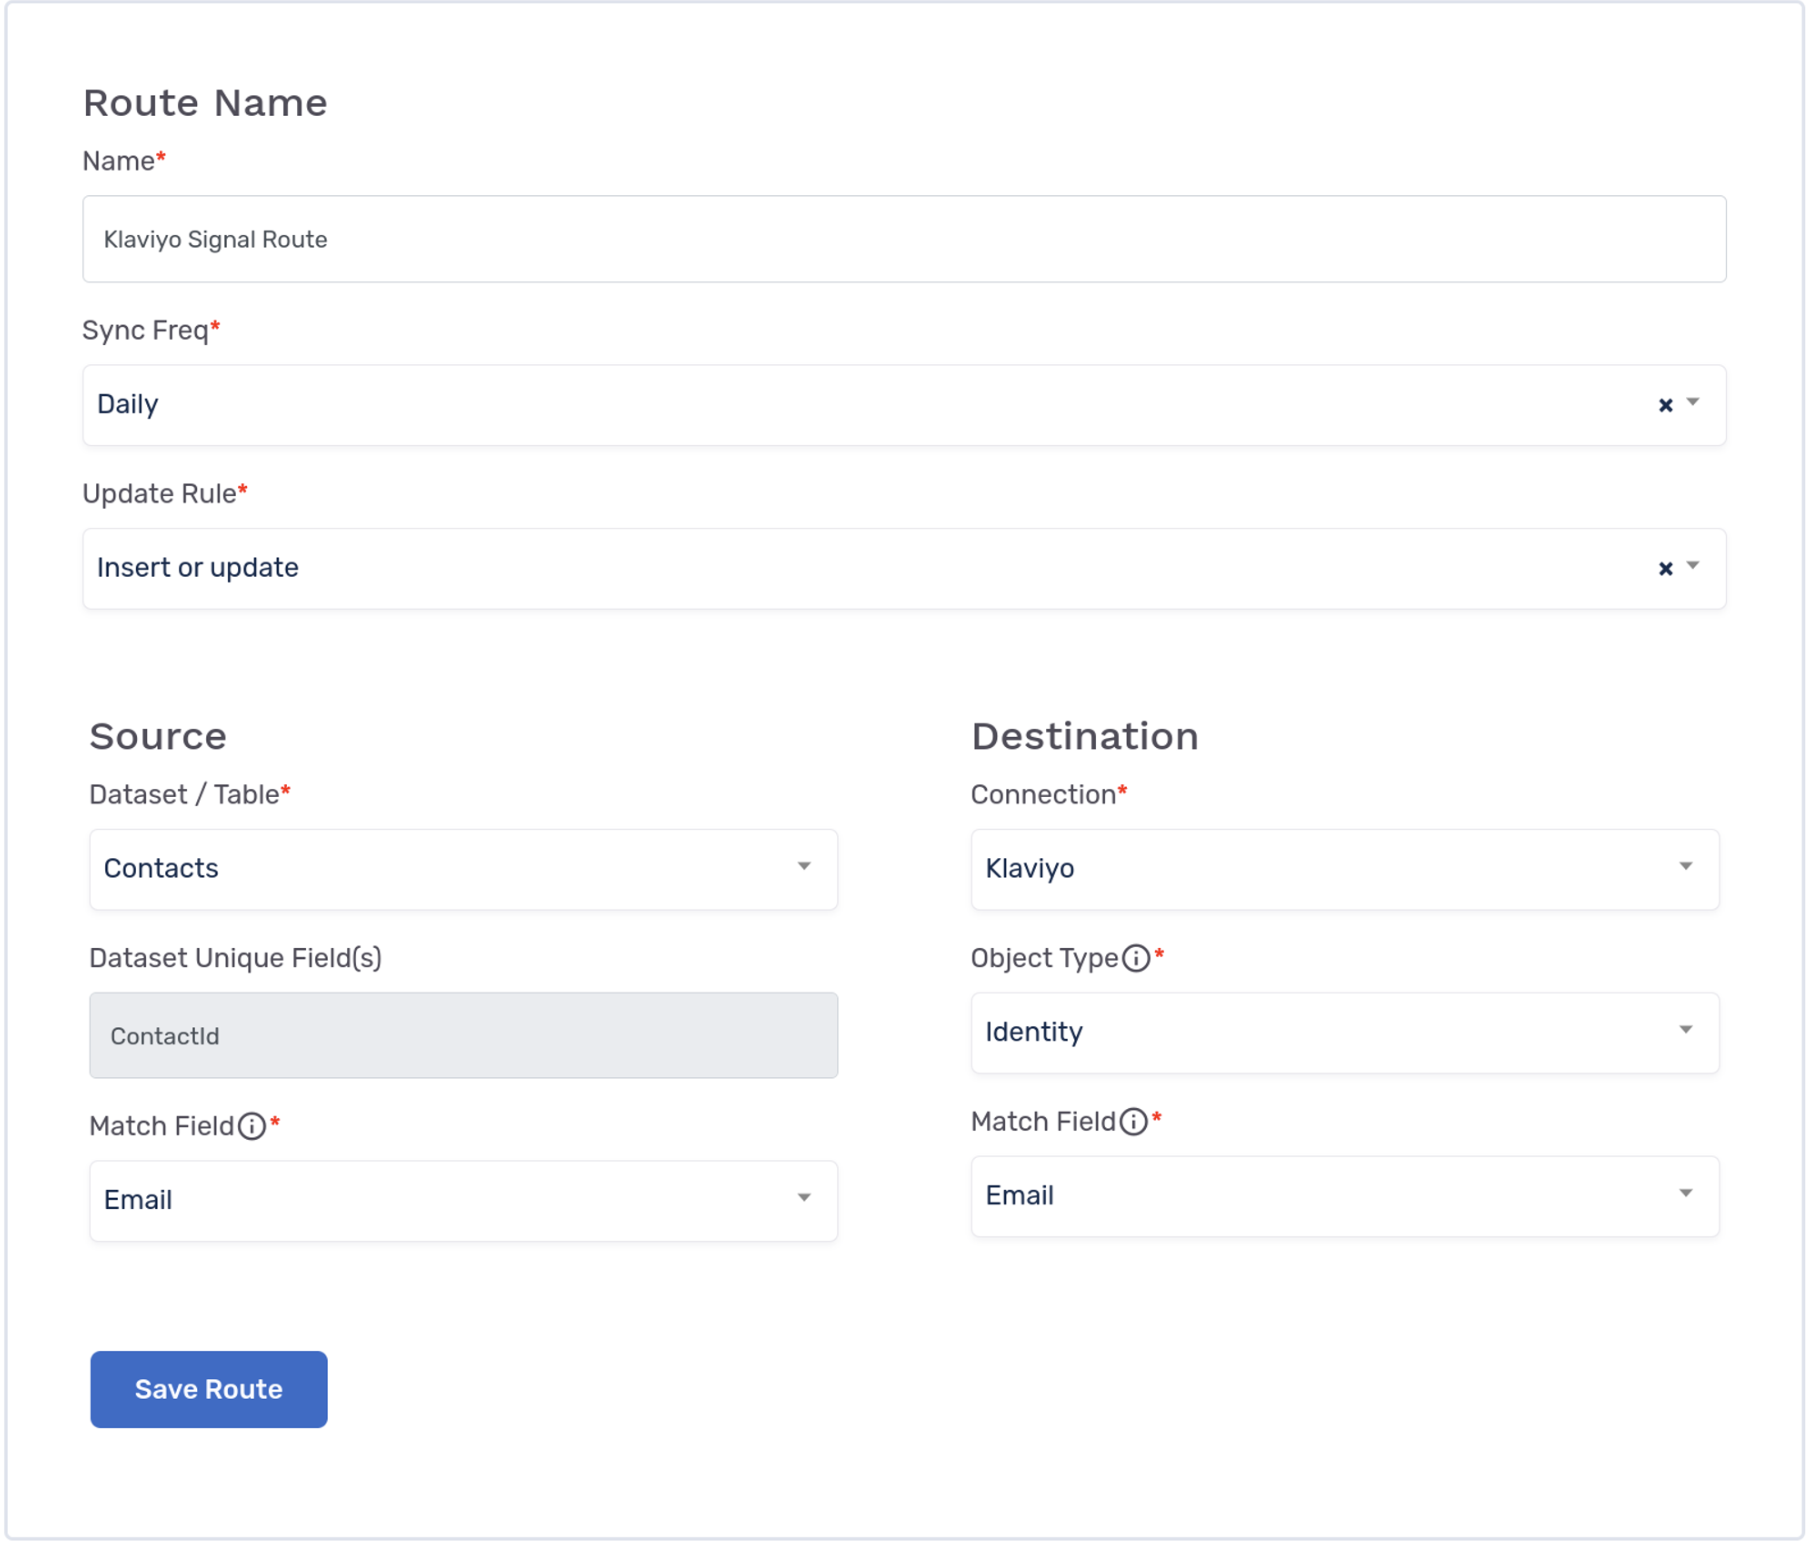
- Clicking Create Signal Route will require you to select/insert the following information:
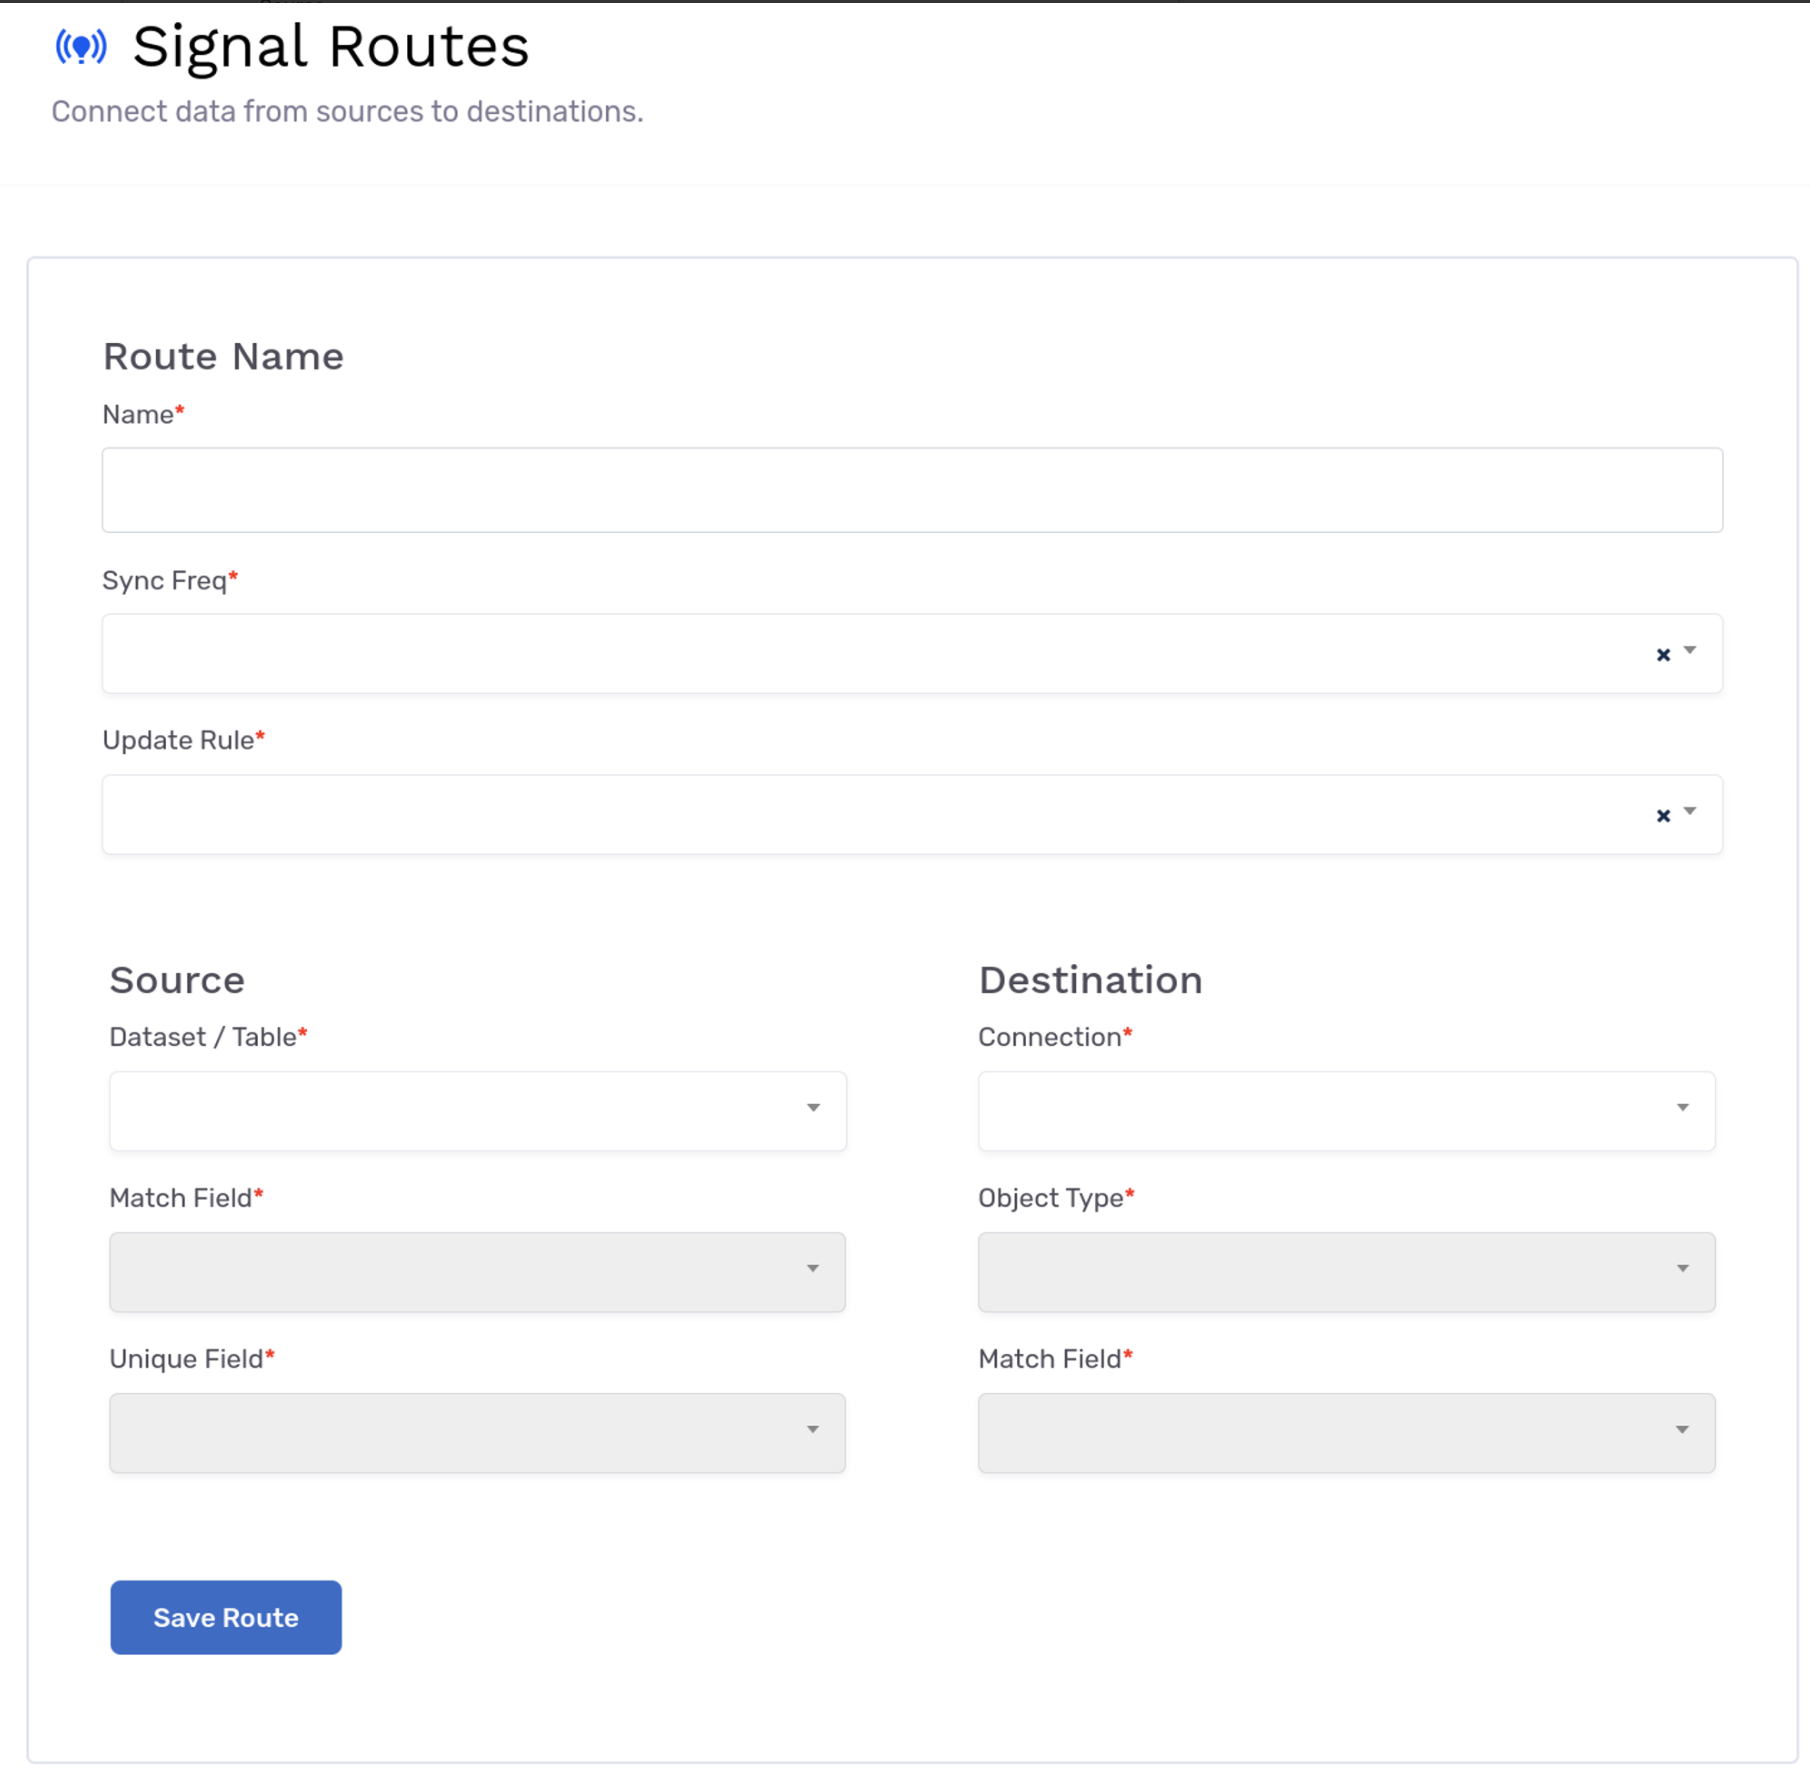
- Route Name: A friendly name for the signal route.
- Sync frequency: The default frequency for syncing the latest user info to a destination.
- Update Rule: The default operation for syncing the latest user info to a destination. Update only changes existing data, Insert only inserts new data, and Insert or update is a hybrid action that adds new data if it's not already present or updates it if it is.
- Source: The table that holds the latest user info. Usually, it's organized within a User table.
- Match Field: The column used to match and identify users from your source table in the destination system.
- Unique Field: The column that contains values that are distinct for each user in the table.
- Connection: The destination you will sync data to. Please select Klaviyo.
- Object Type: The object that you want to send data to. Please select Identity.
- Unique Field: The column used to match and identify users from the destination system in your source table.
- Once you finish selecting/inserting the required fields, click Save Route.
-
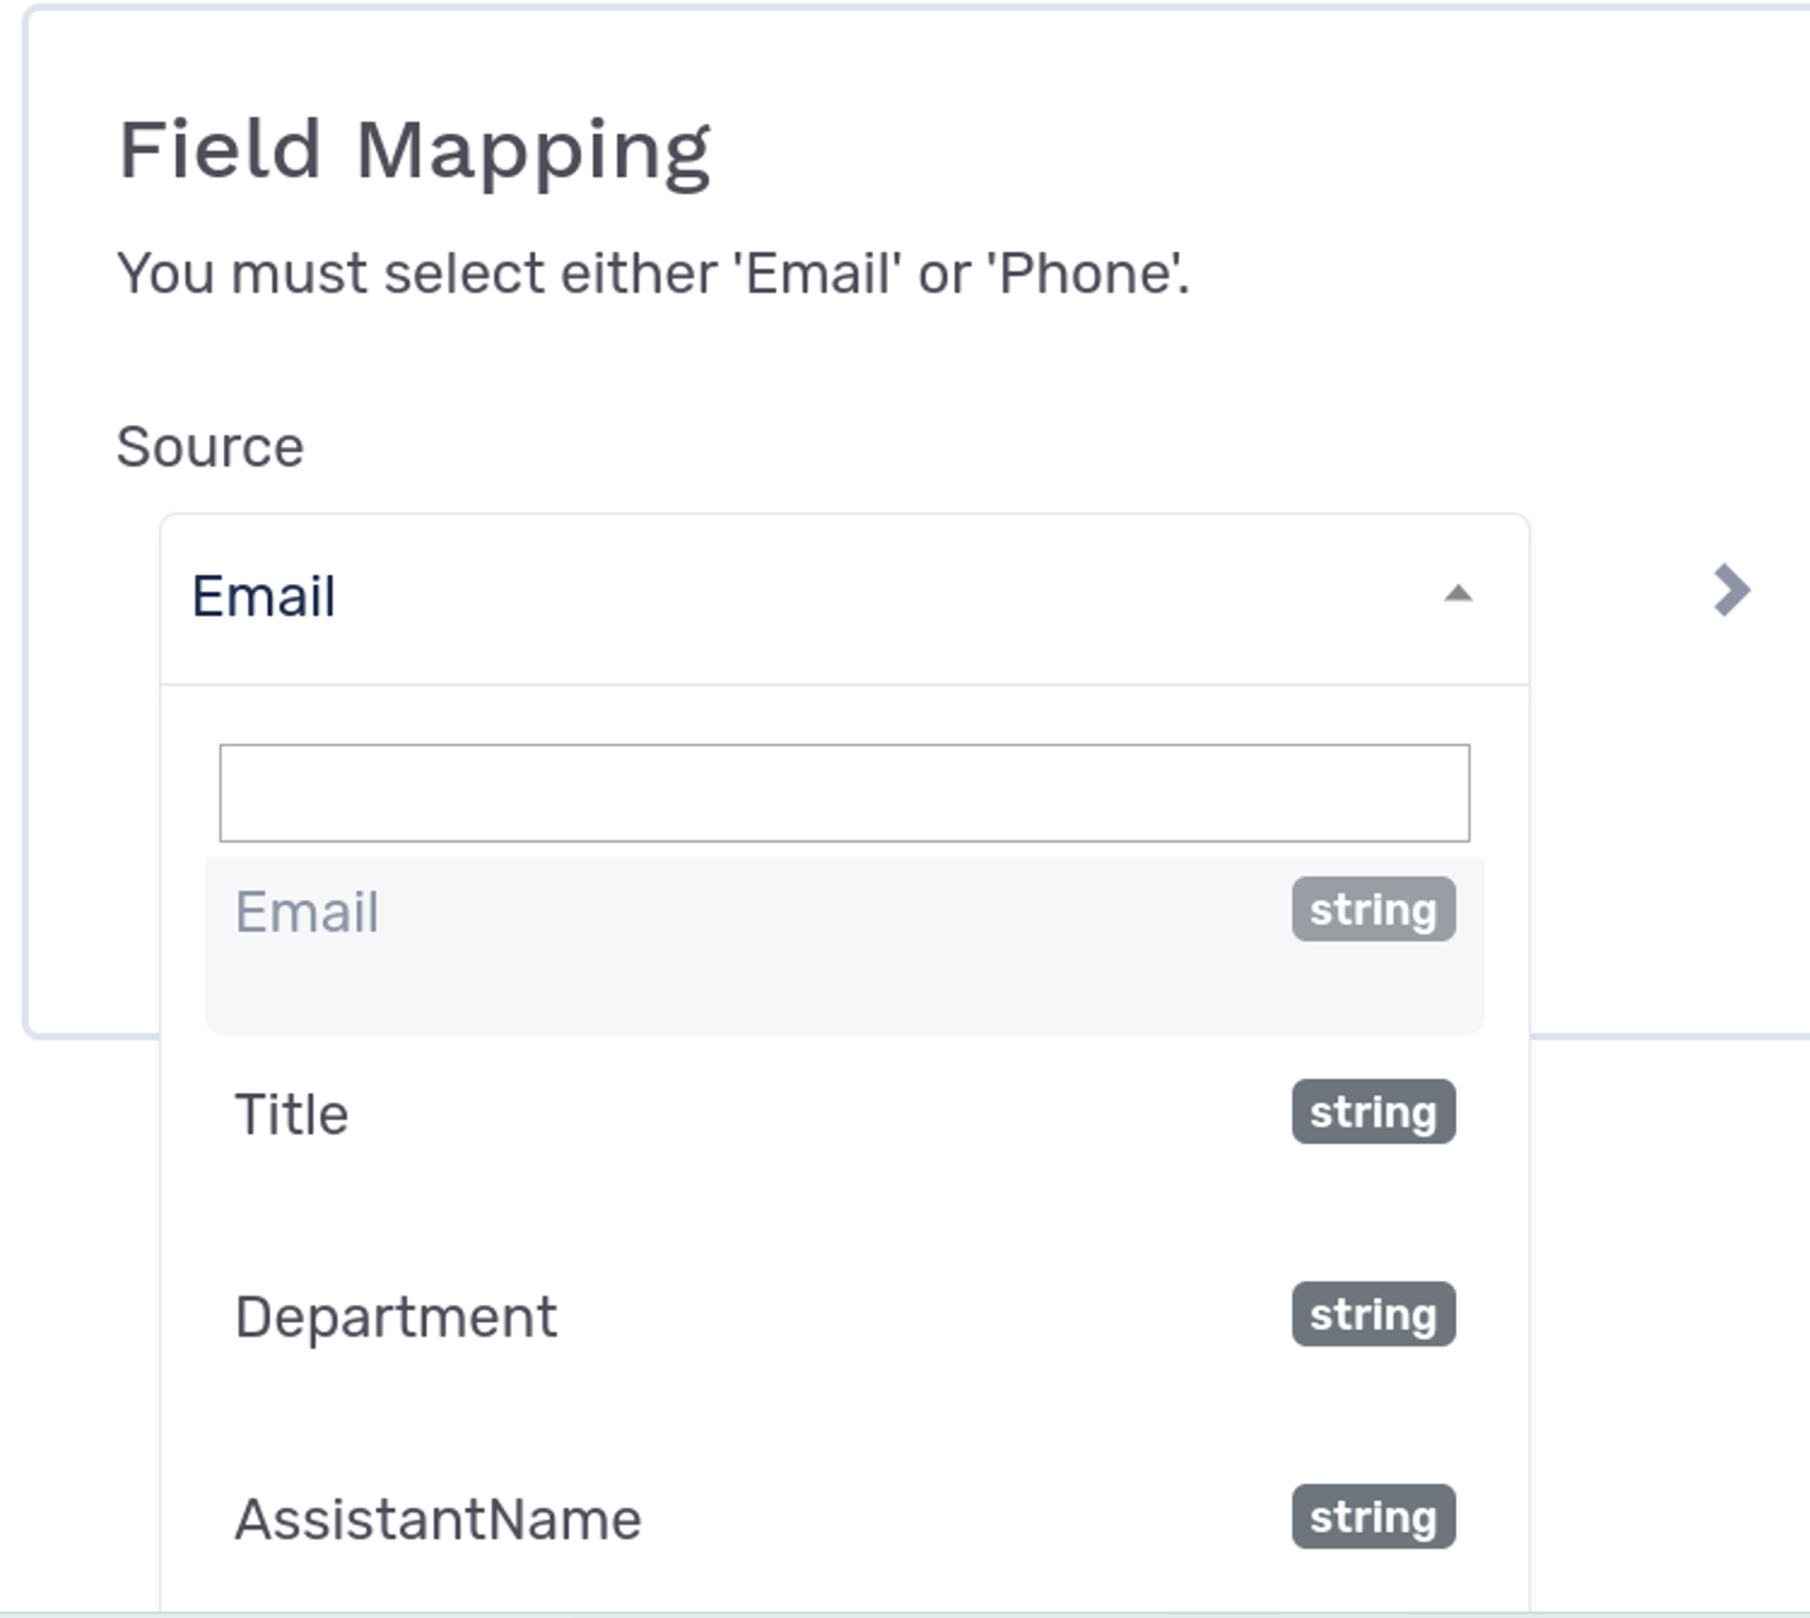
It's time to add the field mappings to activate your signal route. For Klaviyo integration, it's essential to map either Email or Phone, at the very least.
-
To map the field, select the column that represents the Email from the drop-down under Source.
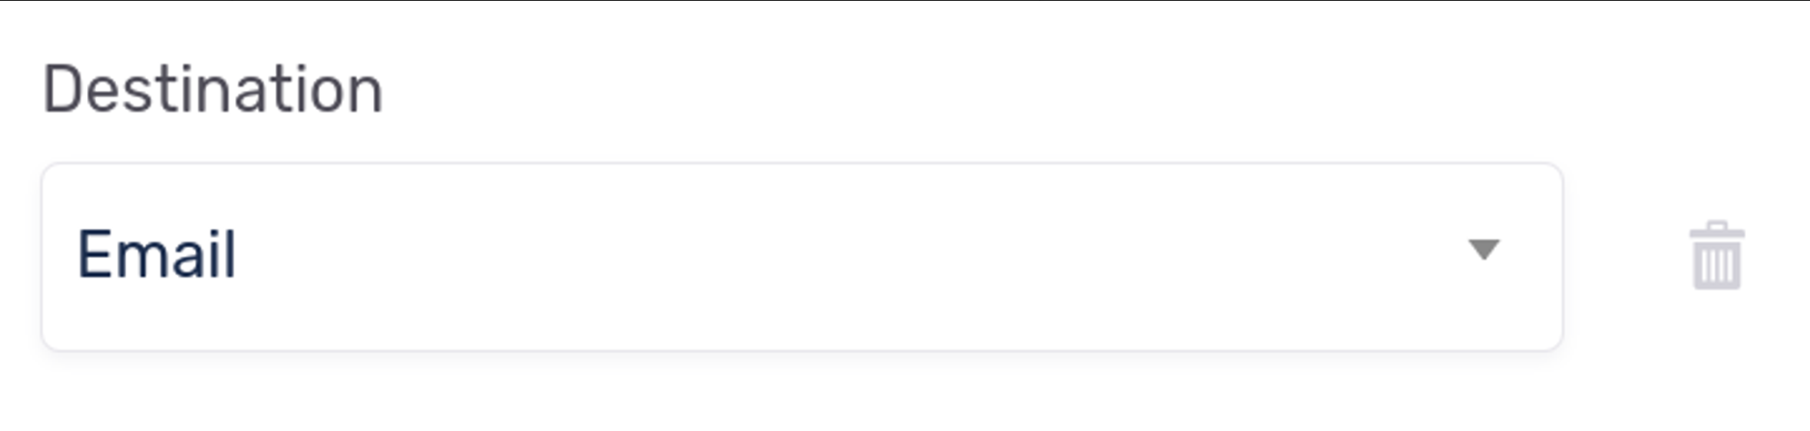
- Under the Destination section, select Email from the drop-down.
- If you want to map more fields like Phone Number and City, simply click on Add Mapping. This will create a new row for Source > Destination, and then you can follow steps 5 and 6 again.
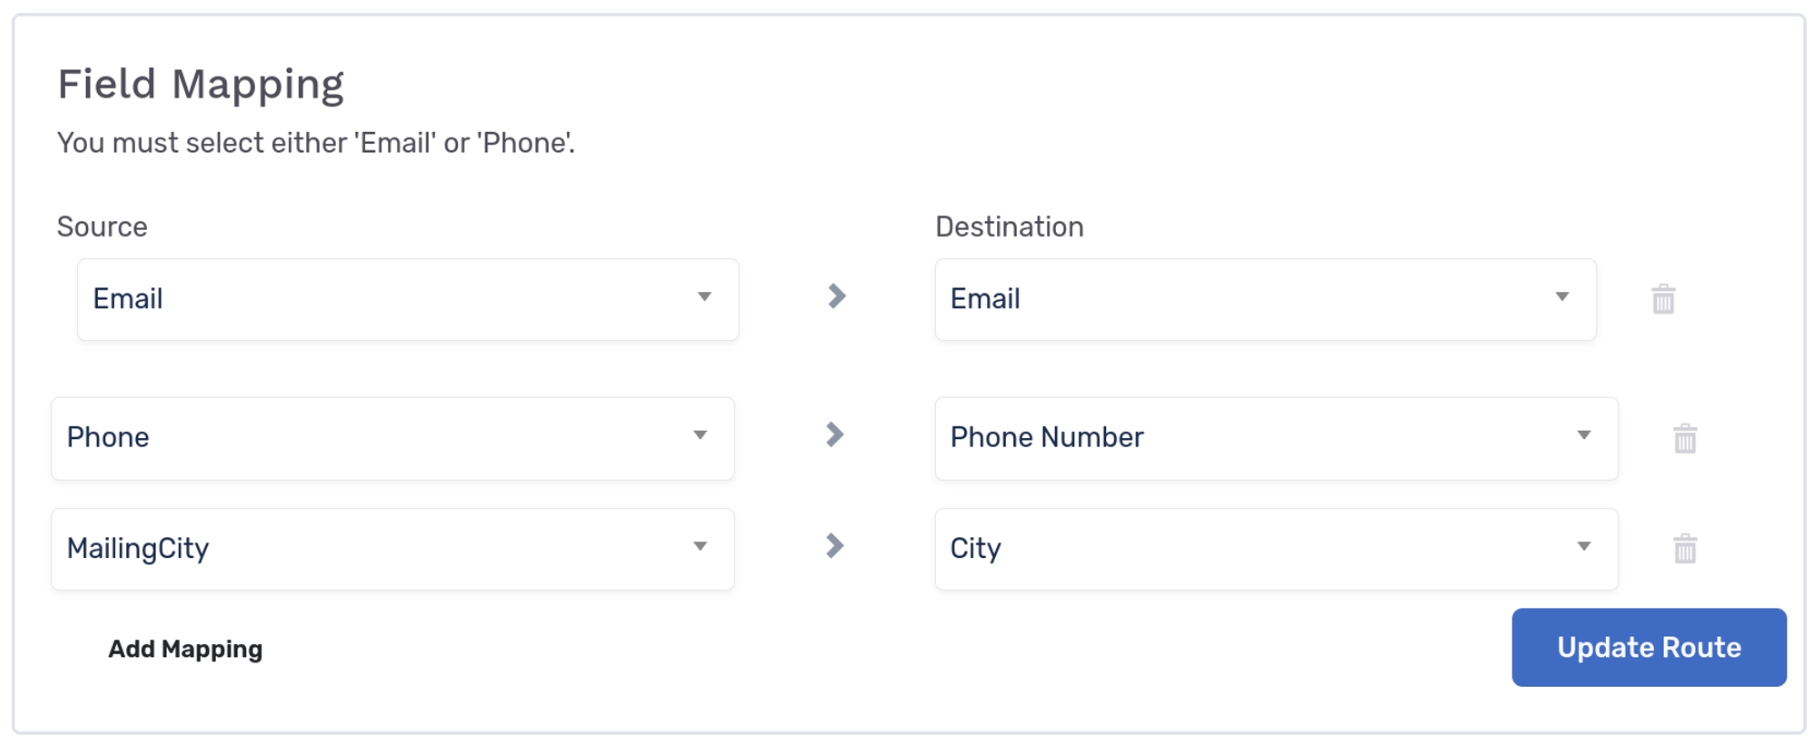
- Finally, click the toggle at the top of the page to enable the sync!
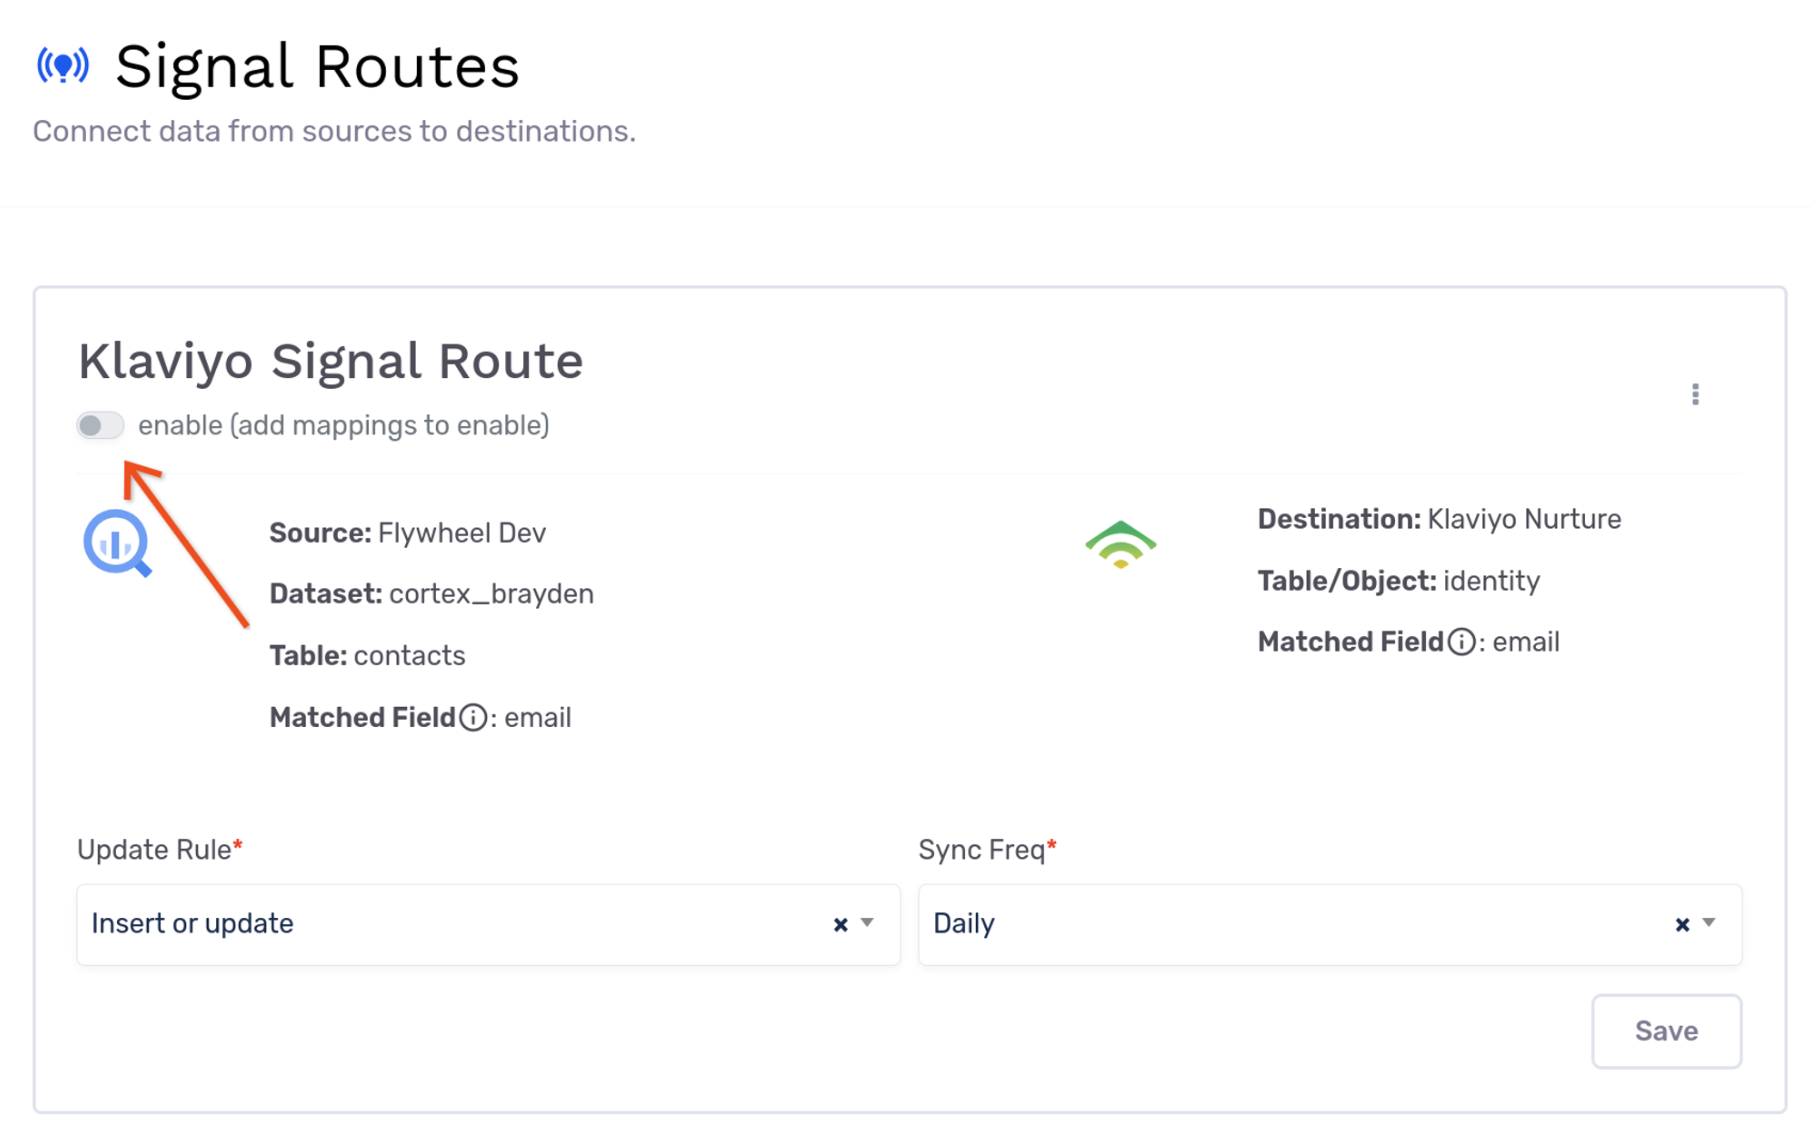
- Congratulations - you have successfully created a signal sync to Klaviyo!
Updated 10 months ago