
Getting Started
Set up your first Identity Resolution to unify customer records across sources.
In this article, we'll walk you through setting up Identity Resolution from start to finish. By the end, you'll have a Final Identity Table with unified customer profiles in your data warehouse.
Prerequisites
Before you begin, make sure you have:
- A connected data source — Your BigQuery, Snowflake, or other data warehouse connected to GrowthLoop. See Sources if you need to set this up.
- At least two tables with customer data — Identity Resolution works by matching records across multiple sources.
- Common identifiers — Your tables should share some PII fields (email, phone, name, etc.) that can be used for matching.
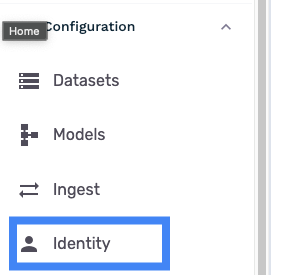
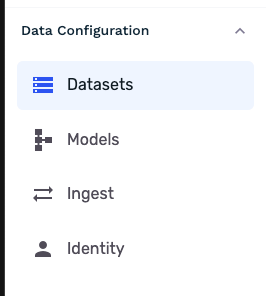
Step 1: Navigate to Identity Resolution
From the main navigation, click on Identity to access the Identity Resolution feature.
Step 2: Create a New Identity Configuration & Select your source
Click New Configuration to start configuring your identity resolution. This opens the source selection screen where you'll begin adding your data sources.

You can see your sources here. Select the source you want to use for this identity.
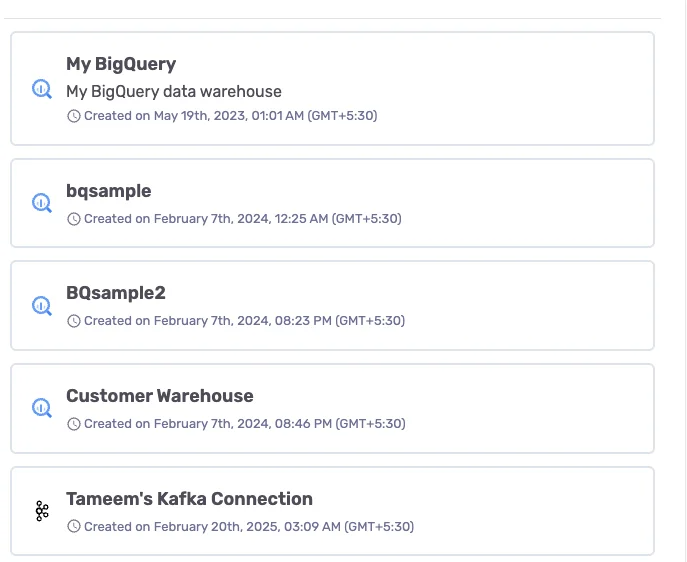
NoteYou can switch sources later, but you will have to configure your identity again if you do so.
Step 3: Add Your tables
Sources will have the tables containing customer data you want to unify. Add tables from your connected data warehouse to use in the identity.
For each table, you'll configure:
| Setting | Description |
|---|---|
| Table | The table or view in your warehouse |
| Primary Key | The unique identifier column for this table |
| Field Mapping | How do the fields in the warehouse map to PII |
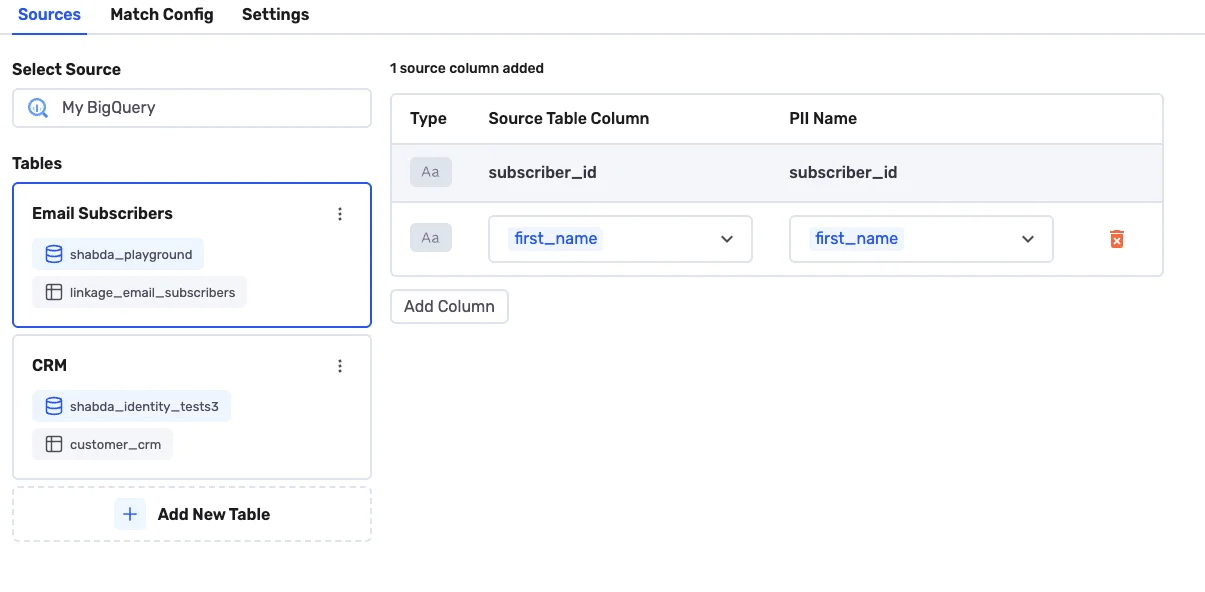
Step 4: Map PII Fields
PII fields are the columns used for matching. Growthloop identity comes with a standard pre-defined set of PII fields. For each tables, map your columns to standard PII fields.
Click on the table card and use Add Column on each table to map.
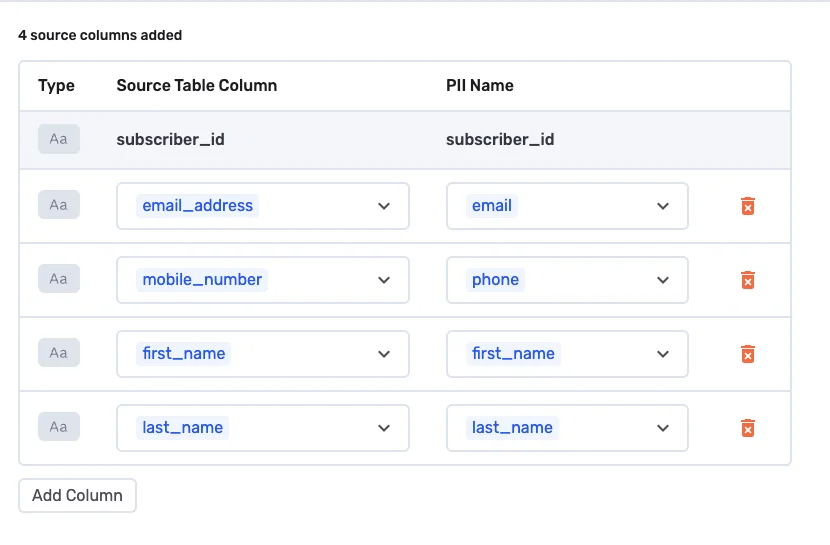
Common PII field types:
| Field Type | Description | Example Columns |
|---|---|---|
| Email address | email, email_address, contact_email | |
| Phone | Phone number | phone, mobile, phone_number |
| First Name | Given name | first_name, fname, given_name |
| Last Name | Family name | last_name, lname, surname |
| Postal Code | ZIP or postal code | zip, postal_code, zipcode |
| Address | Street address | address, street, address_line_1 |
NoteYou don't need to map every column. Only map the fields you want to use for matching or include in your Final Identity Table.
Step 5: Define Match Rules
Match rules specify which field combinations identify the same person. Go to Match Config then Match Rules. Click Add Rule button to start adding rules.

You can add as many rules as you need. After you have added your rules, your screen should look something like this.
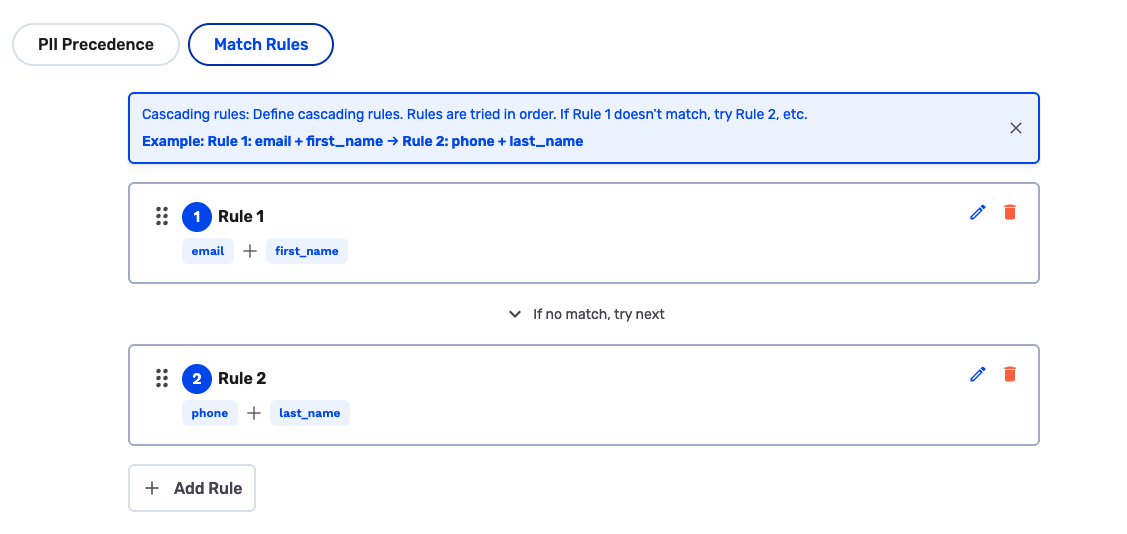
A typical setup uses cascading rules, for example:
| Rule | Fields | Purpose |
|---|---|---|
| Rule 1 | Email + First Name | High-confidence matches via Email |
| Rule 2 | Phone + Last Name | Catch records without email |
NoteRules are evaluated in order. Once a record matches a rule, it stops processing. Place your strictest (highest-confidence) rules first.
See Match Rules for a deeper dive into matching strategies.
Step 6: Configure PII Precedence
The fields you have mapped in your sources to PII fields will appear in your Final Identity Table output. You can specify the precedence of which table should get the precedence if multiple tables have conflicting data for the field.
You can configure it via Match Config then PII Precedence.
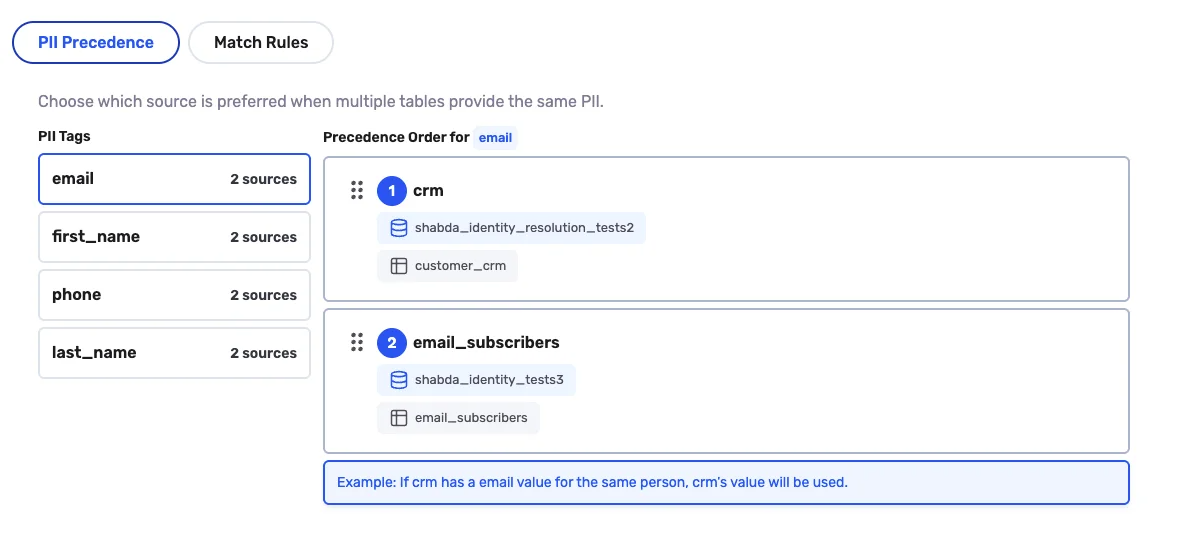
You can drag and drop the table cards to change the precedence.
For each column, the value comes from the highest-precedence table that has a non-null value for that field.
Step 7: Configure Settings
Go to Settings to configure output, nickname matching, and third-party identity graph options.
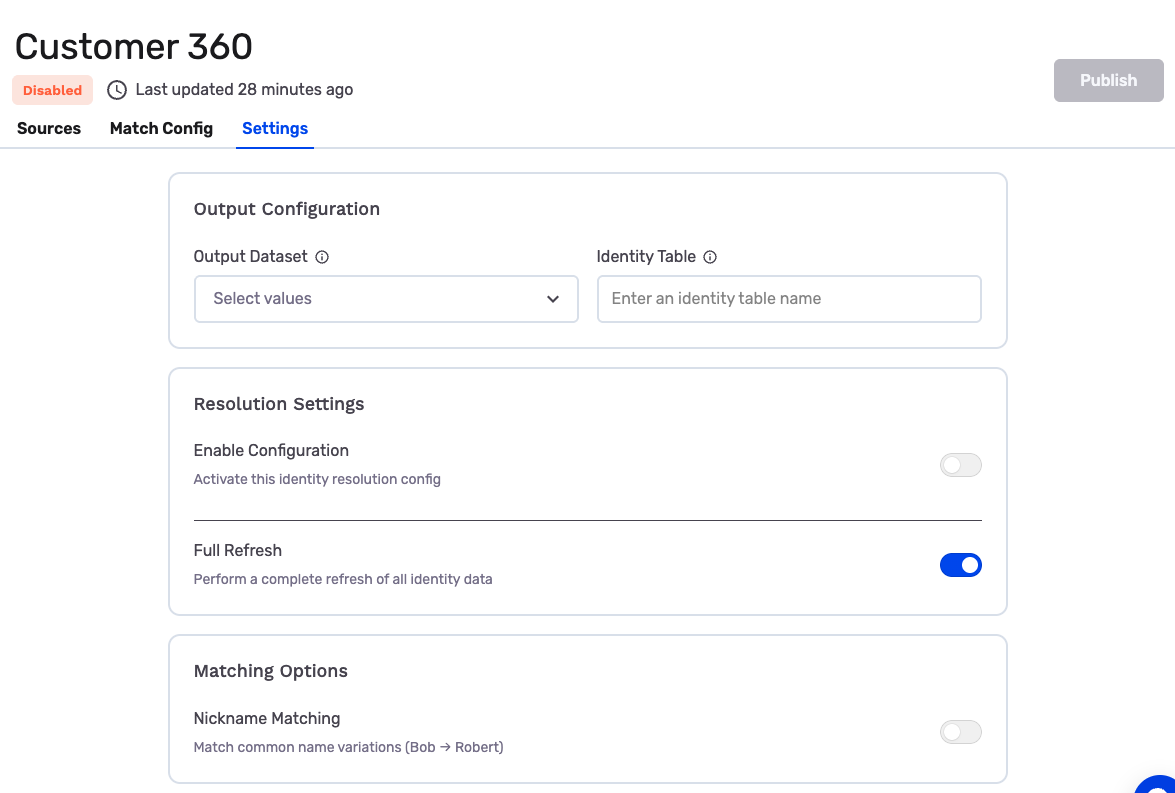
Output Configuration:
| Setting | Description |
|---|---|
| Output Dataset | The dataset in your warehouse where results are written |
| Identity Table | Name of the Final Identity Table containing unified profiles |
Resolution Settings:
| Setting | Description |
|---|---|
| Enable Configuration | Toggle to activate this identity resolution config |
| Full Refresh | When enabled, performs a complete refresh of all identity data (vs. incremental) |
Matching Options:
| Setting | Description |
|---|---|
| Nickname Matching | Match common name variations (e.g., Bob → Robert, Bill → William) |
| Third Party Identity Graph | Toggle to enable matching against Audience Acuity’s identity spine and unify records that share the same third-party identity ID. |
3rd Party Identity Graph
When this is on, GrowthLoop enriches your first-party data using third-party identity data from Audience Acuity. Your PII is matched to Audience Acuity’s identity spine; each lookup row gets a third-party identity ID, and that ID is used as an additional match signal so records that share the same graph identity can unify.
For example, an email from your first-party data can connect to other identifiers for that person on Audience Acuity’s graph—including emails that never appeared in your first-party sources—so you can still resolve the same person across sources when direct first-party overlap is missing.
Once configured, click Publish to activate your identity configuration.

Step 8: View Results
Once published, the identity processor will pick up your configuration and run. After processing completes, the Summary tab shows your results.
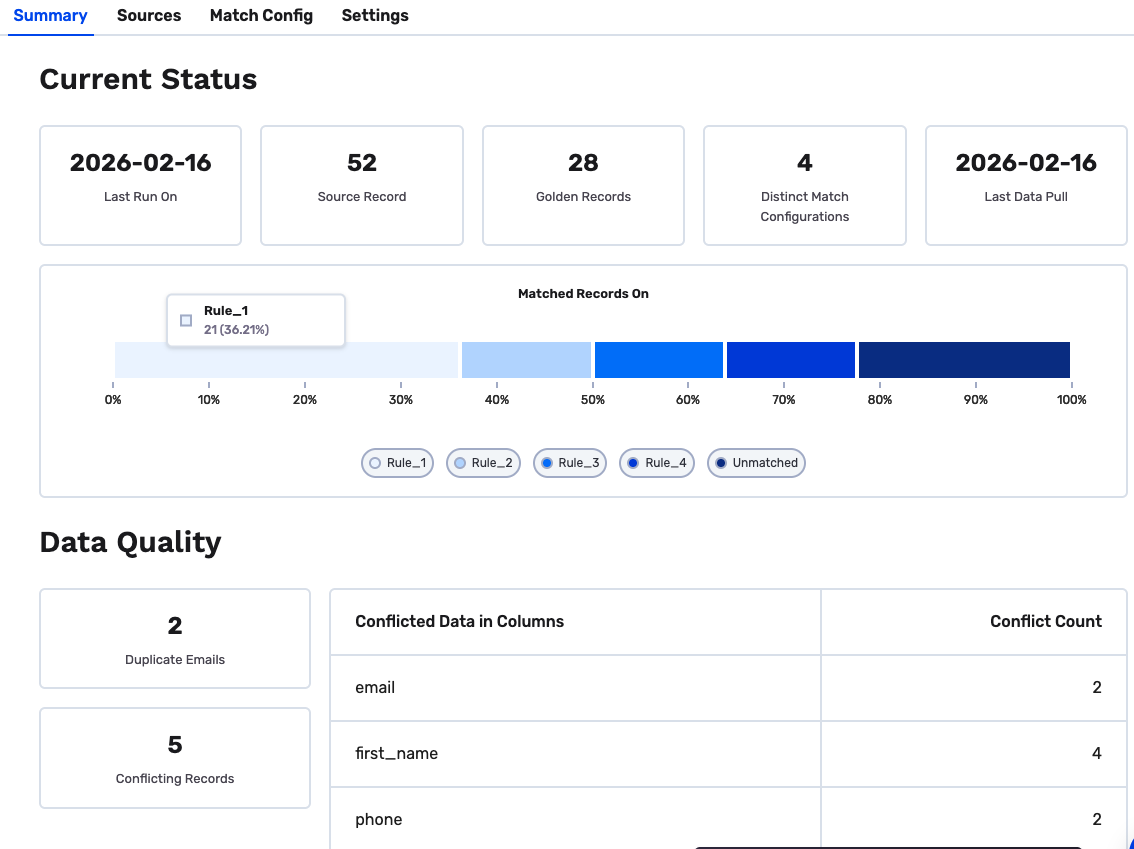
Current Status displays key metrics:
| Metric | Description |
|---|---|
| Last Run On | When identity resolution last executed |
| Source Records | Total records processed across all source tables |
| Golden Records | Number of unified profiles created |
| Distinct Match Configurations | Number of match rules applied |
| Last Data Pull | When source data was last retrieved |
Matched Records On shows a breakdown of how records matched:
- Each rule shows the count and percentage of records it matched
- Unmatched records didn't match any rule and remain as individual profiles
Data Quality highlights potential issues:
- Duplicate Emails — Records with the same email across sources
- Conflicting Records — Records where sources have different values for the same field
- The Conflicted Data in Columns table shows which fields have conflicts and how many
NoteThe Final Identity Table is also written directly to your data warehouse at the output dataset you specified. You can query it for activation, analytics, or further processing.
Using Your Unified Data in GrowthLoop
Once identity resolution completes, your Final Identity Table is automatically available as a Dataset in GrowthLoop — no manual setup required.
Finding Your Final Identity Table Dataset
Navigate to Data Configuration → Datasets in the main menu.
You'll see a Dataset Group created for your identity configuration, containing your Final Identity Table dataset.
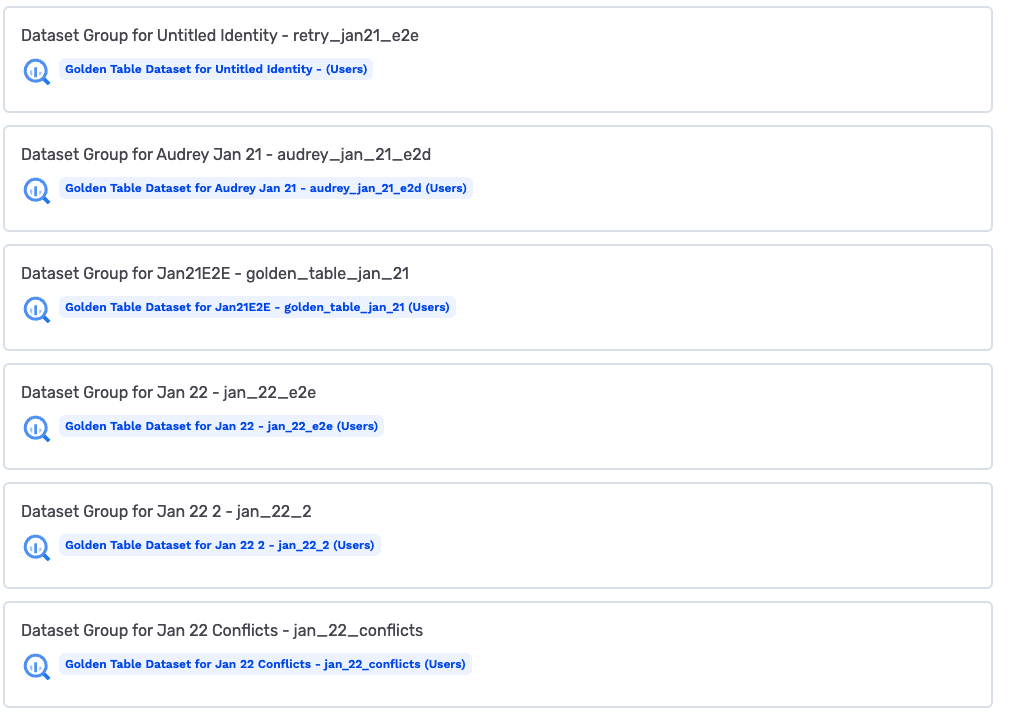
The dataset is named "Final Identity Table Dataset for [Your Identity Name]" and is ready to use immediately.
What You Can Do With It
Your unified customer profiles can now power:
| Feature | How to Use |
|---|---|
| Audiences | Build segments using your Final Identity Table as the primary dataset |
| Journeys | Create multi-step campaigns targeting unified profiles |
| Exports | Send unified customer data to any connected destination |
| Analytics | Query the Final Identity Table directly in your data warehouse |
NoteThe Final Identity Table dataset appears automatically after identity resolution runs successfully. If you don't see it within a few hours, check that your identity configuration ran without errors.
Congrats! You've set up your first Identity Resolution and your unified customer data is ready to use. For more details on fine-tuning your matching, continue to Match Rules.
Questions or issues? Reach out to us at [email protected].
Updated 3 months ago